Molding & Casting
Molding and casting
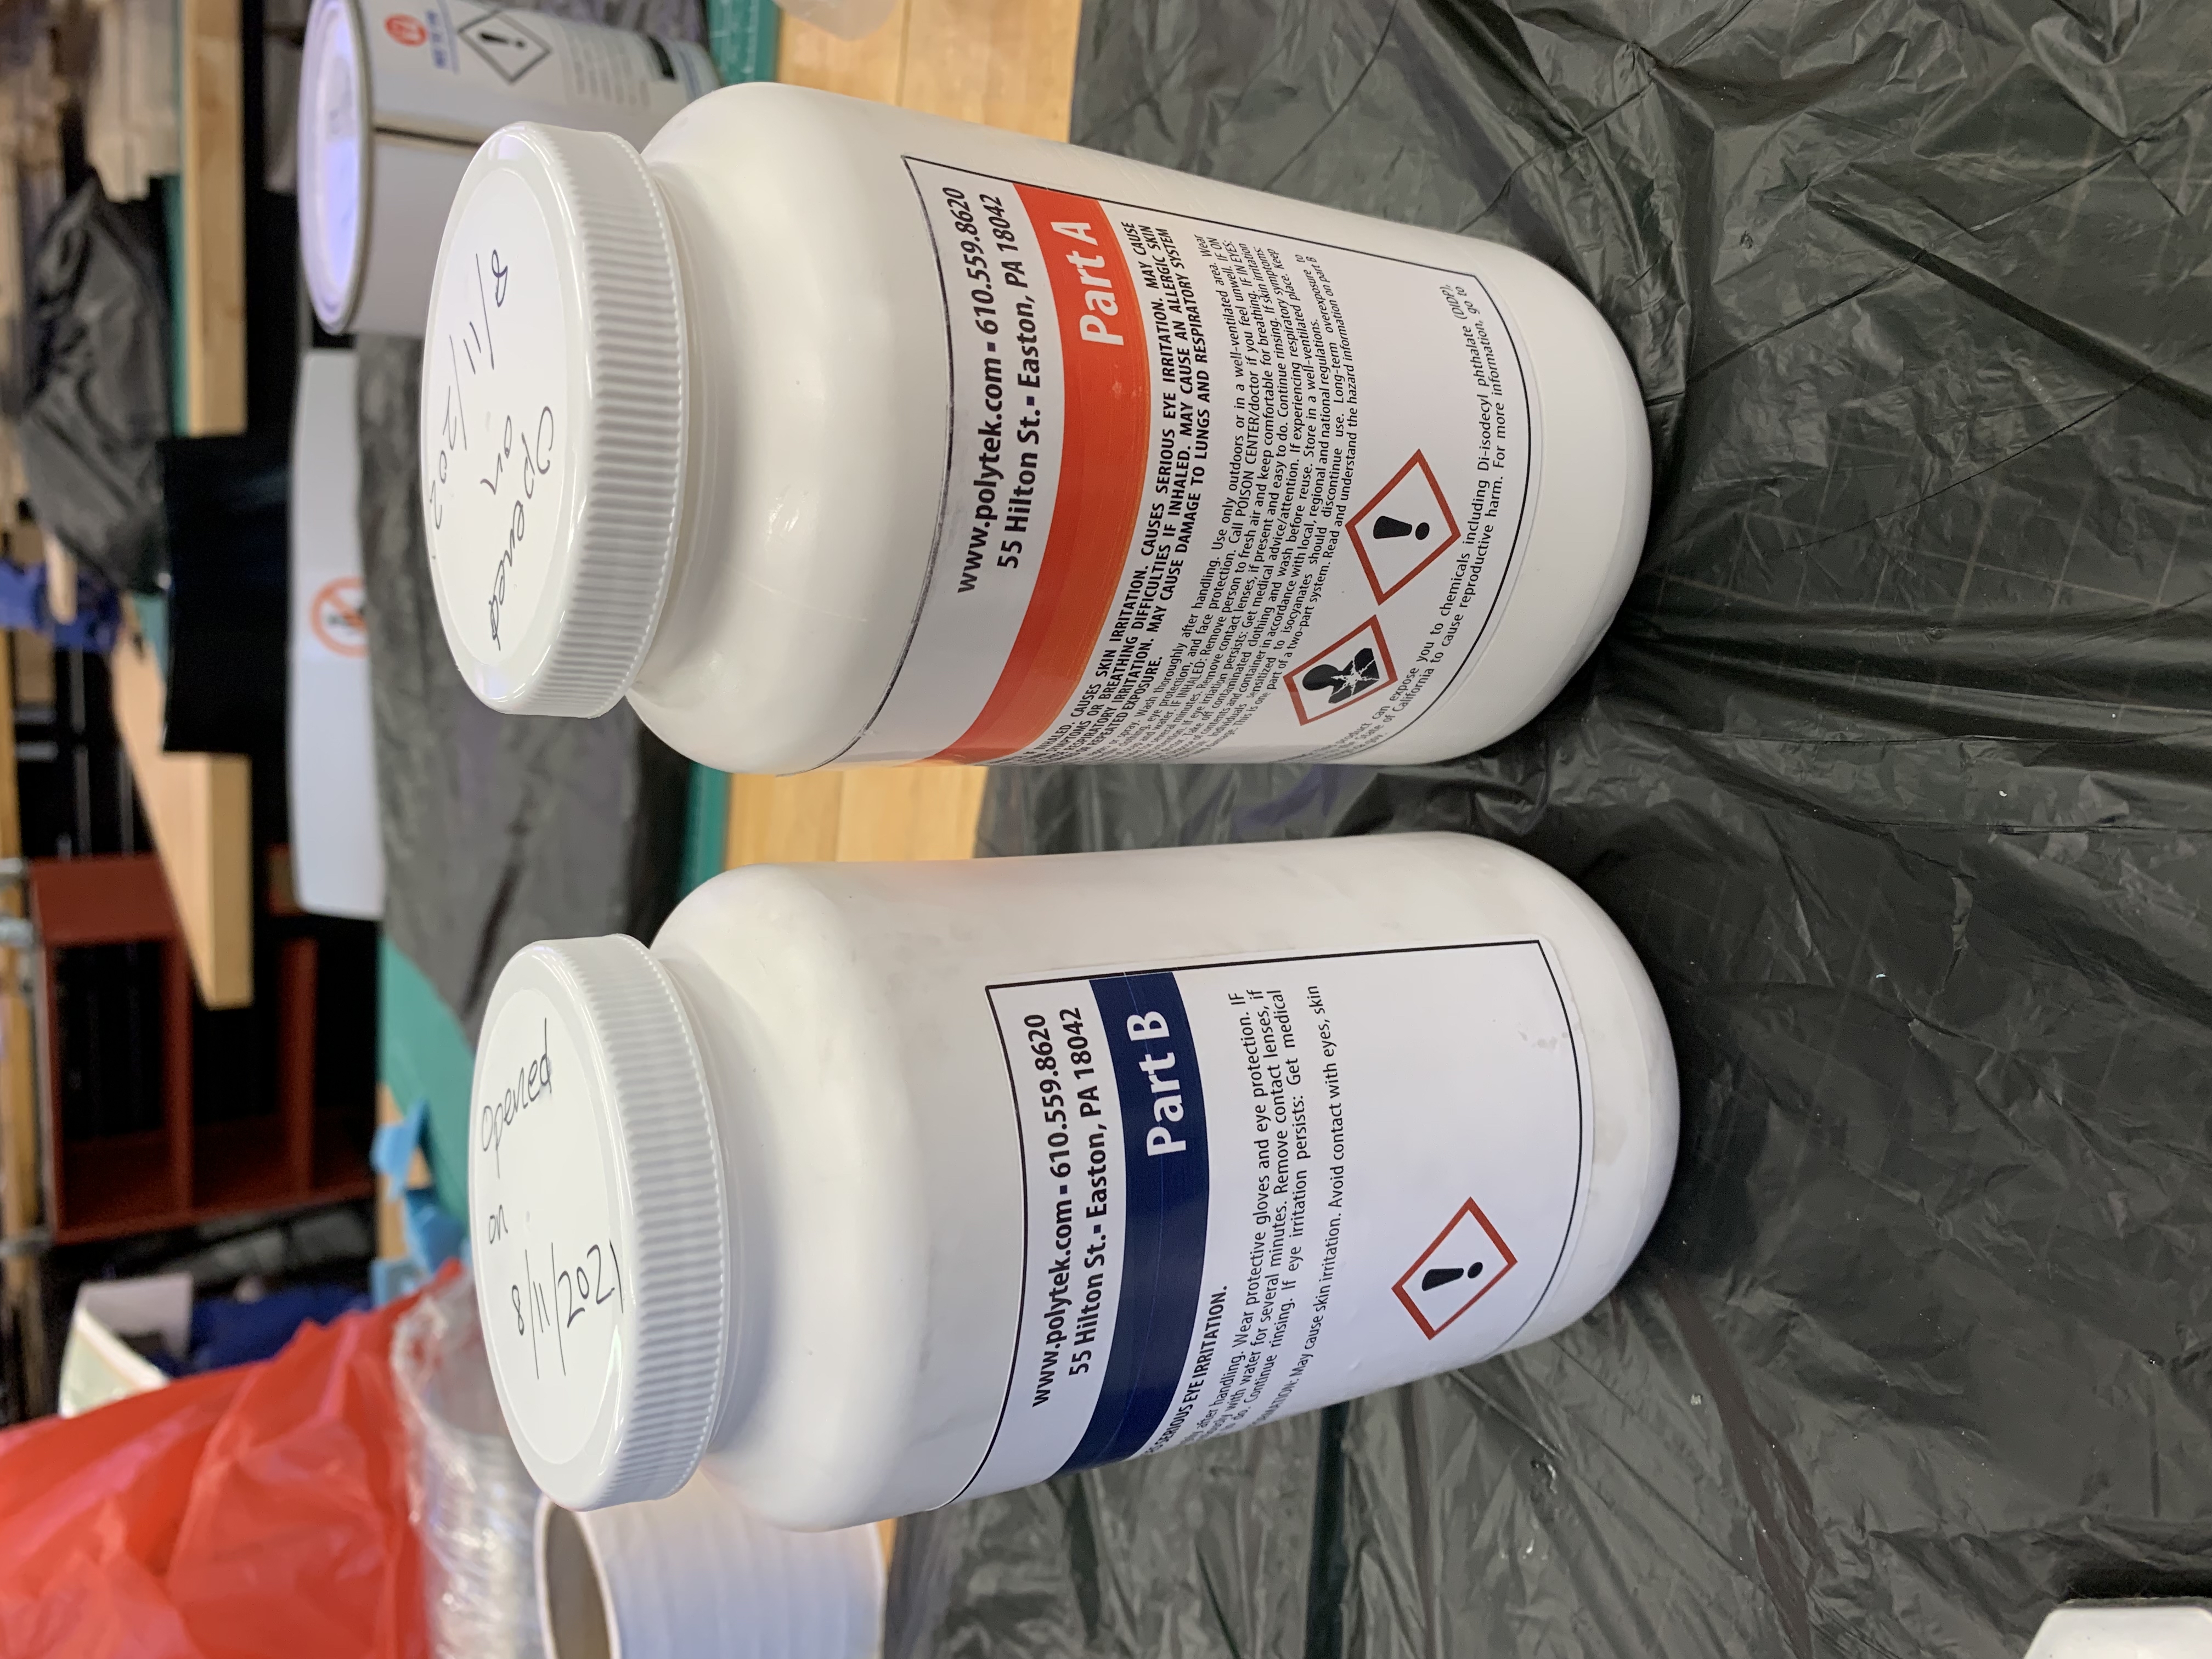
In order to cast out my shape properly, I first had to make a negative cast made out of silicon. The silicon that was provided was a 2 part silicon rubber RTV-620
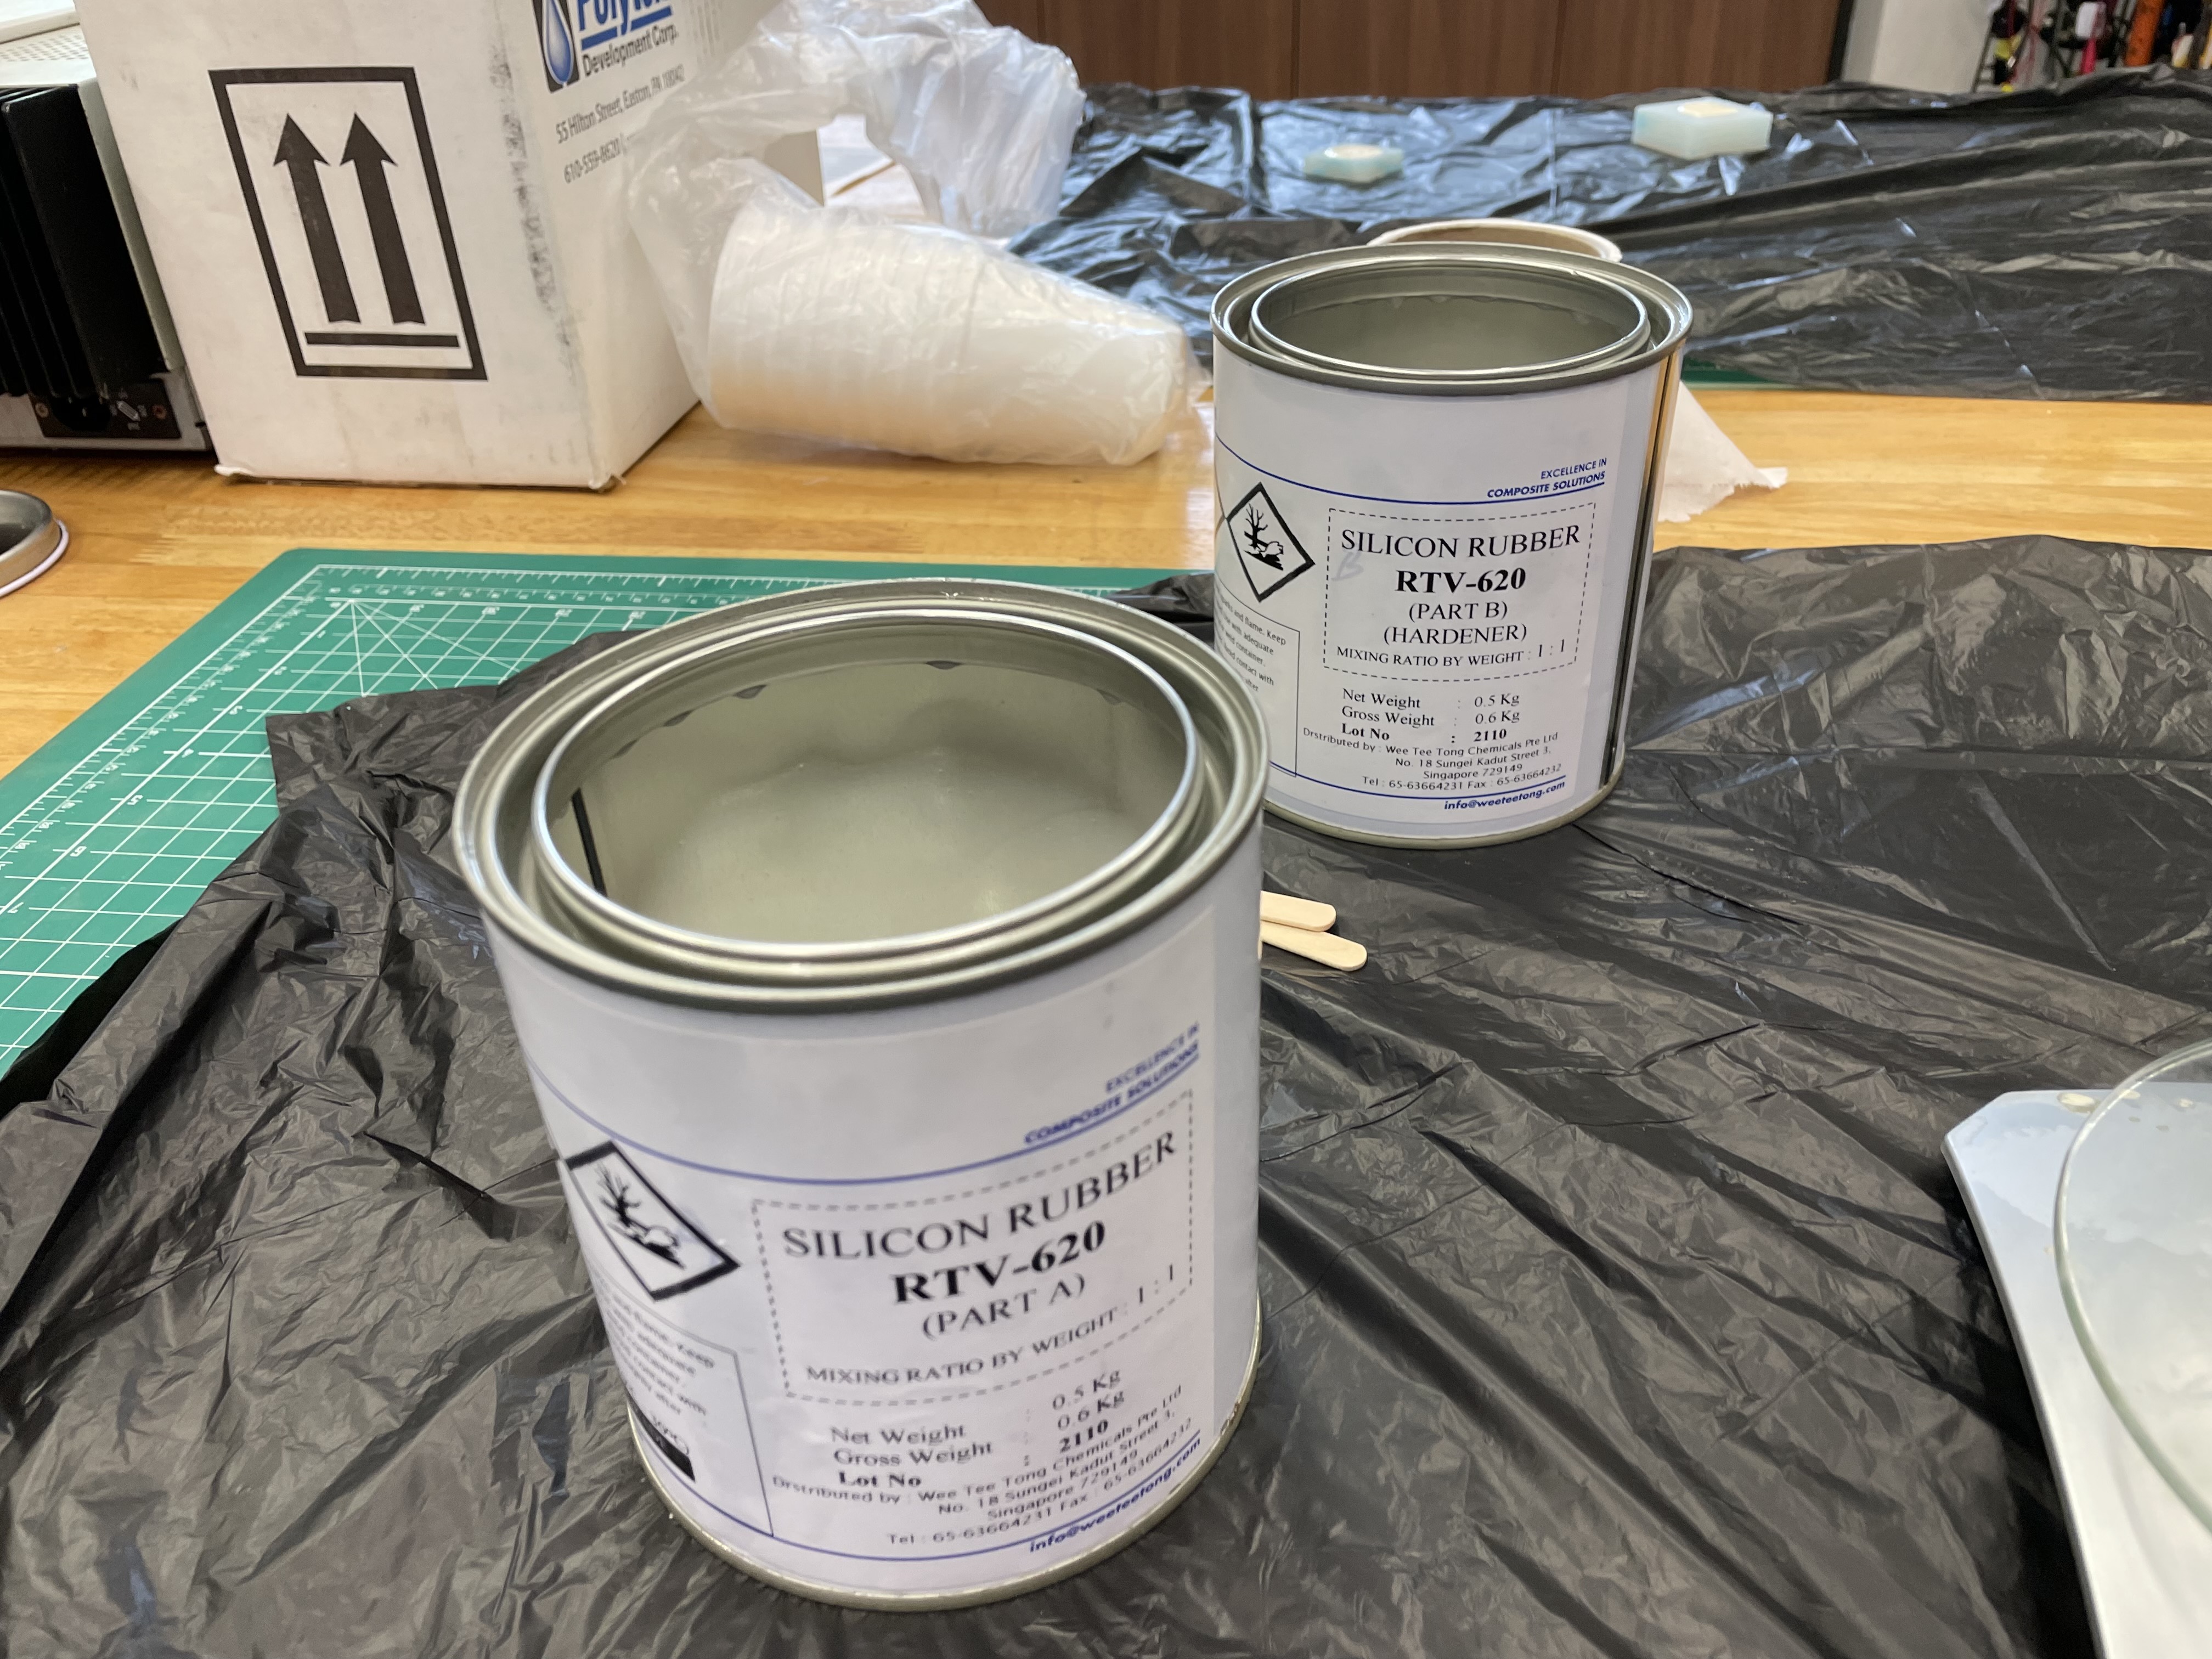
According to the safety data sheet of the RTV-620, the mixing ratio is 1:1 and the solution will take around a full day to cure.
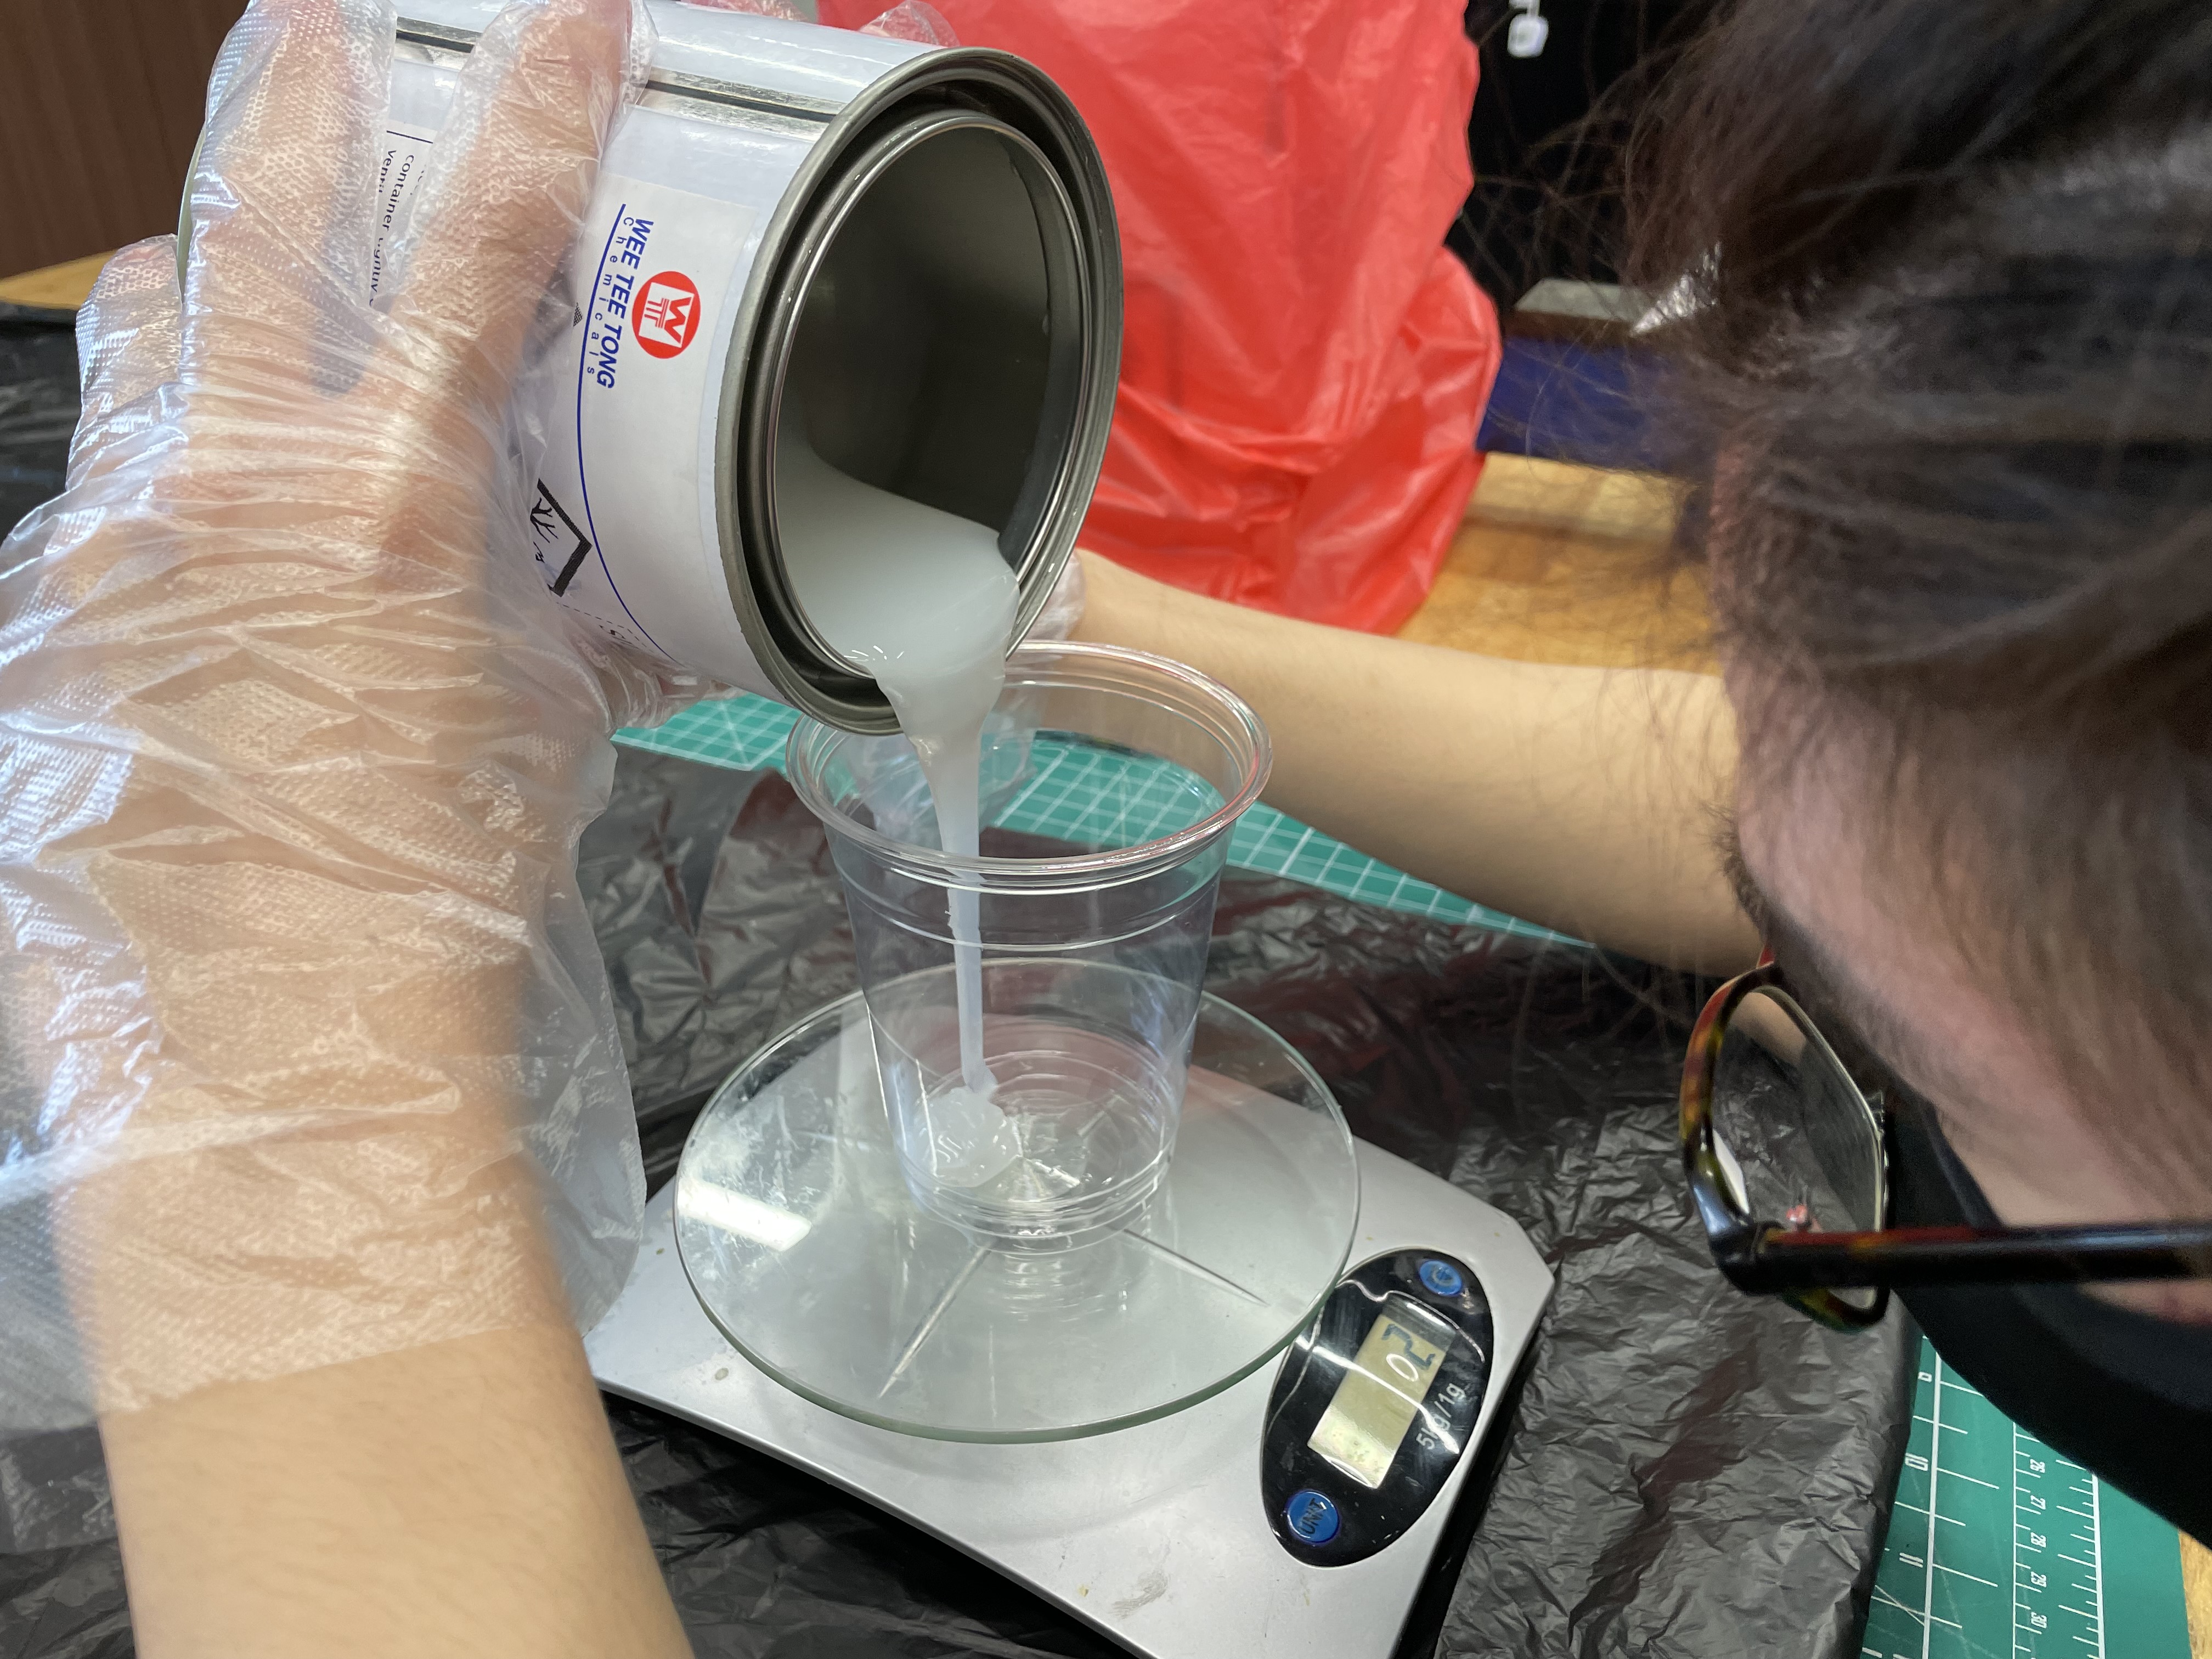
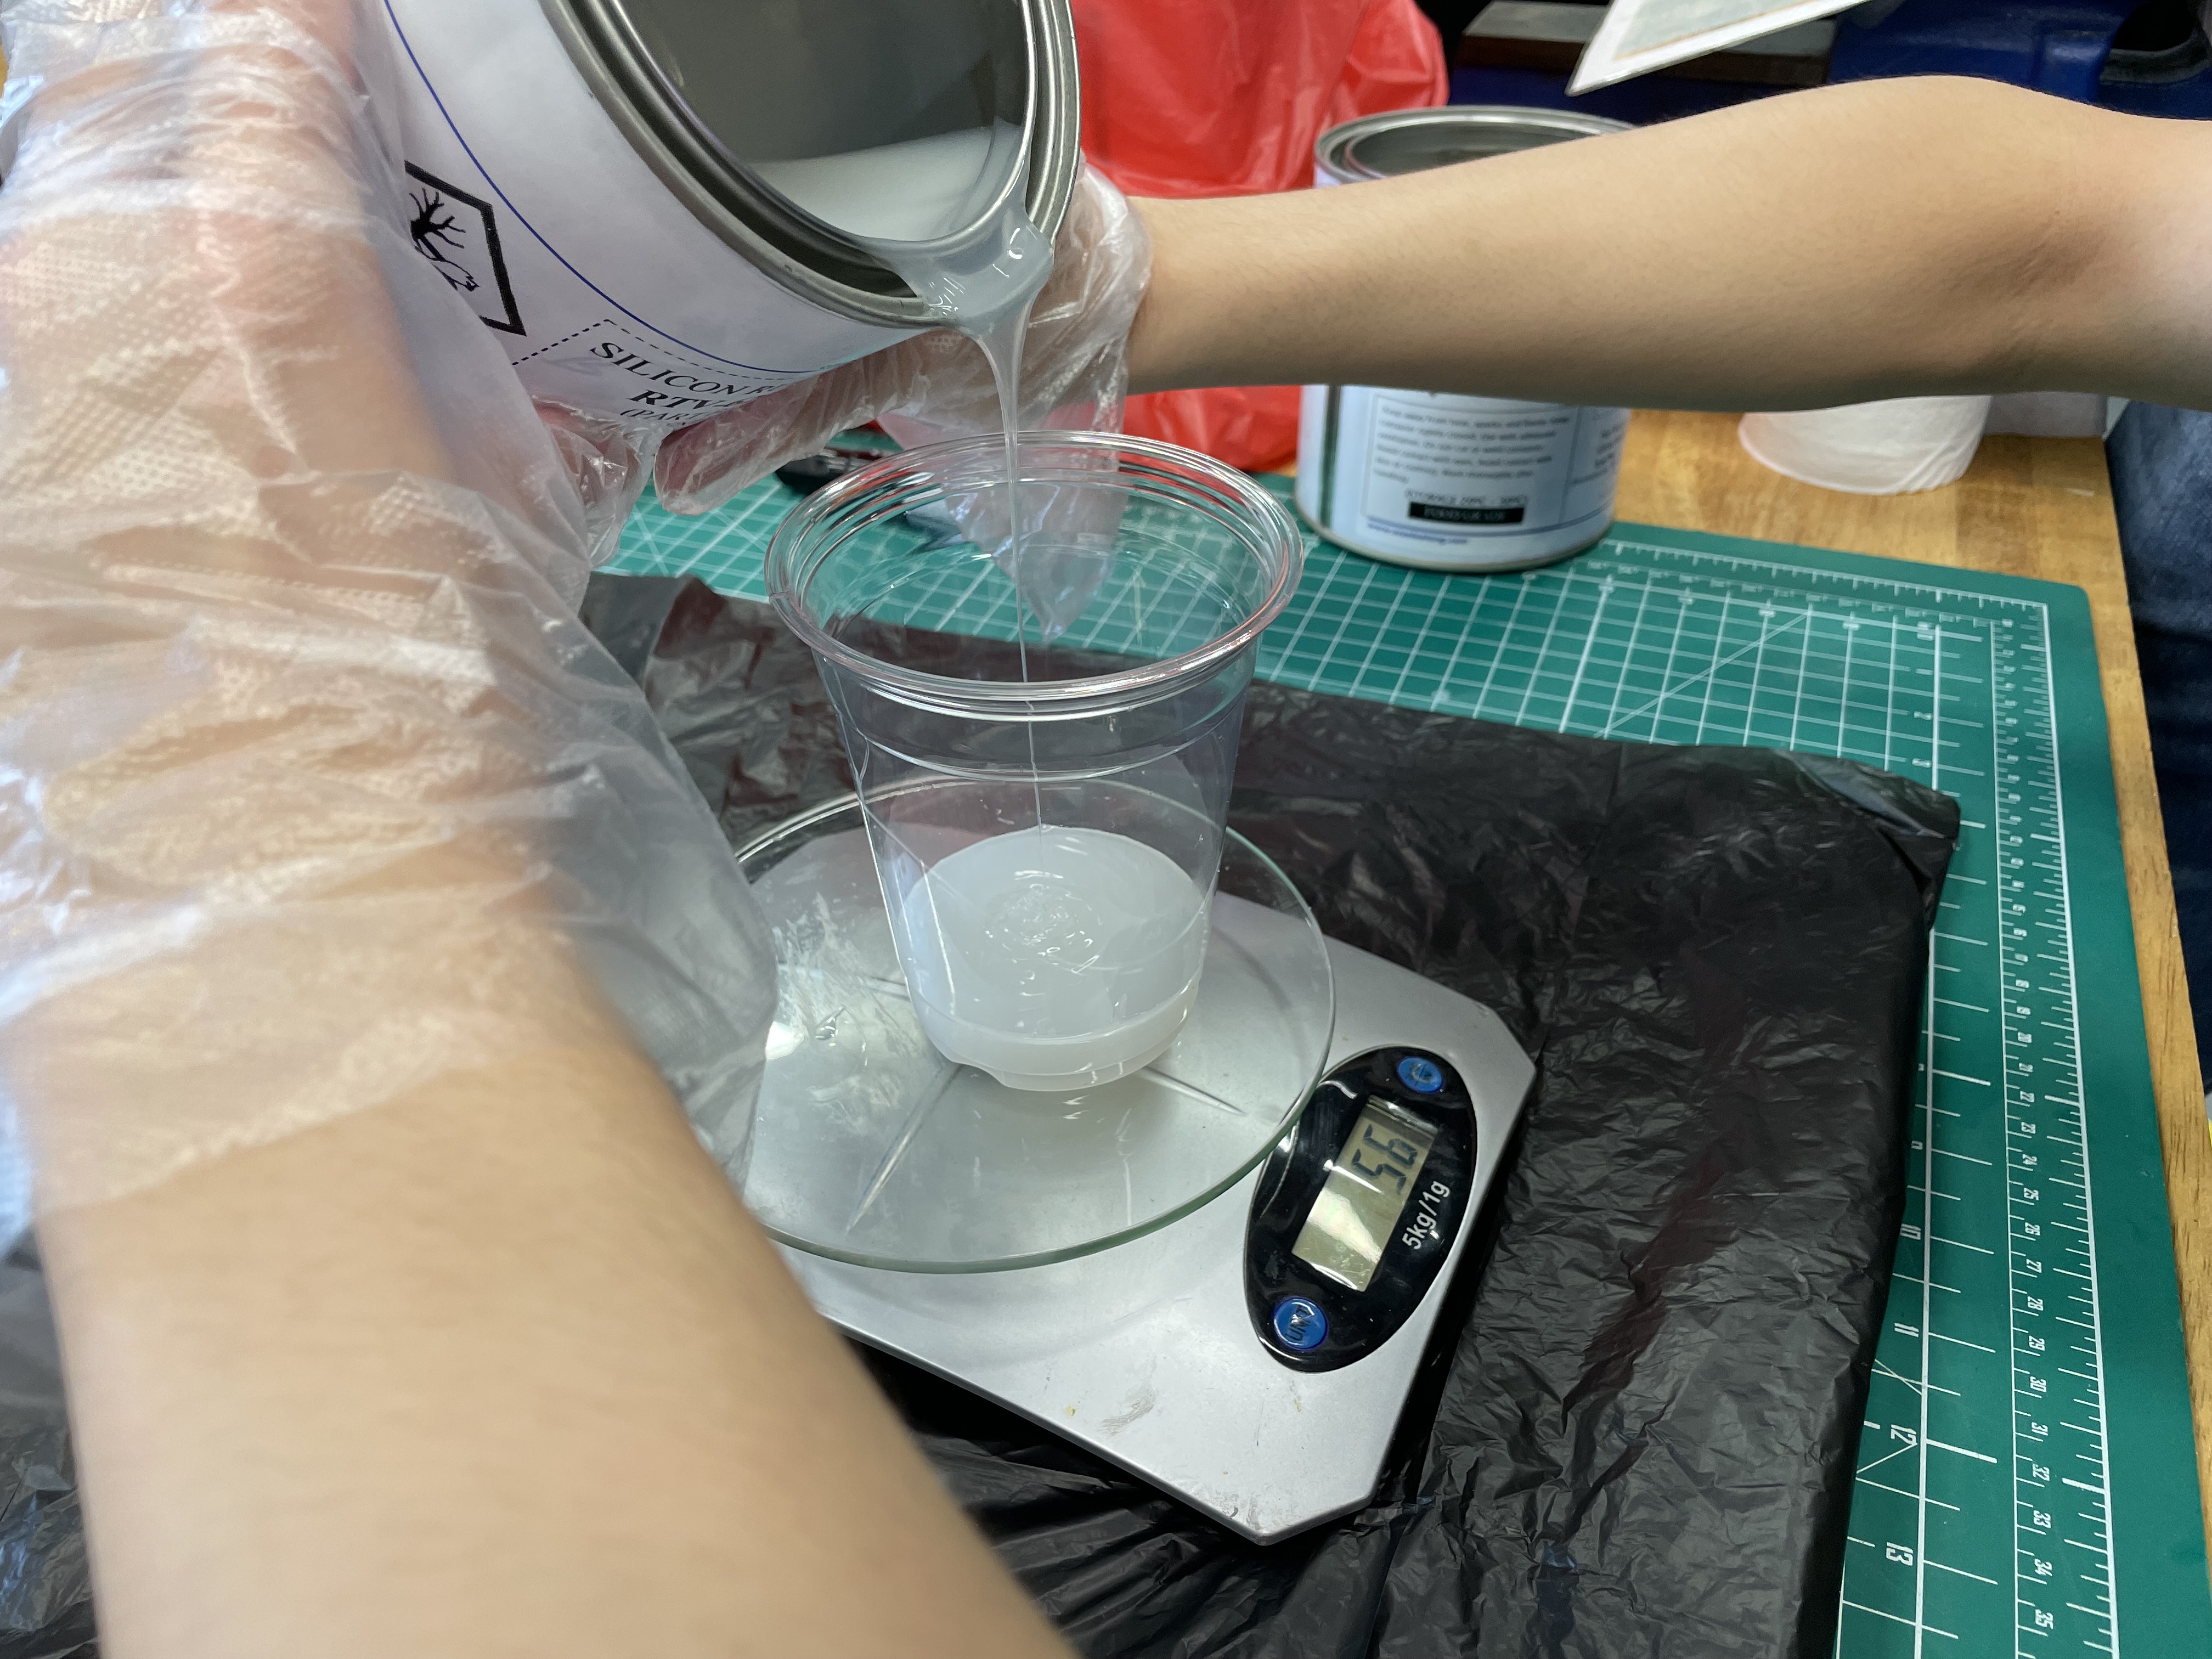
As a safety precaution, the following steps are done while wearing protective plastic gloves and the table was covered with a tarp. The silicon solution was mixed inside a disposable plastic cup and its weight was measured using a small weighing scale. The process is usually quite fast so I had everything I need prepared in front of me before I started.
First thing I did was to estimate how much silicon was needed, and then I estiamted the volume by marking a line on the cup. After pouring in part A of the silicon, the weight turned out to be 28g.
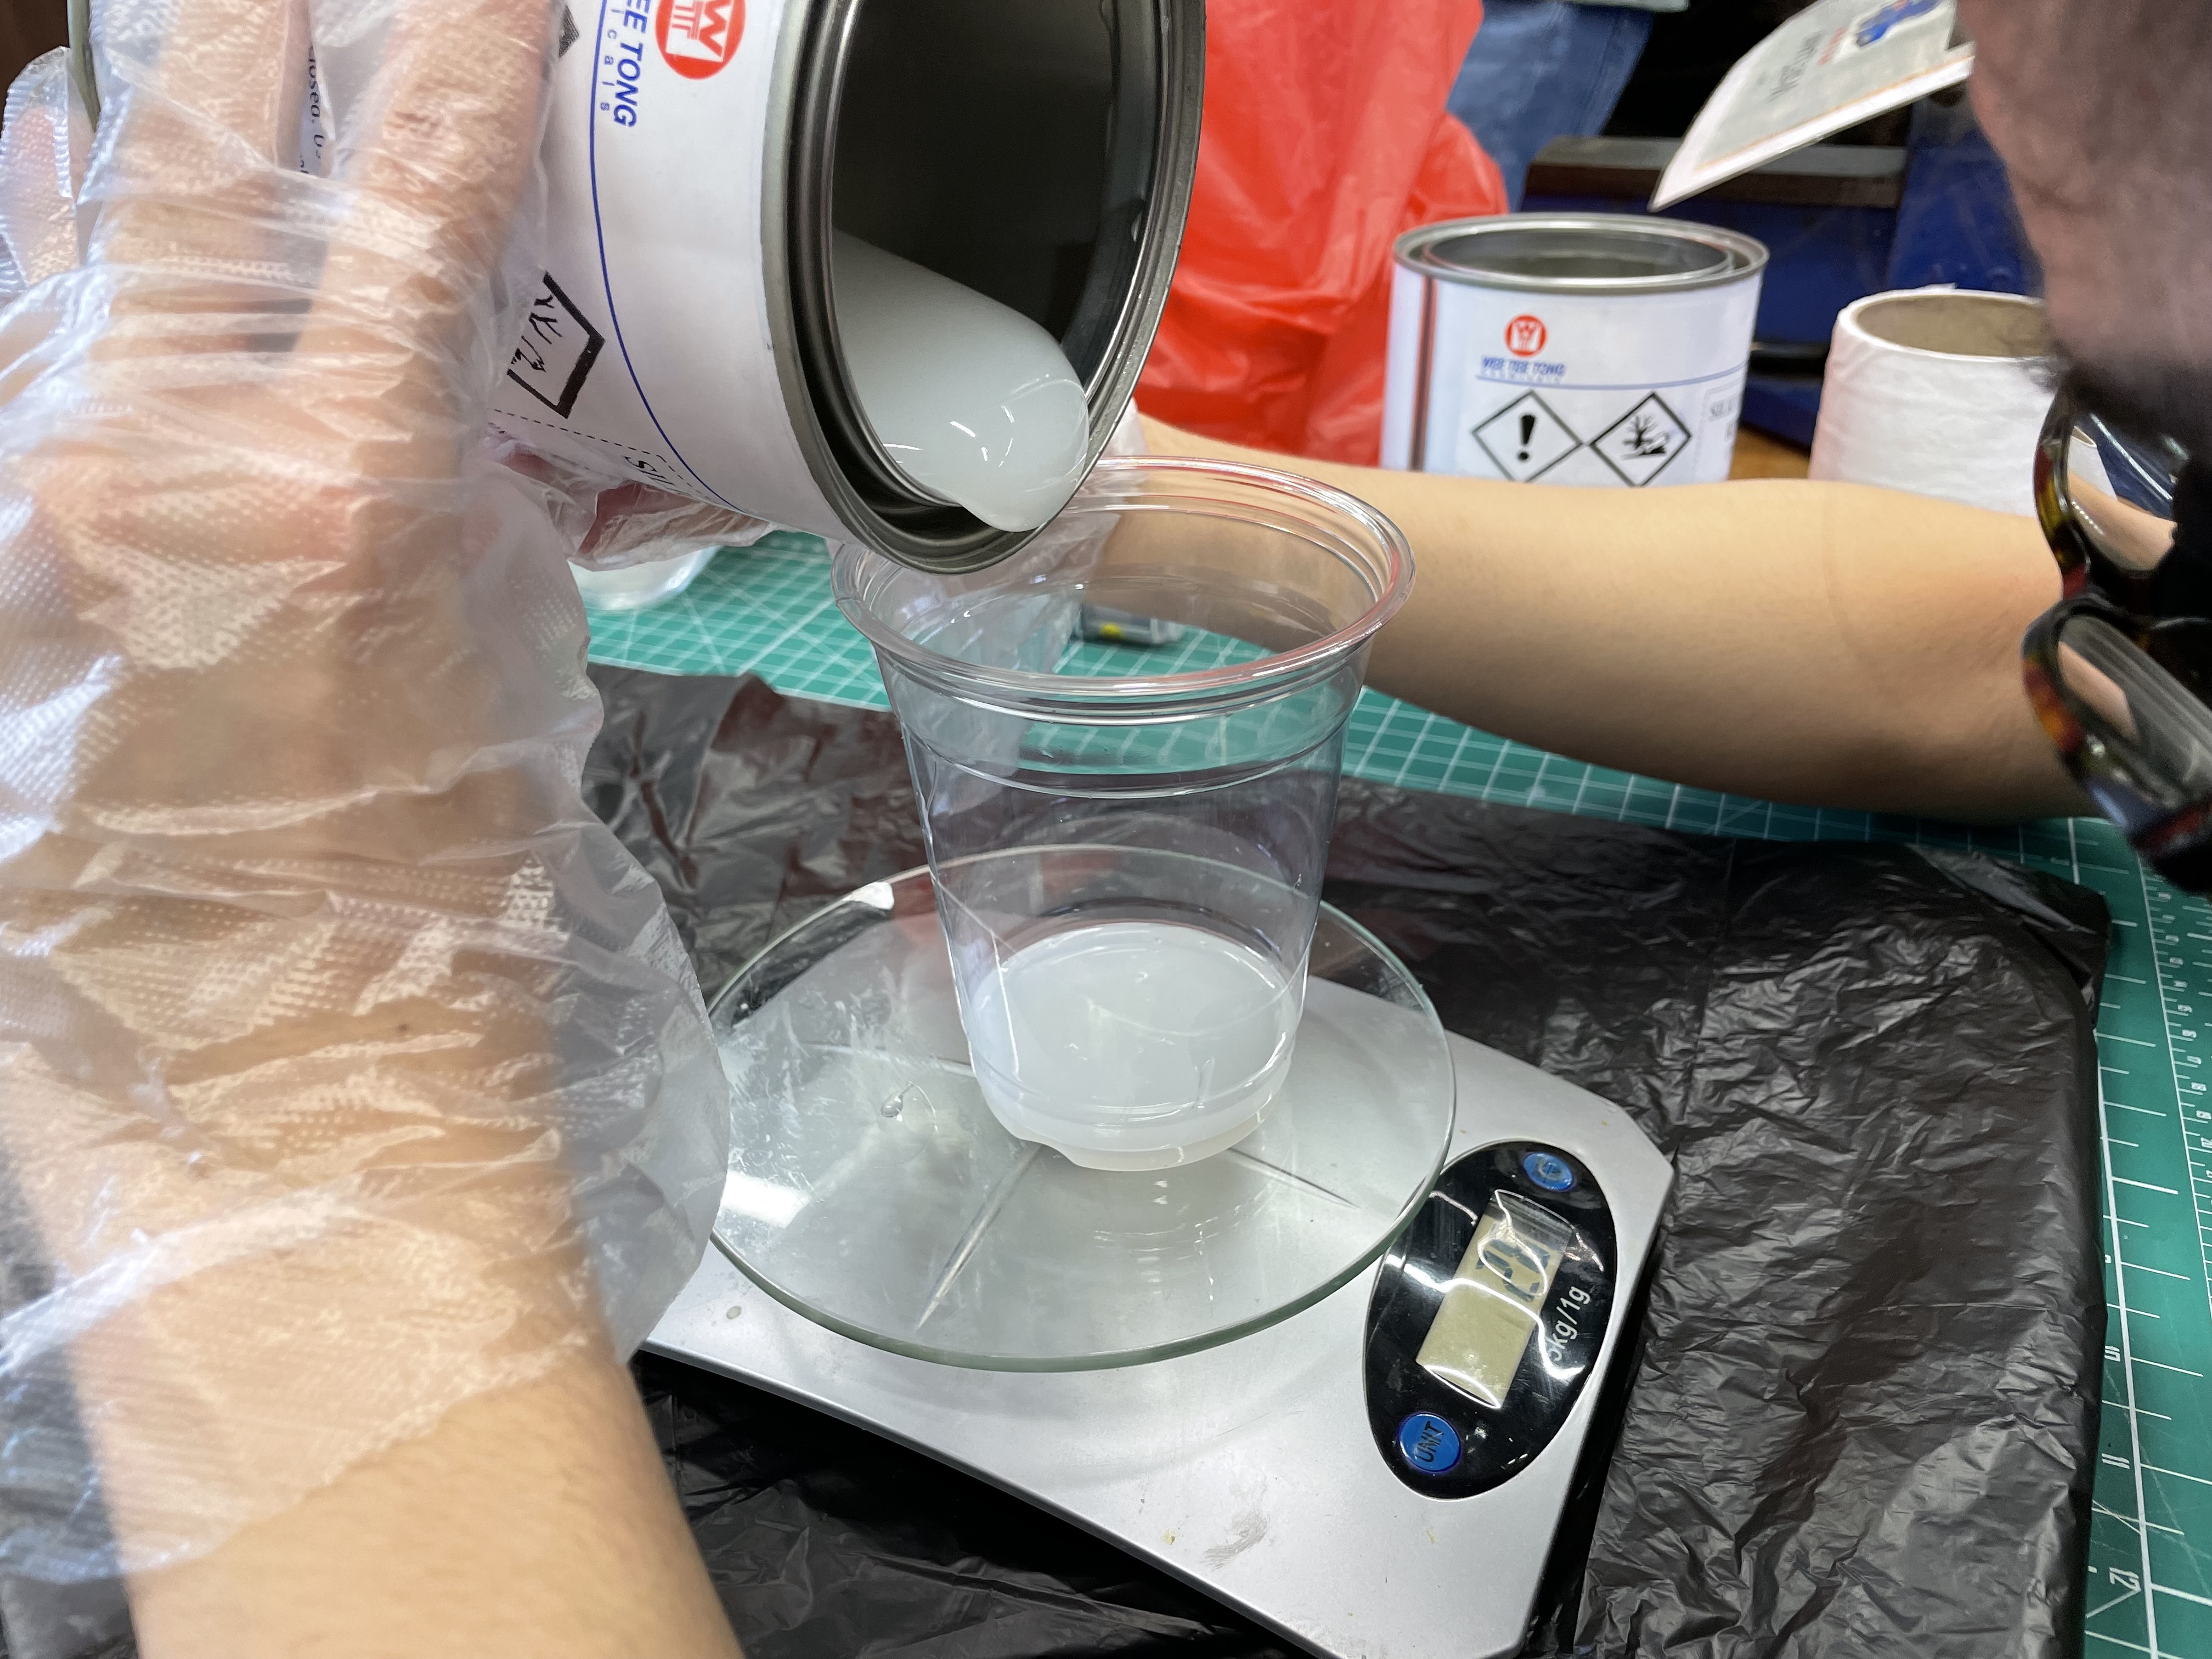
As the ratio of the mixture is 1:1, another 28g of part B should be poured into the cup, making the total weight of the solution 56g.
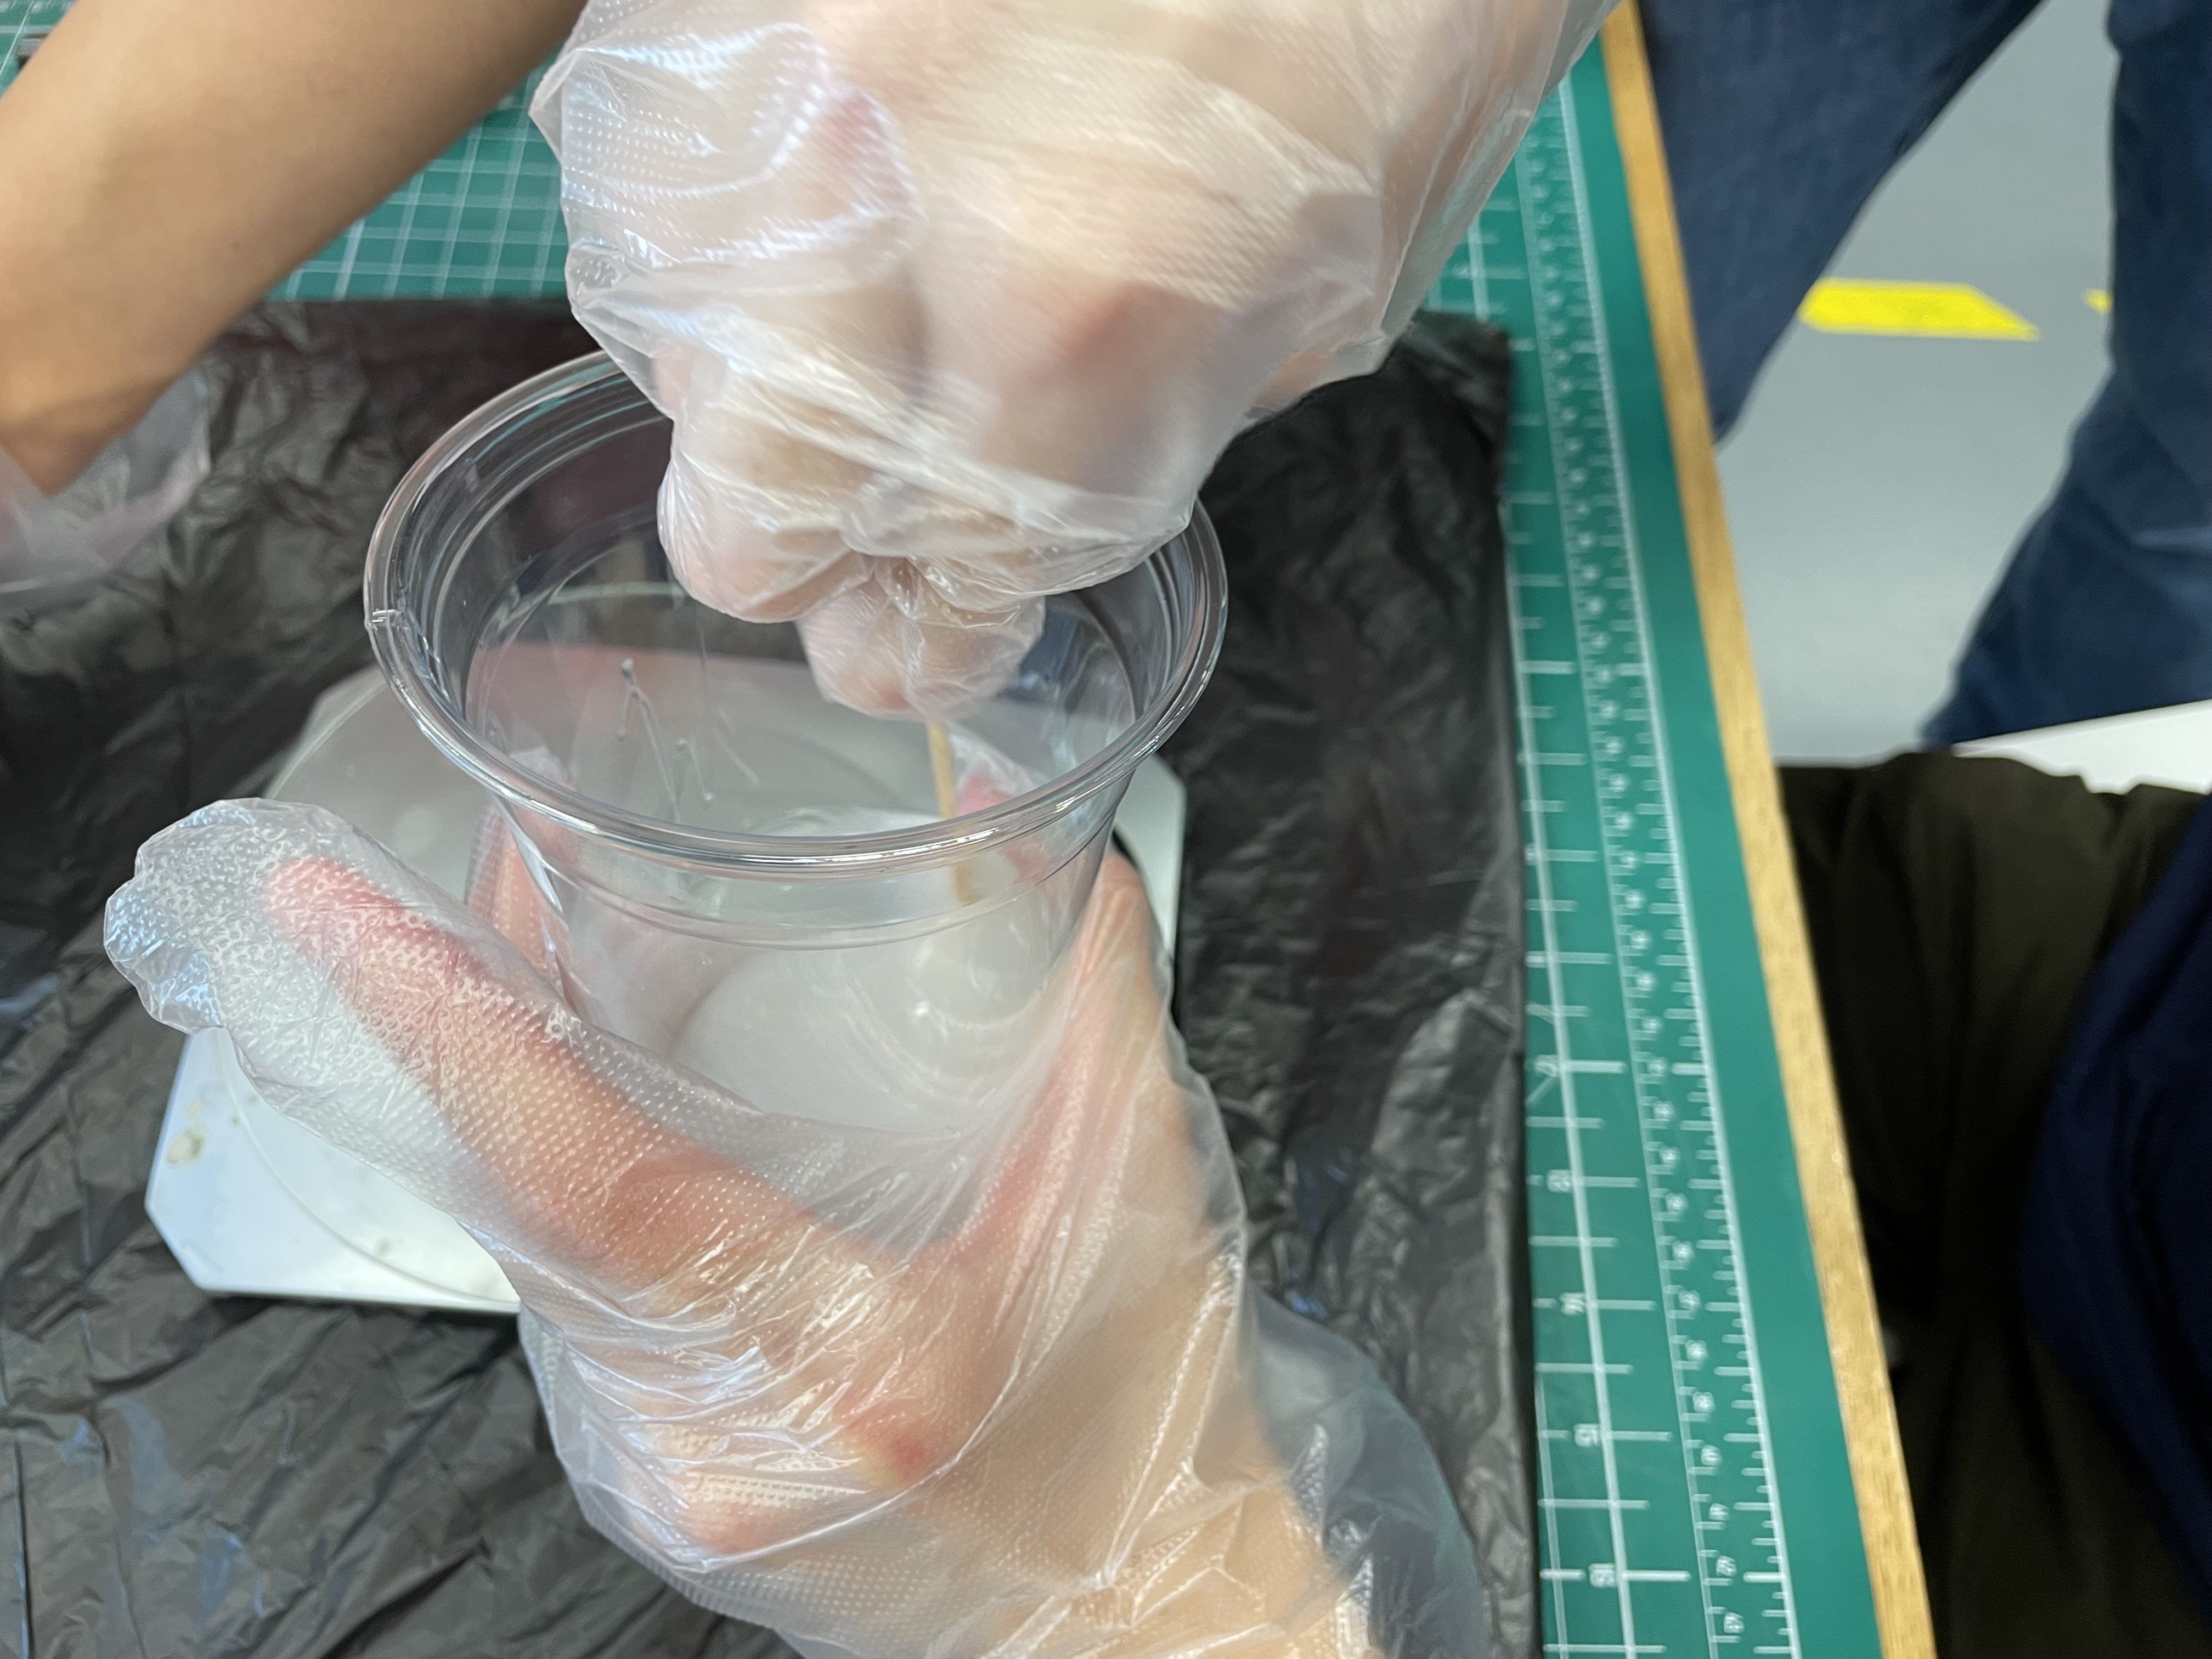
After the solution was ready, it was time to get mixing. At first, the solution was really viscous. making it much harder to stir, but I got used to it after a while. One problem with the silicon is that both parts are of the same colour, thus I cannot make a good estimate of when the solution is mixed enough.
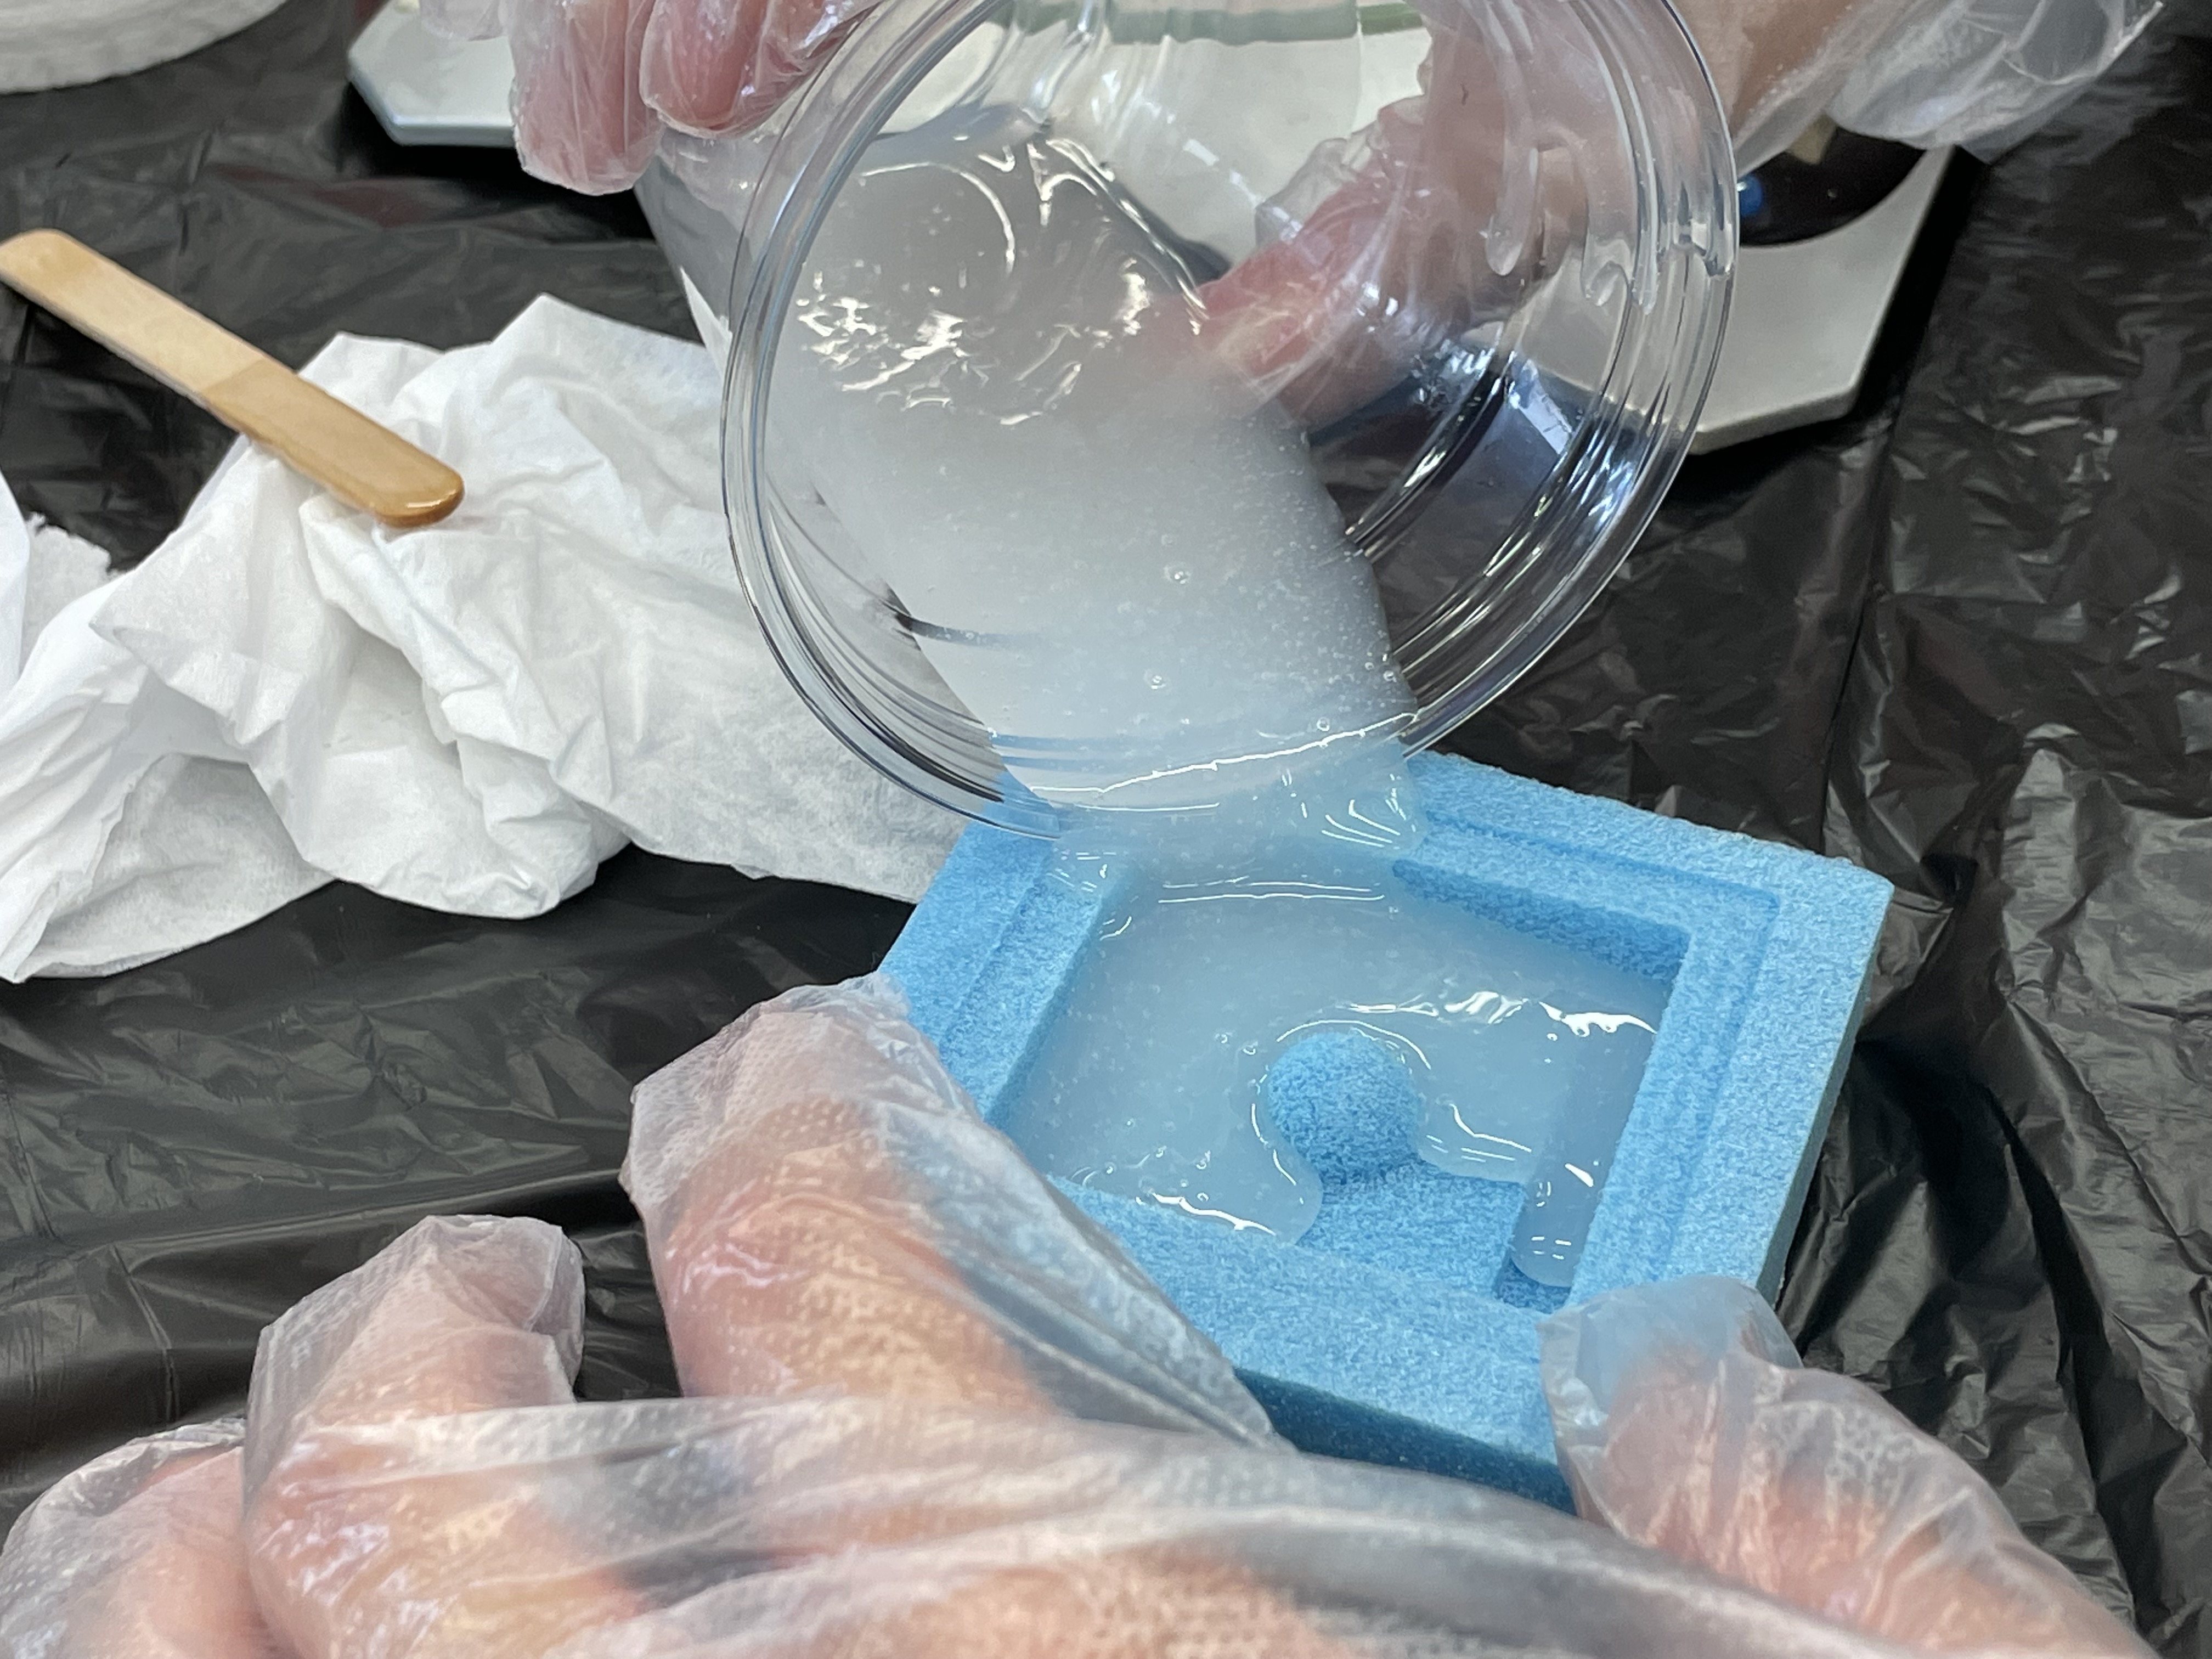
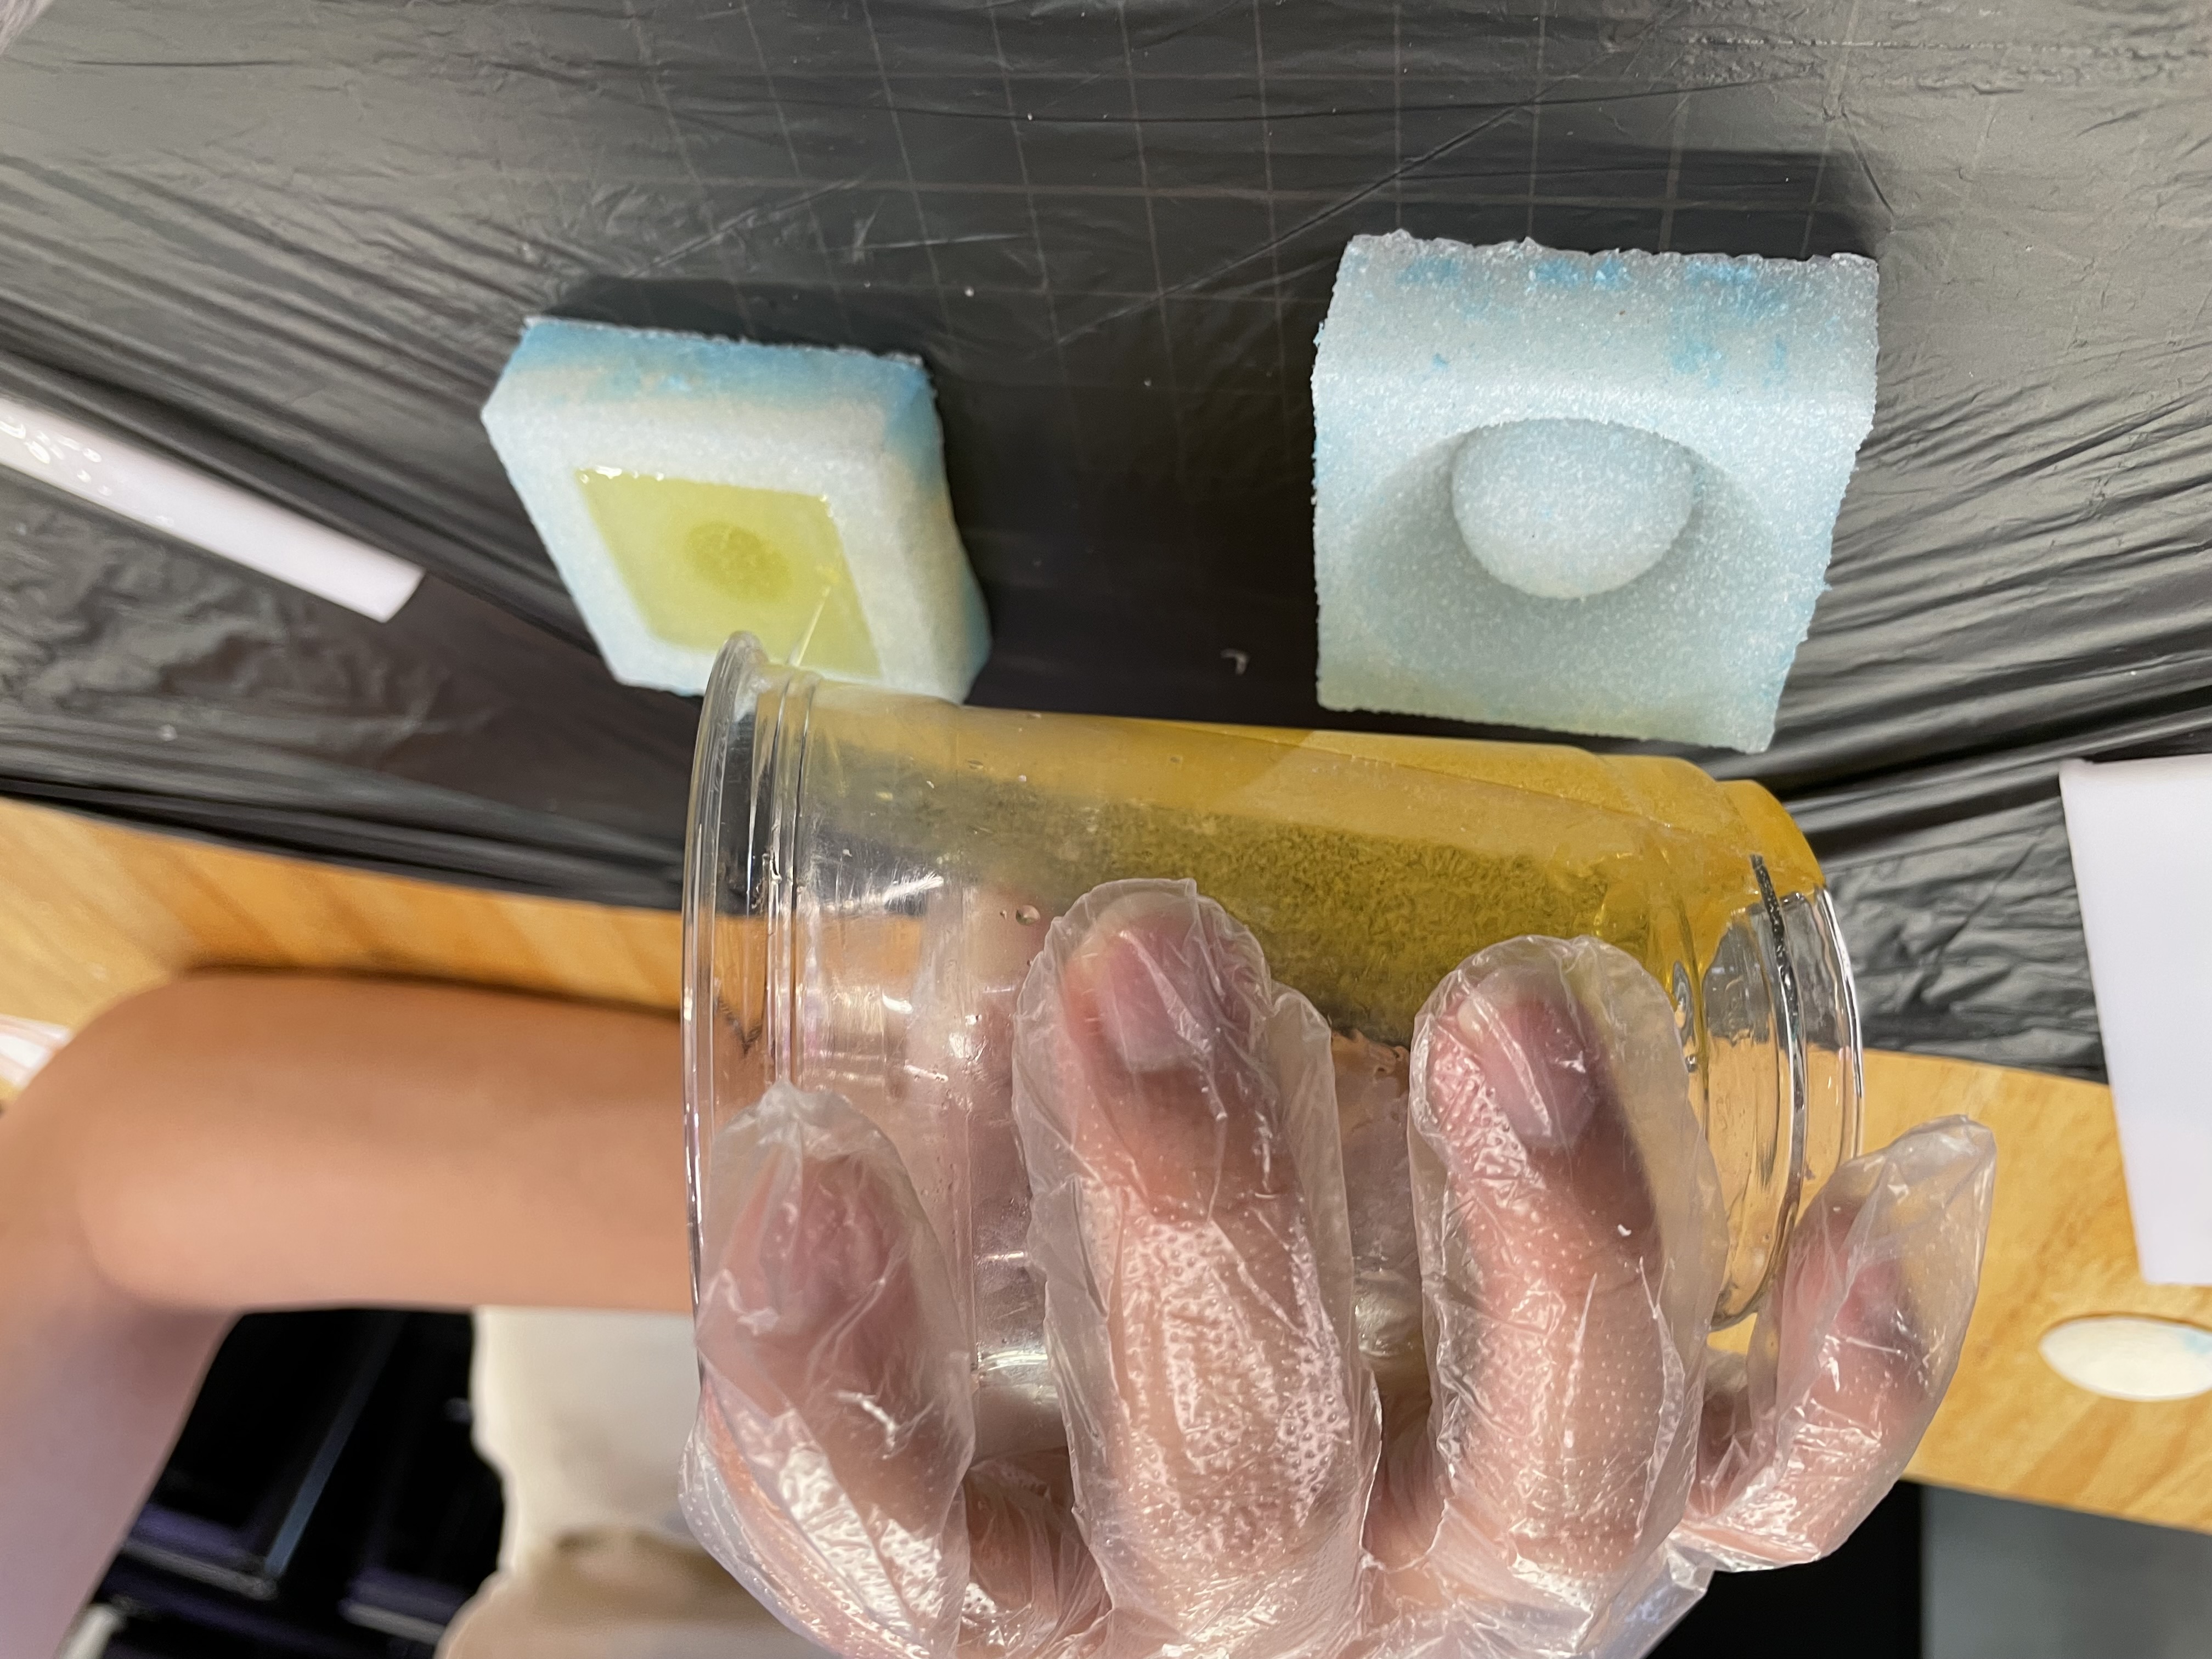
When I thought that I had stirred enough and that the solution is thoroughly mixed, I poured out the solution into the cnc mold. There was a specific technique to do the pouring, which was to pour it in from the corner of the block so that the mixture can flow in and spread out from the corner, ensuring as little air bubbles as possible.

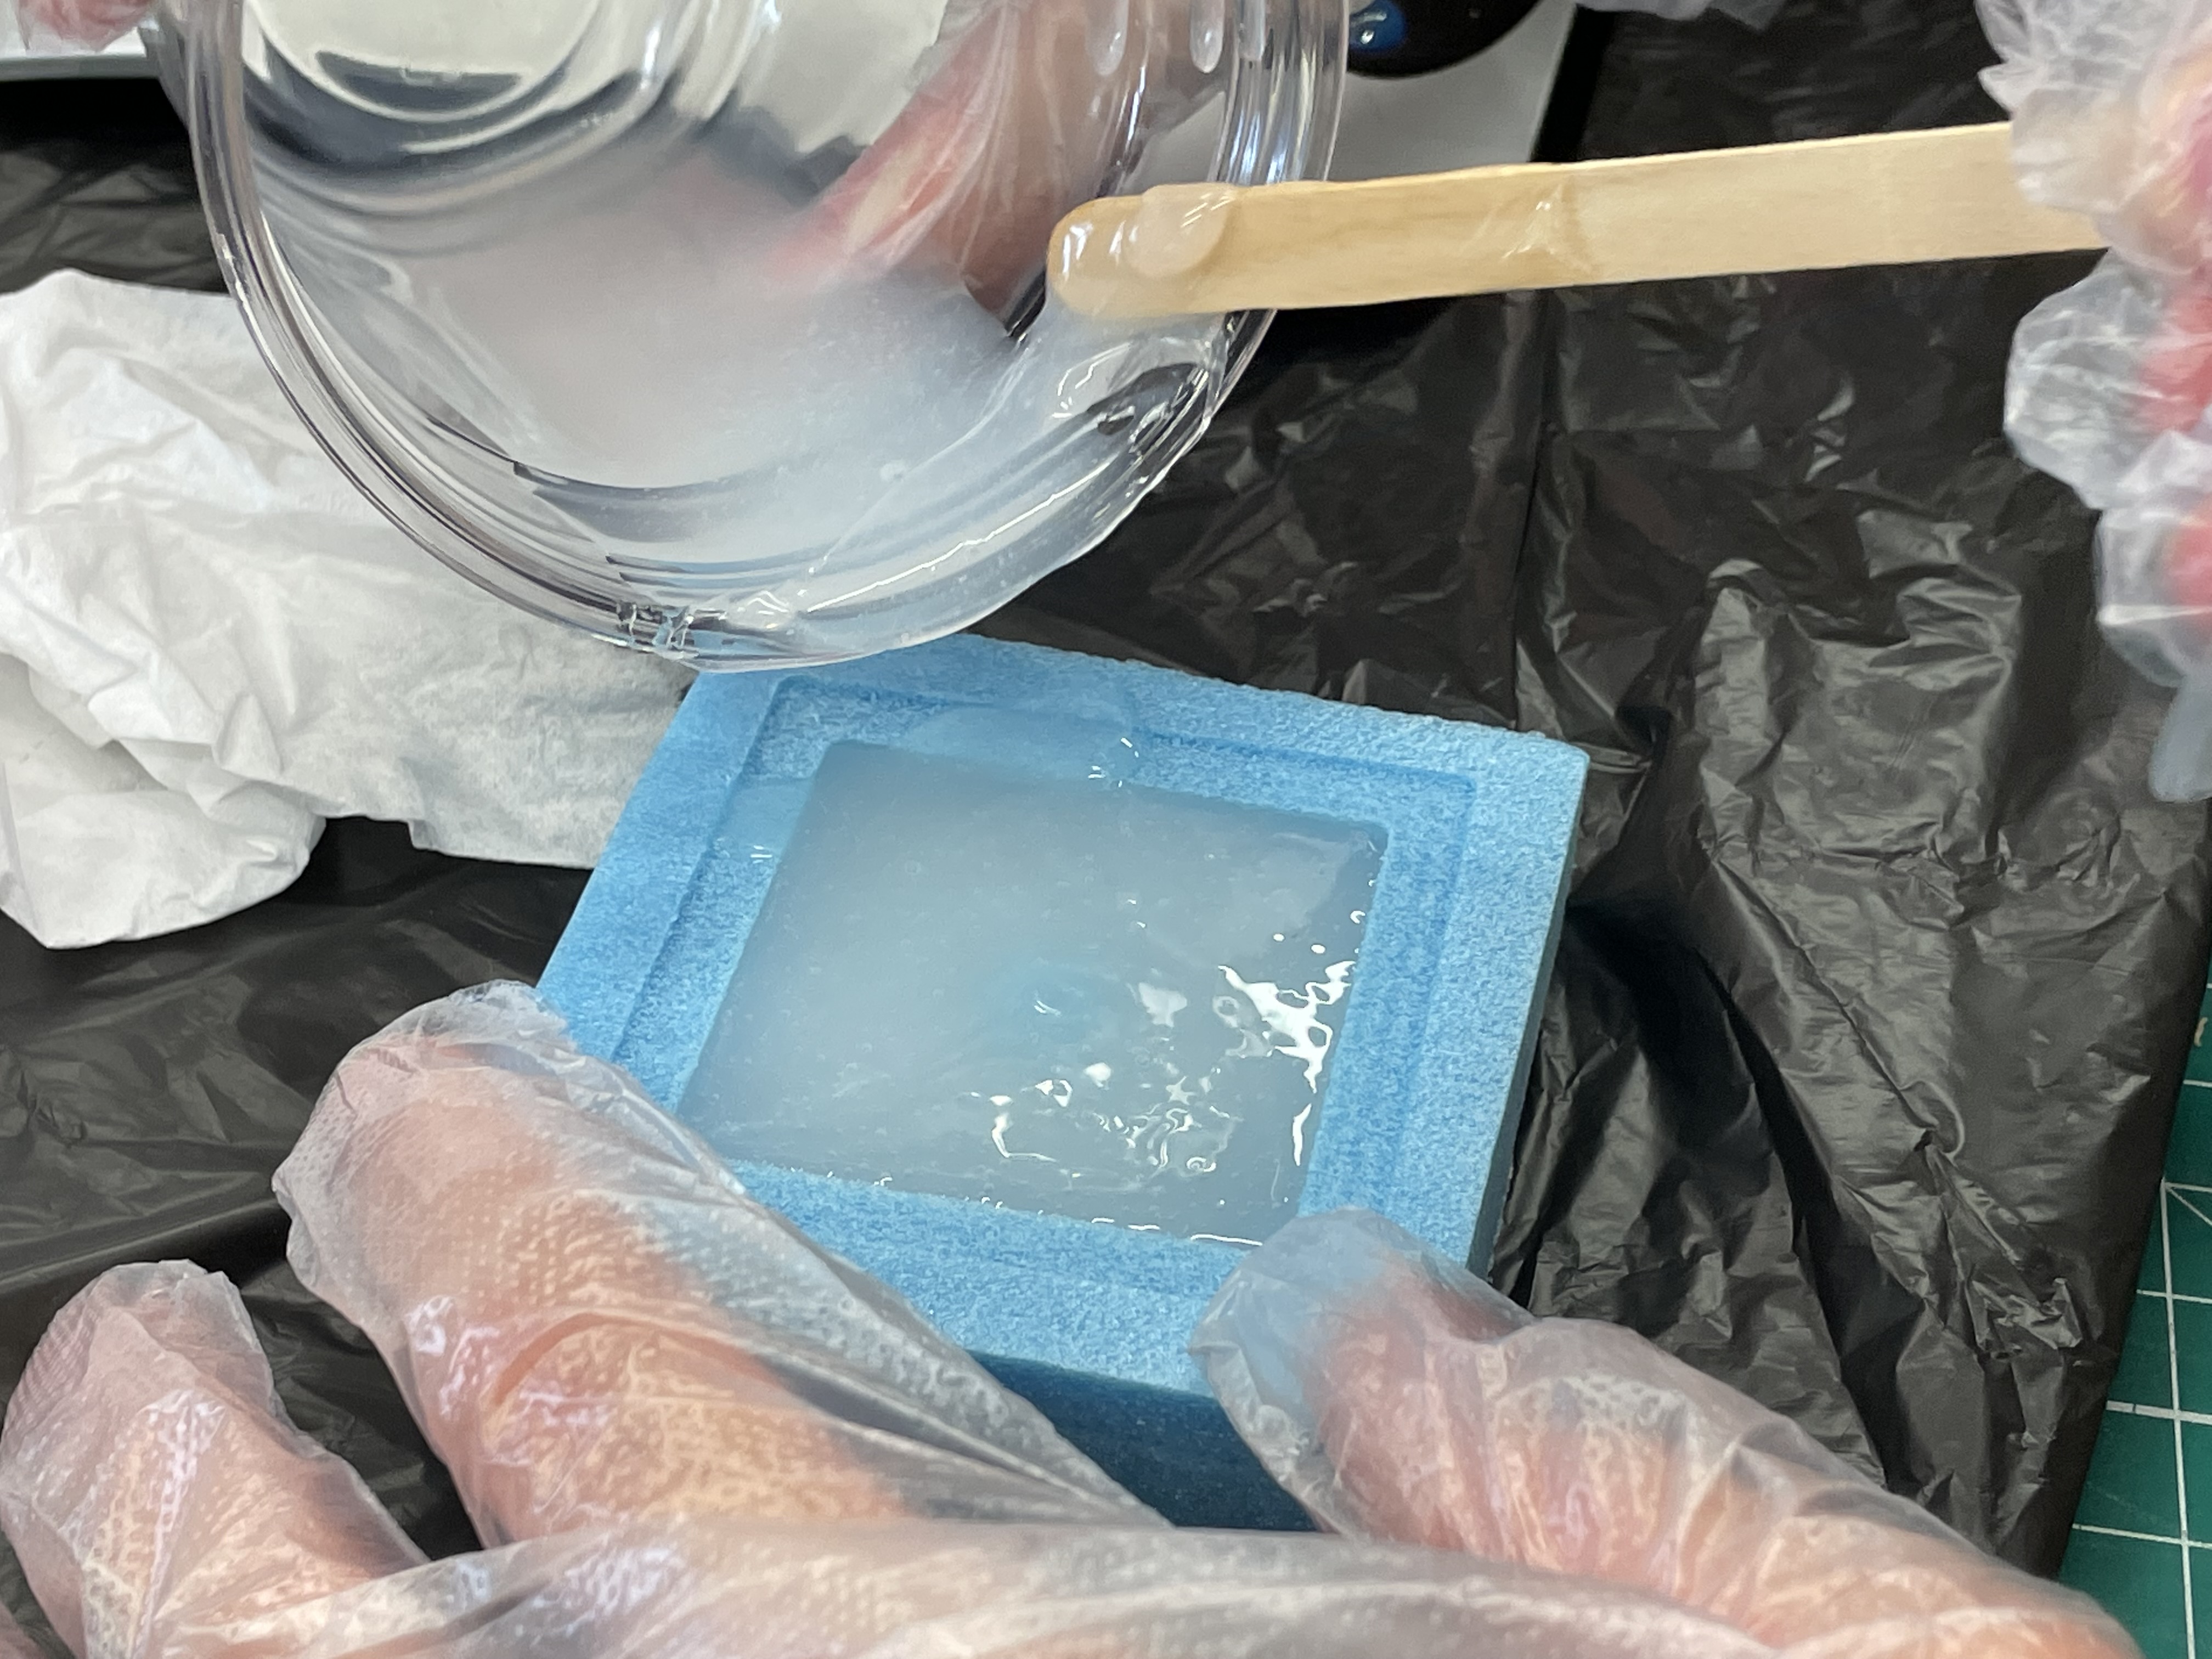
In order to get as many air bubbles out as possible, I had to pick up the mold and drop the mold flat onto the table multiple times. This helps push the air bubbles trapped below upwards and eventually out of the silicon.
This is how it looked after a few minutes of getting rid of the air bubbles.
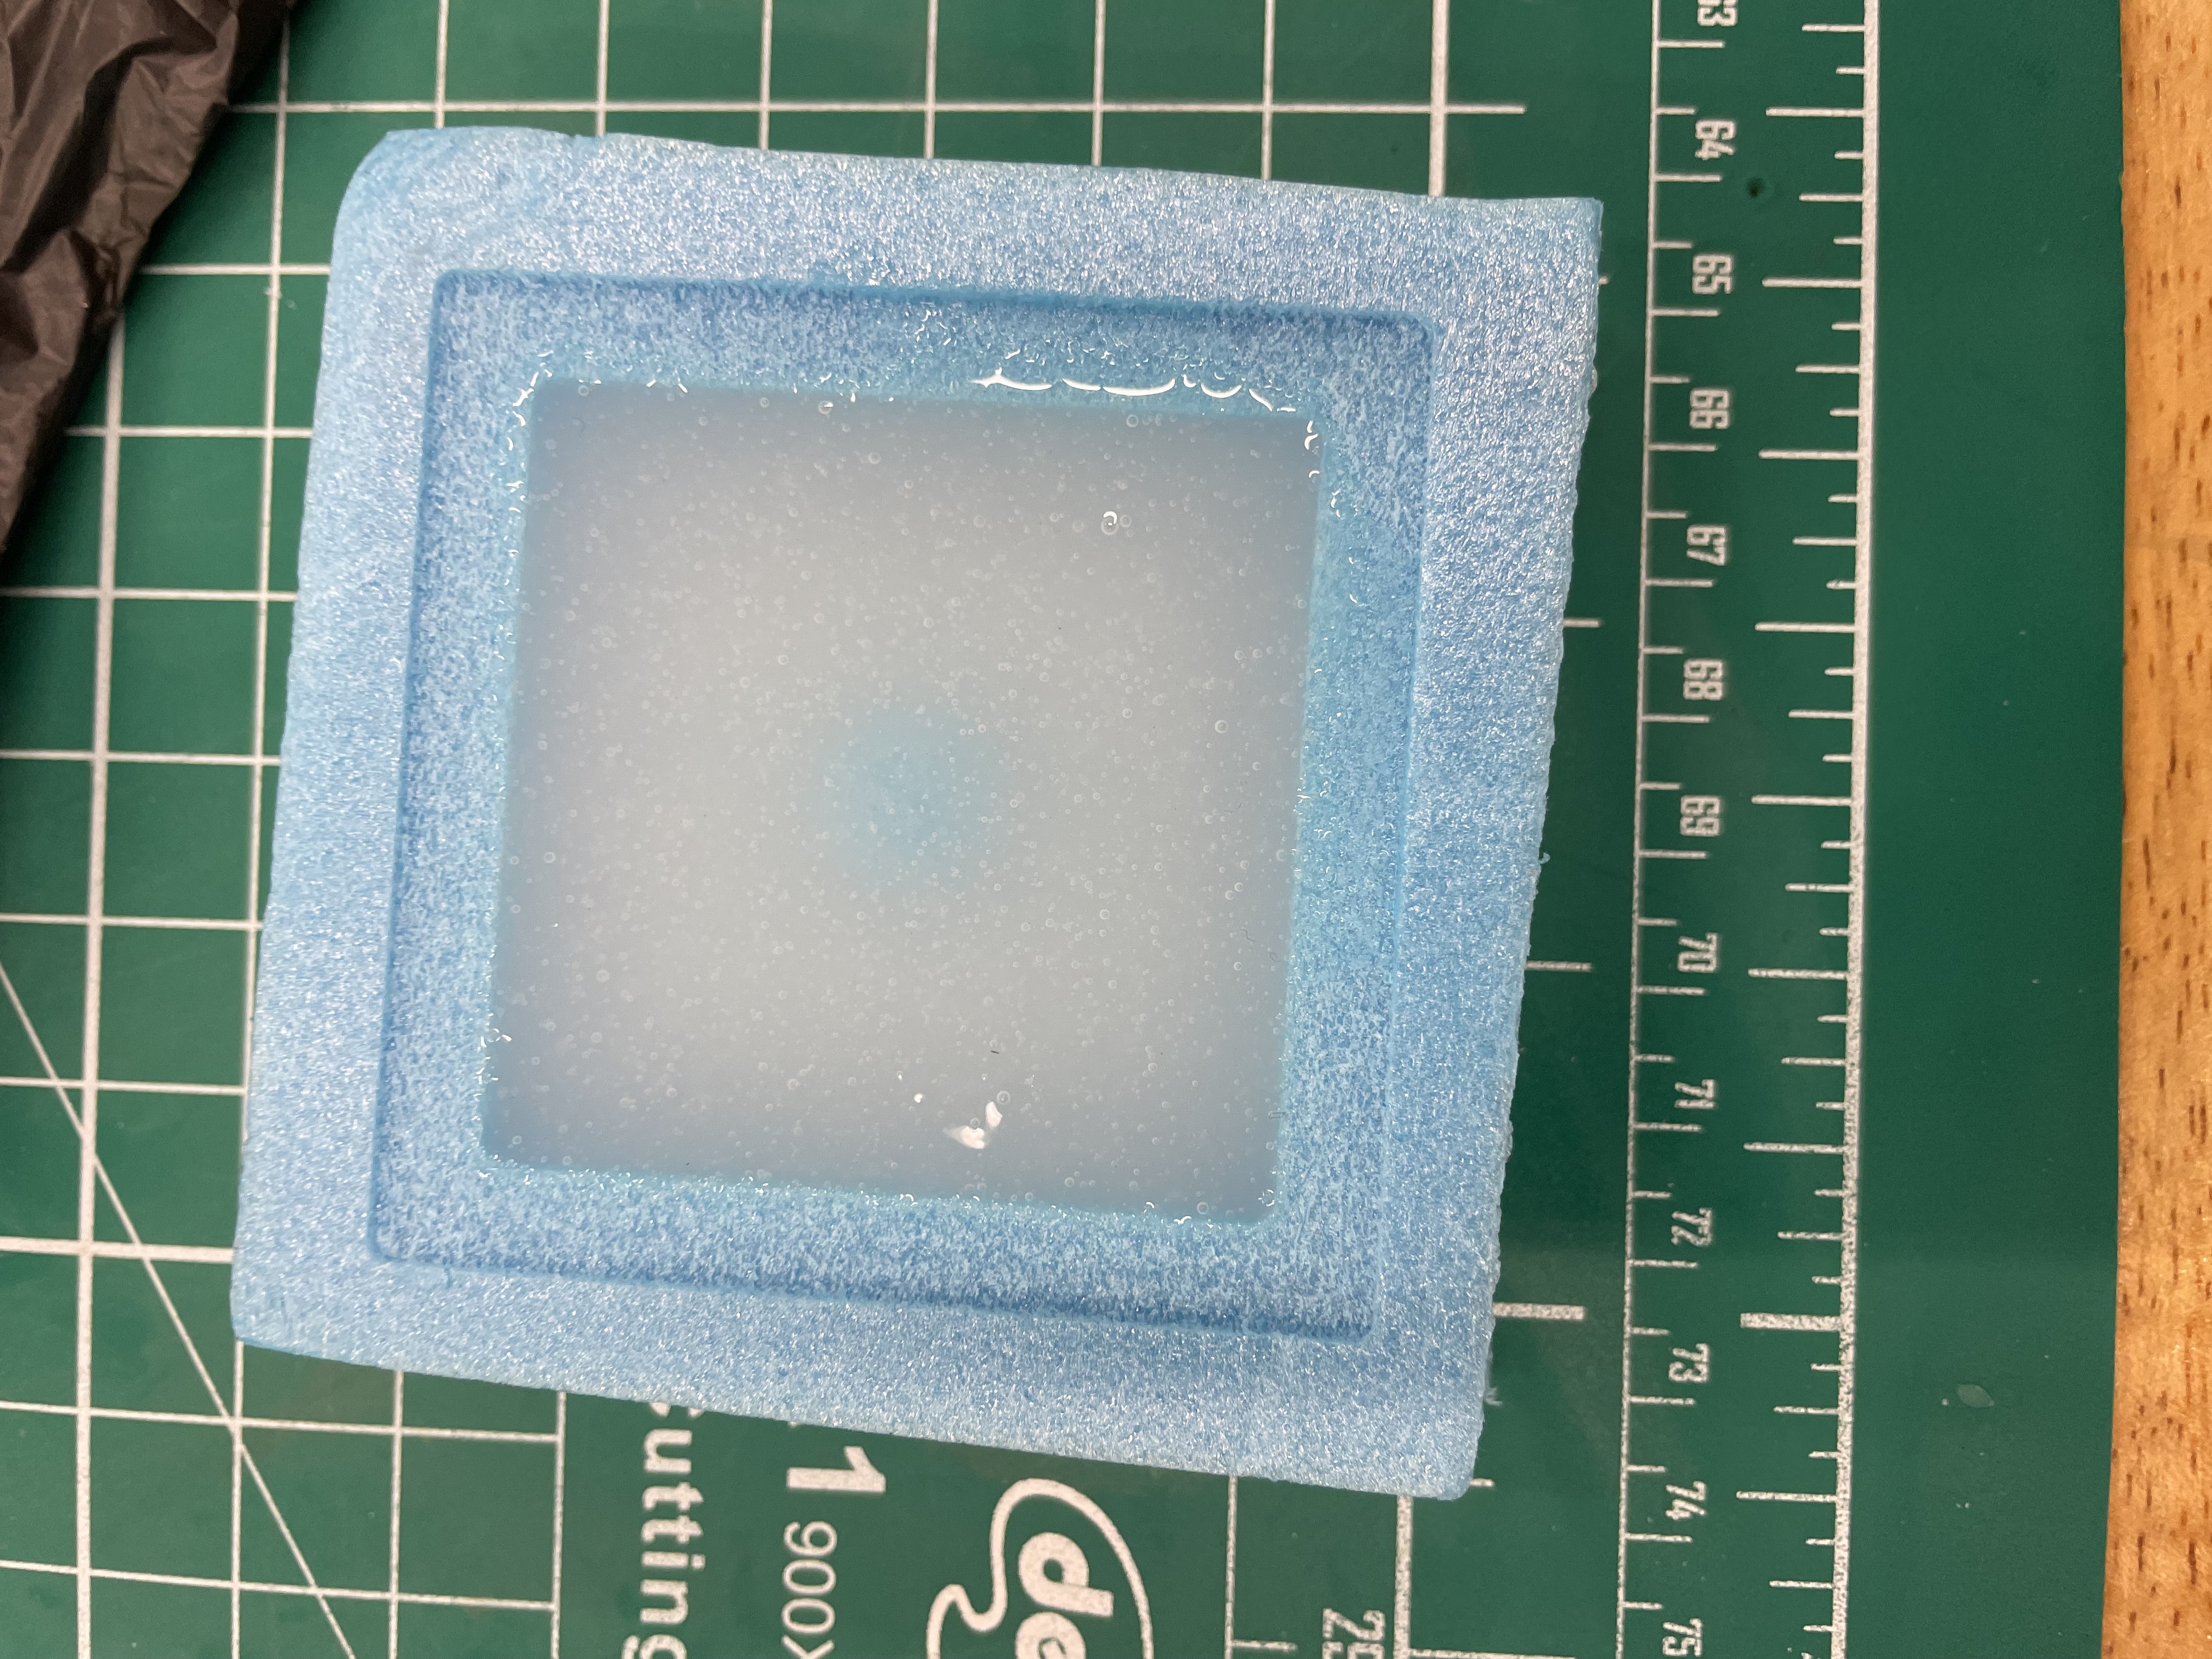
Now that the silicon is in, I let the solution rest for a full day in the Fablab.
Casting
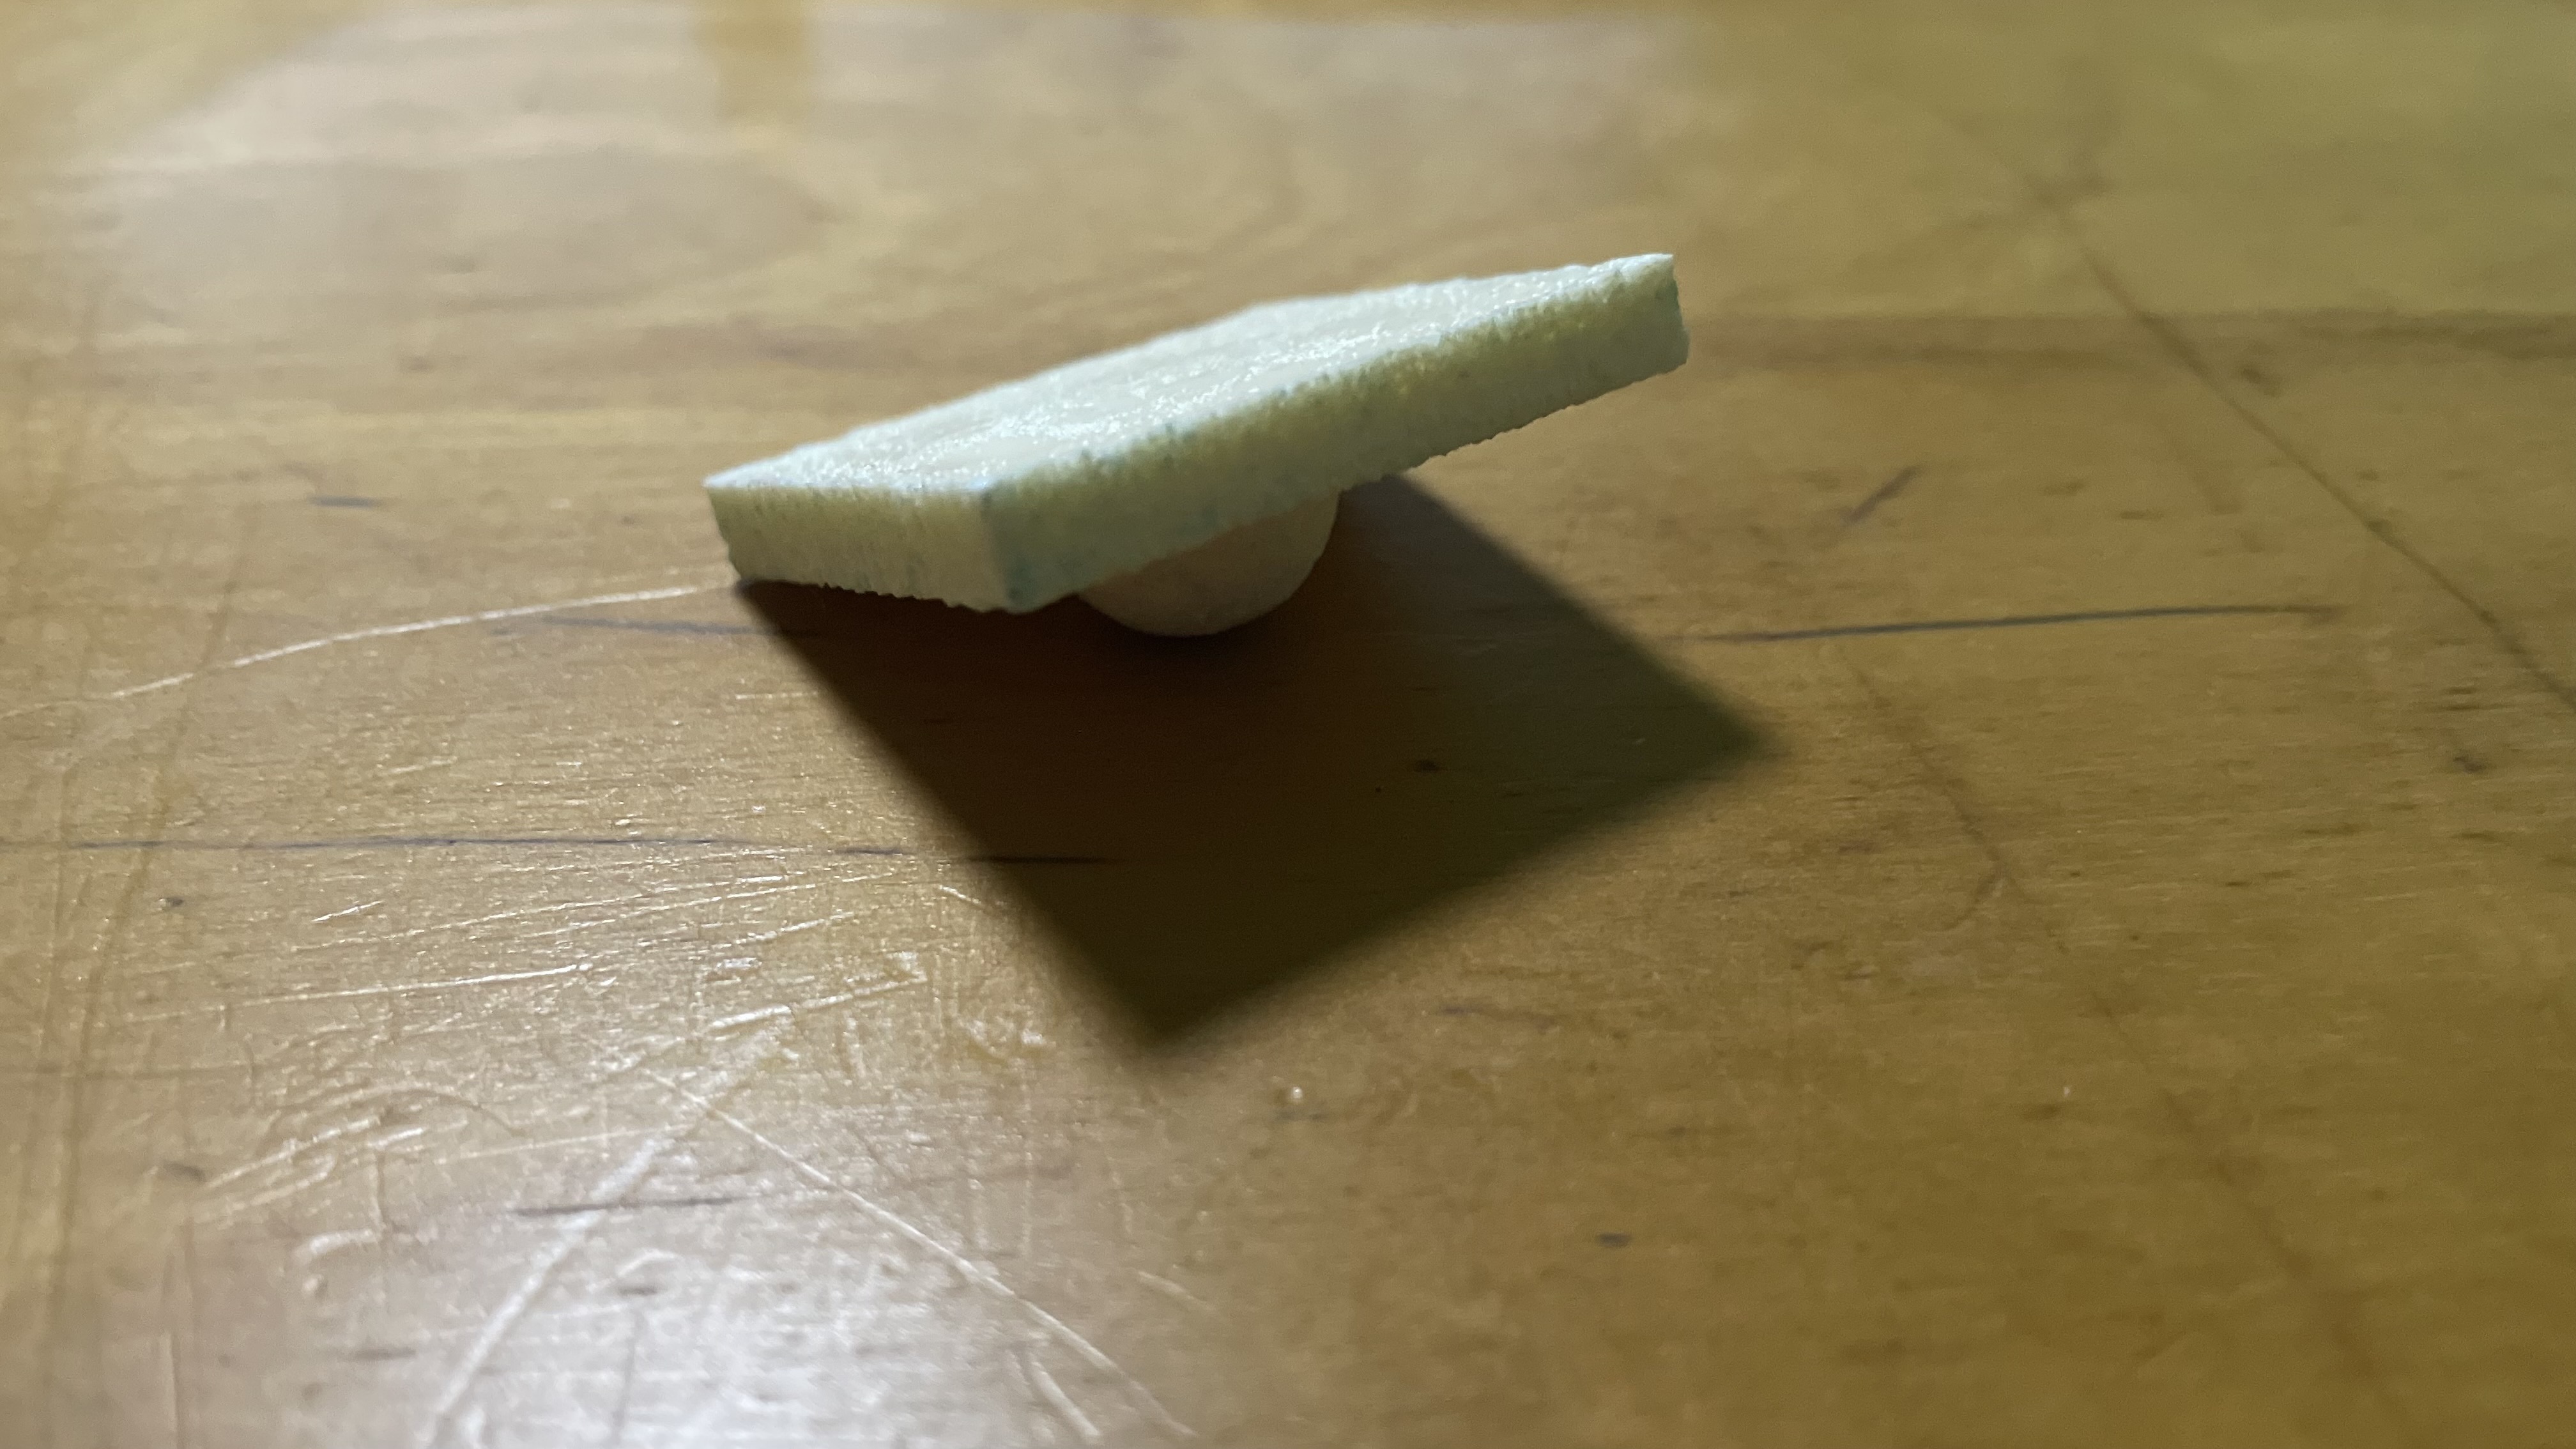
After the silicon has cured, it was broken out of the foam mold and it turned out fine.
To cast the final mold, Polytek EasyFlo 90, a 2 part liquid plastic was used. Unfornately, the ratio of this plastic is 10:9, which is quite an awkward ratio making it harder to get right when pouring the solution into the cup.
After putting each part in carefully and trying to make the weight as accurate as possible, it was time to mix the solution.
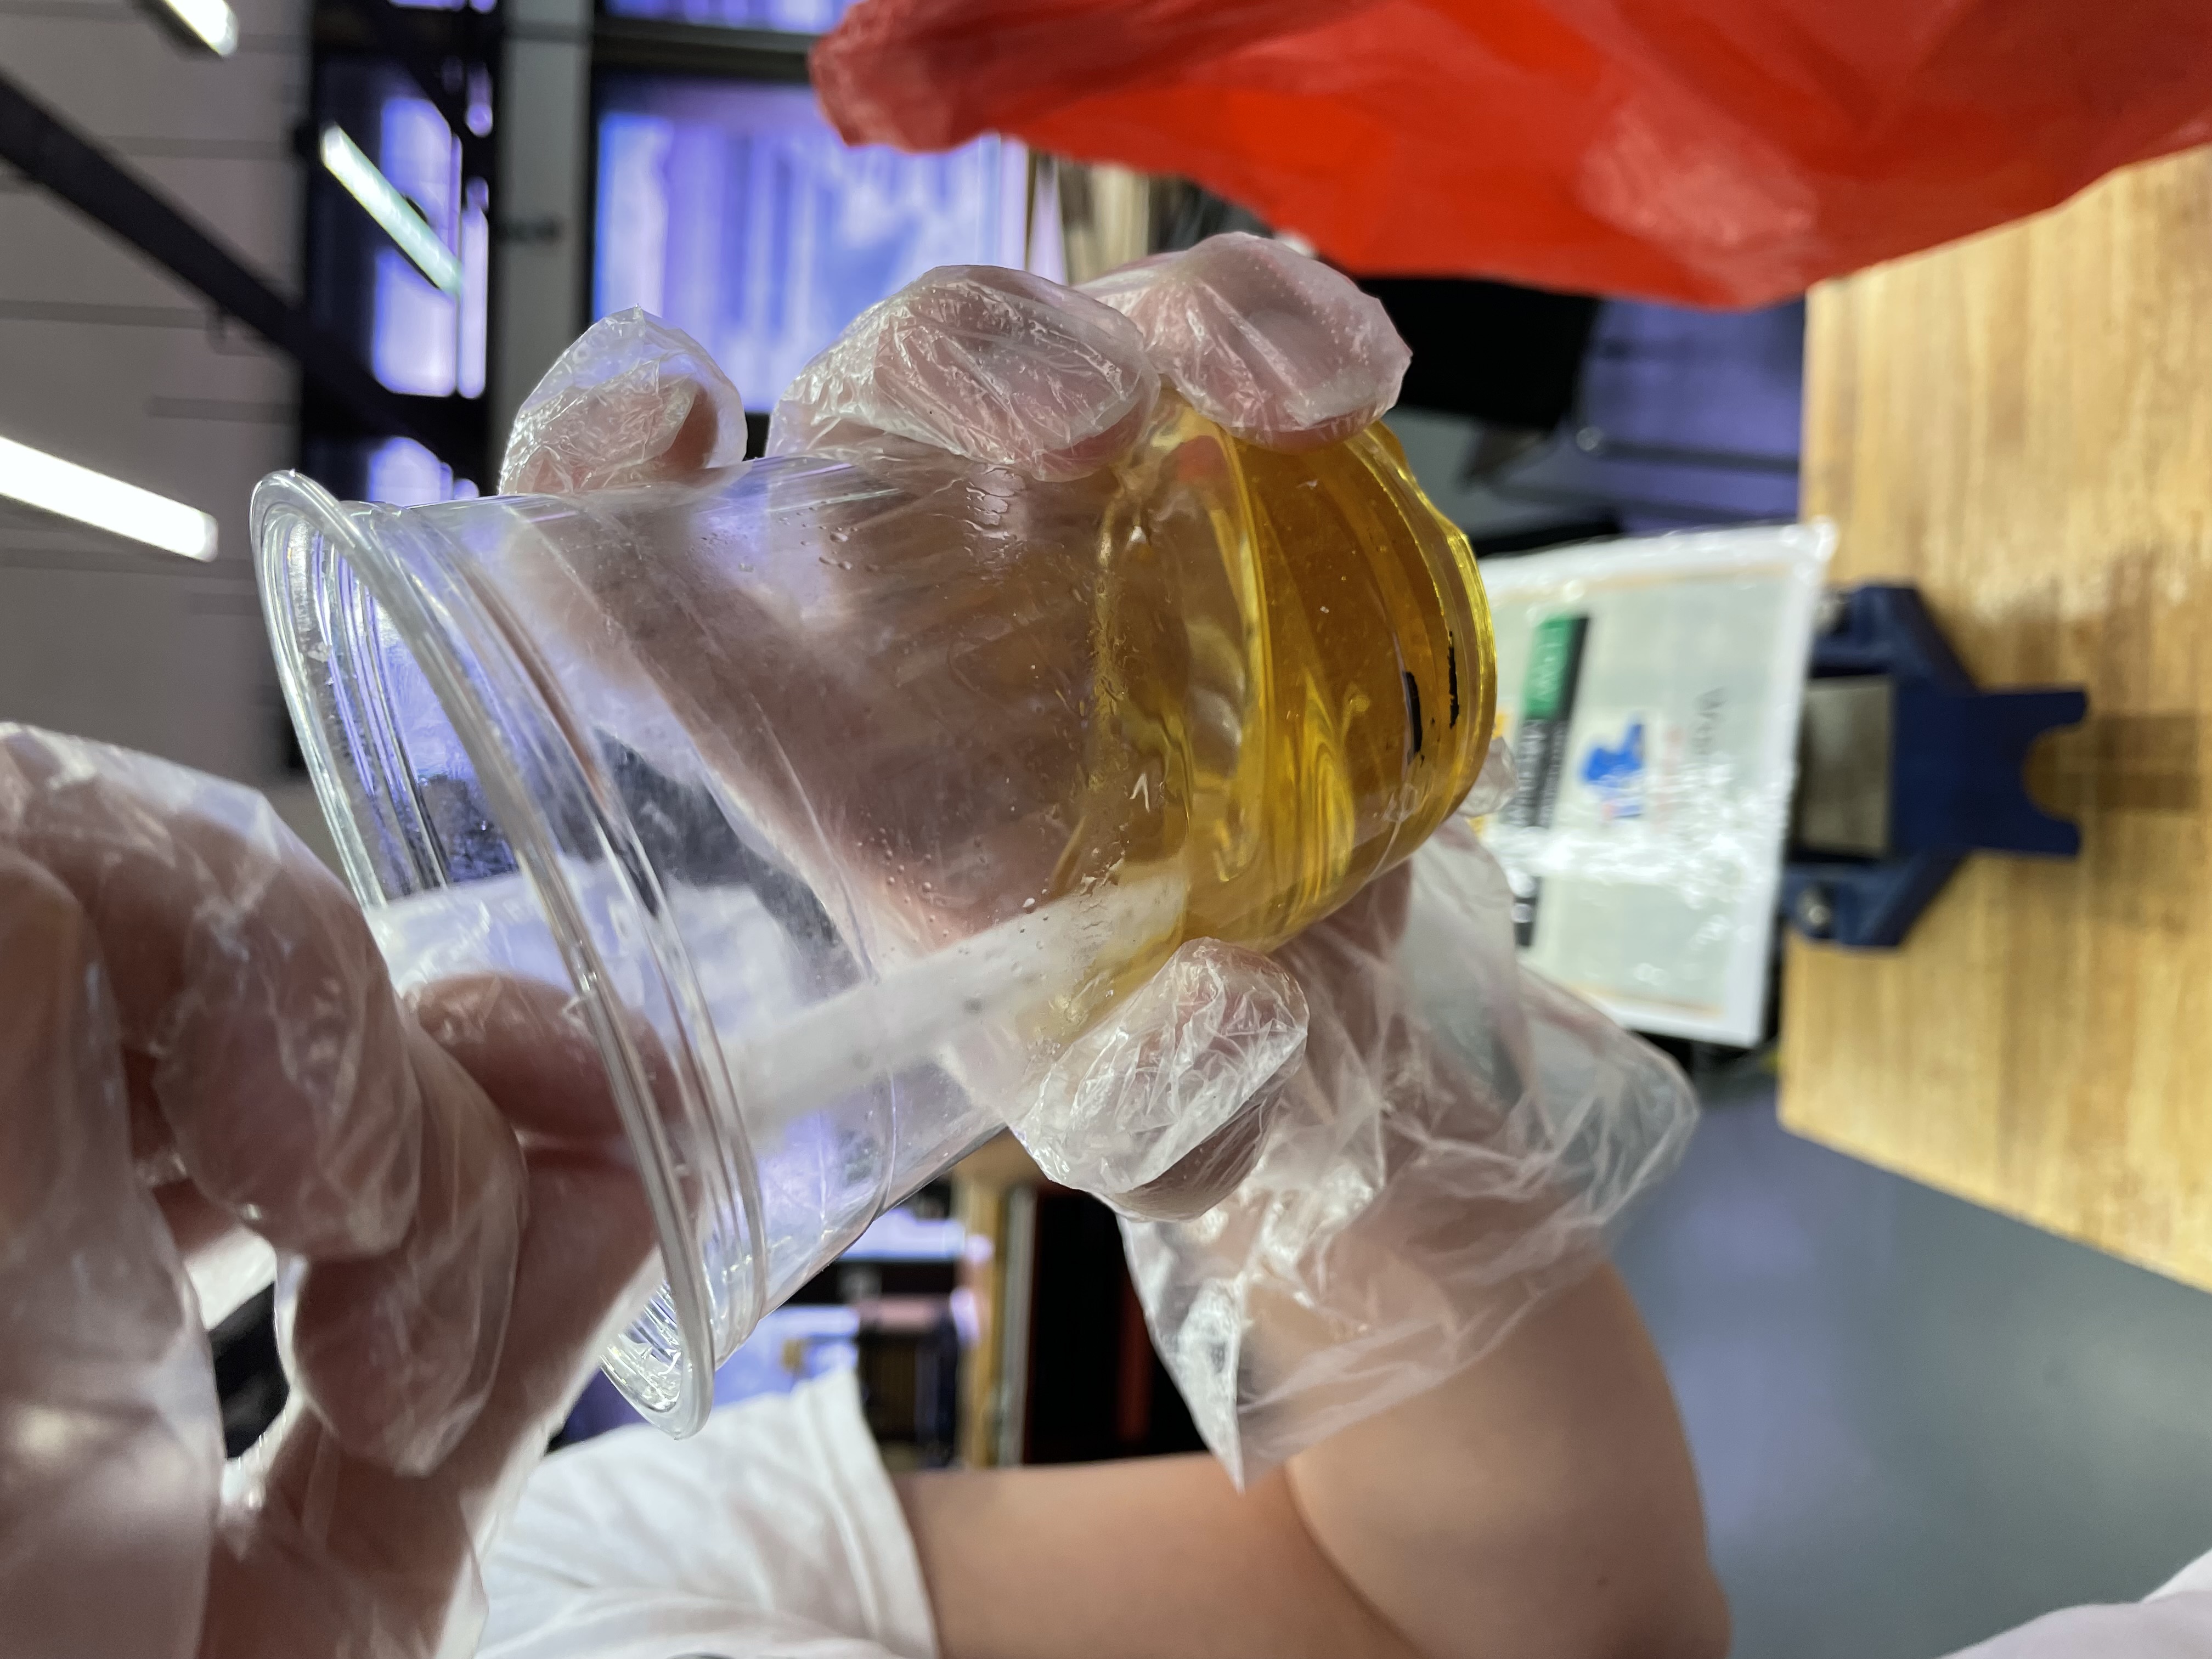
I then carefully poured in the mixture after a few minutes of thorough stirring. One thing to take note is that the solution will heat up and feel warm after starting to stir.
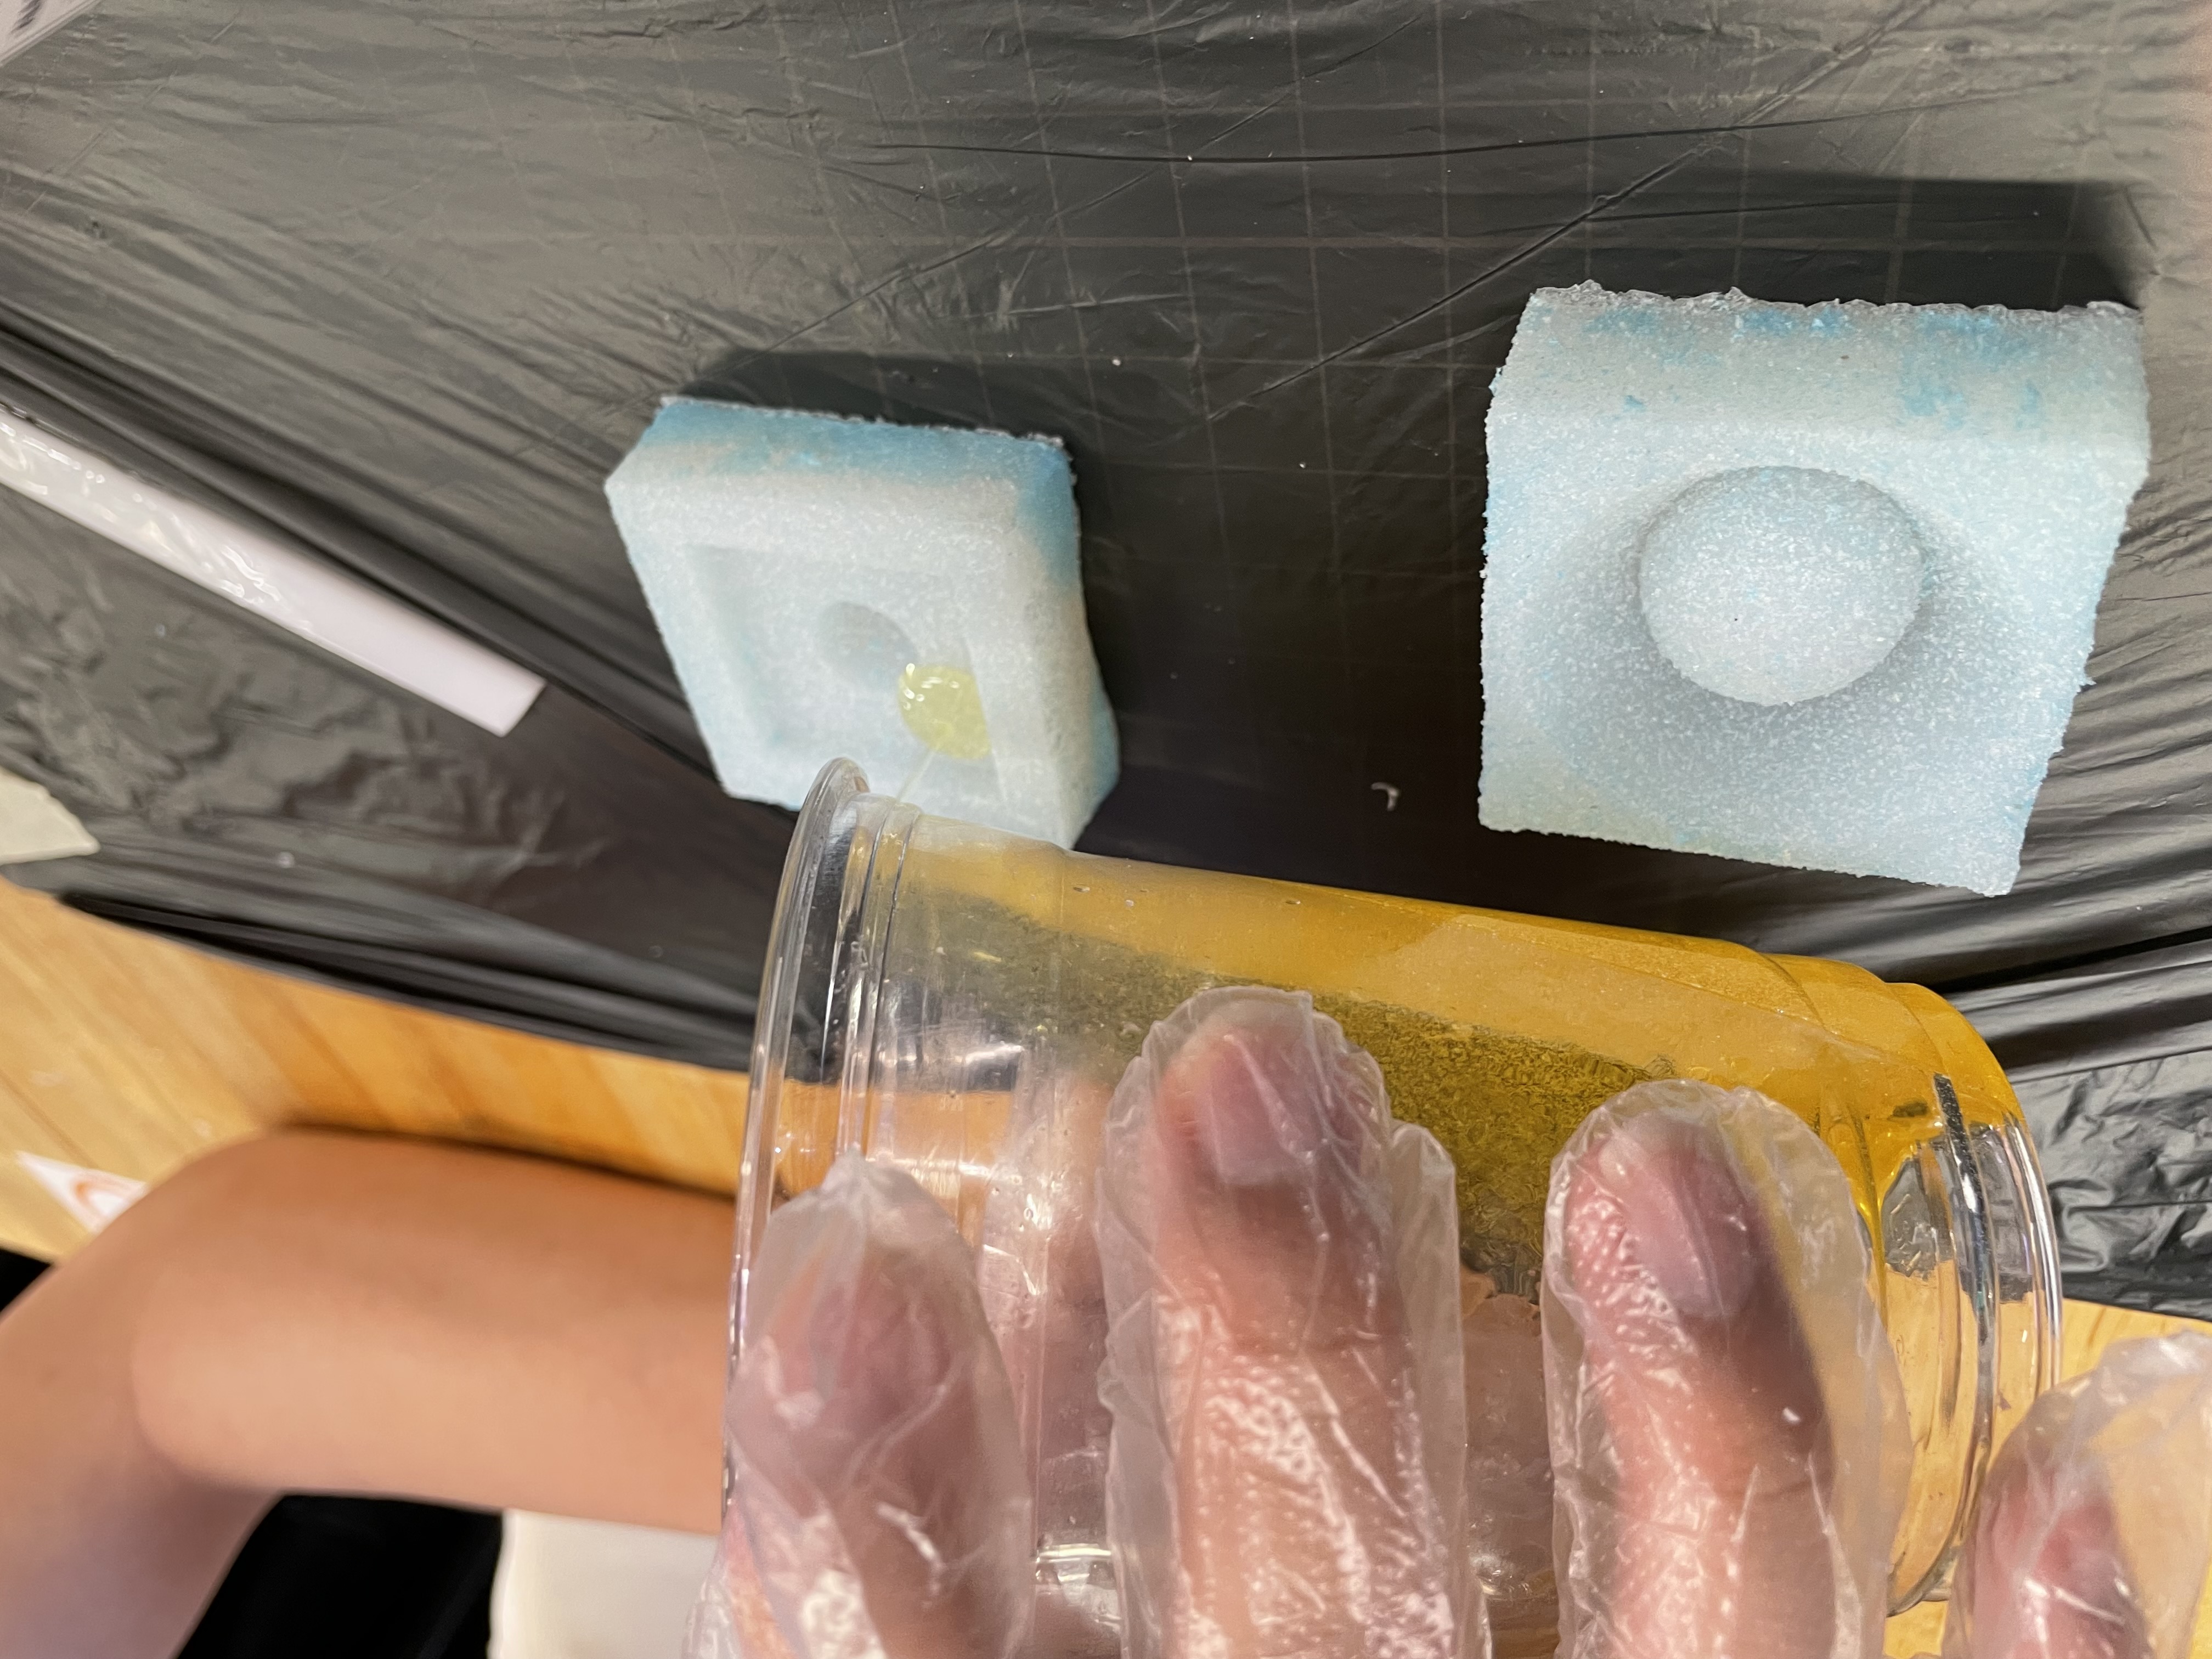
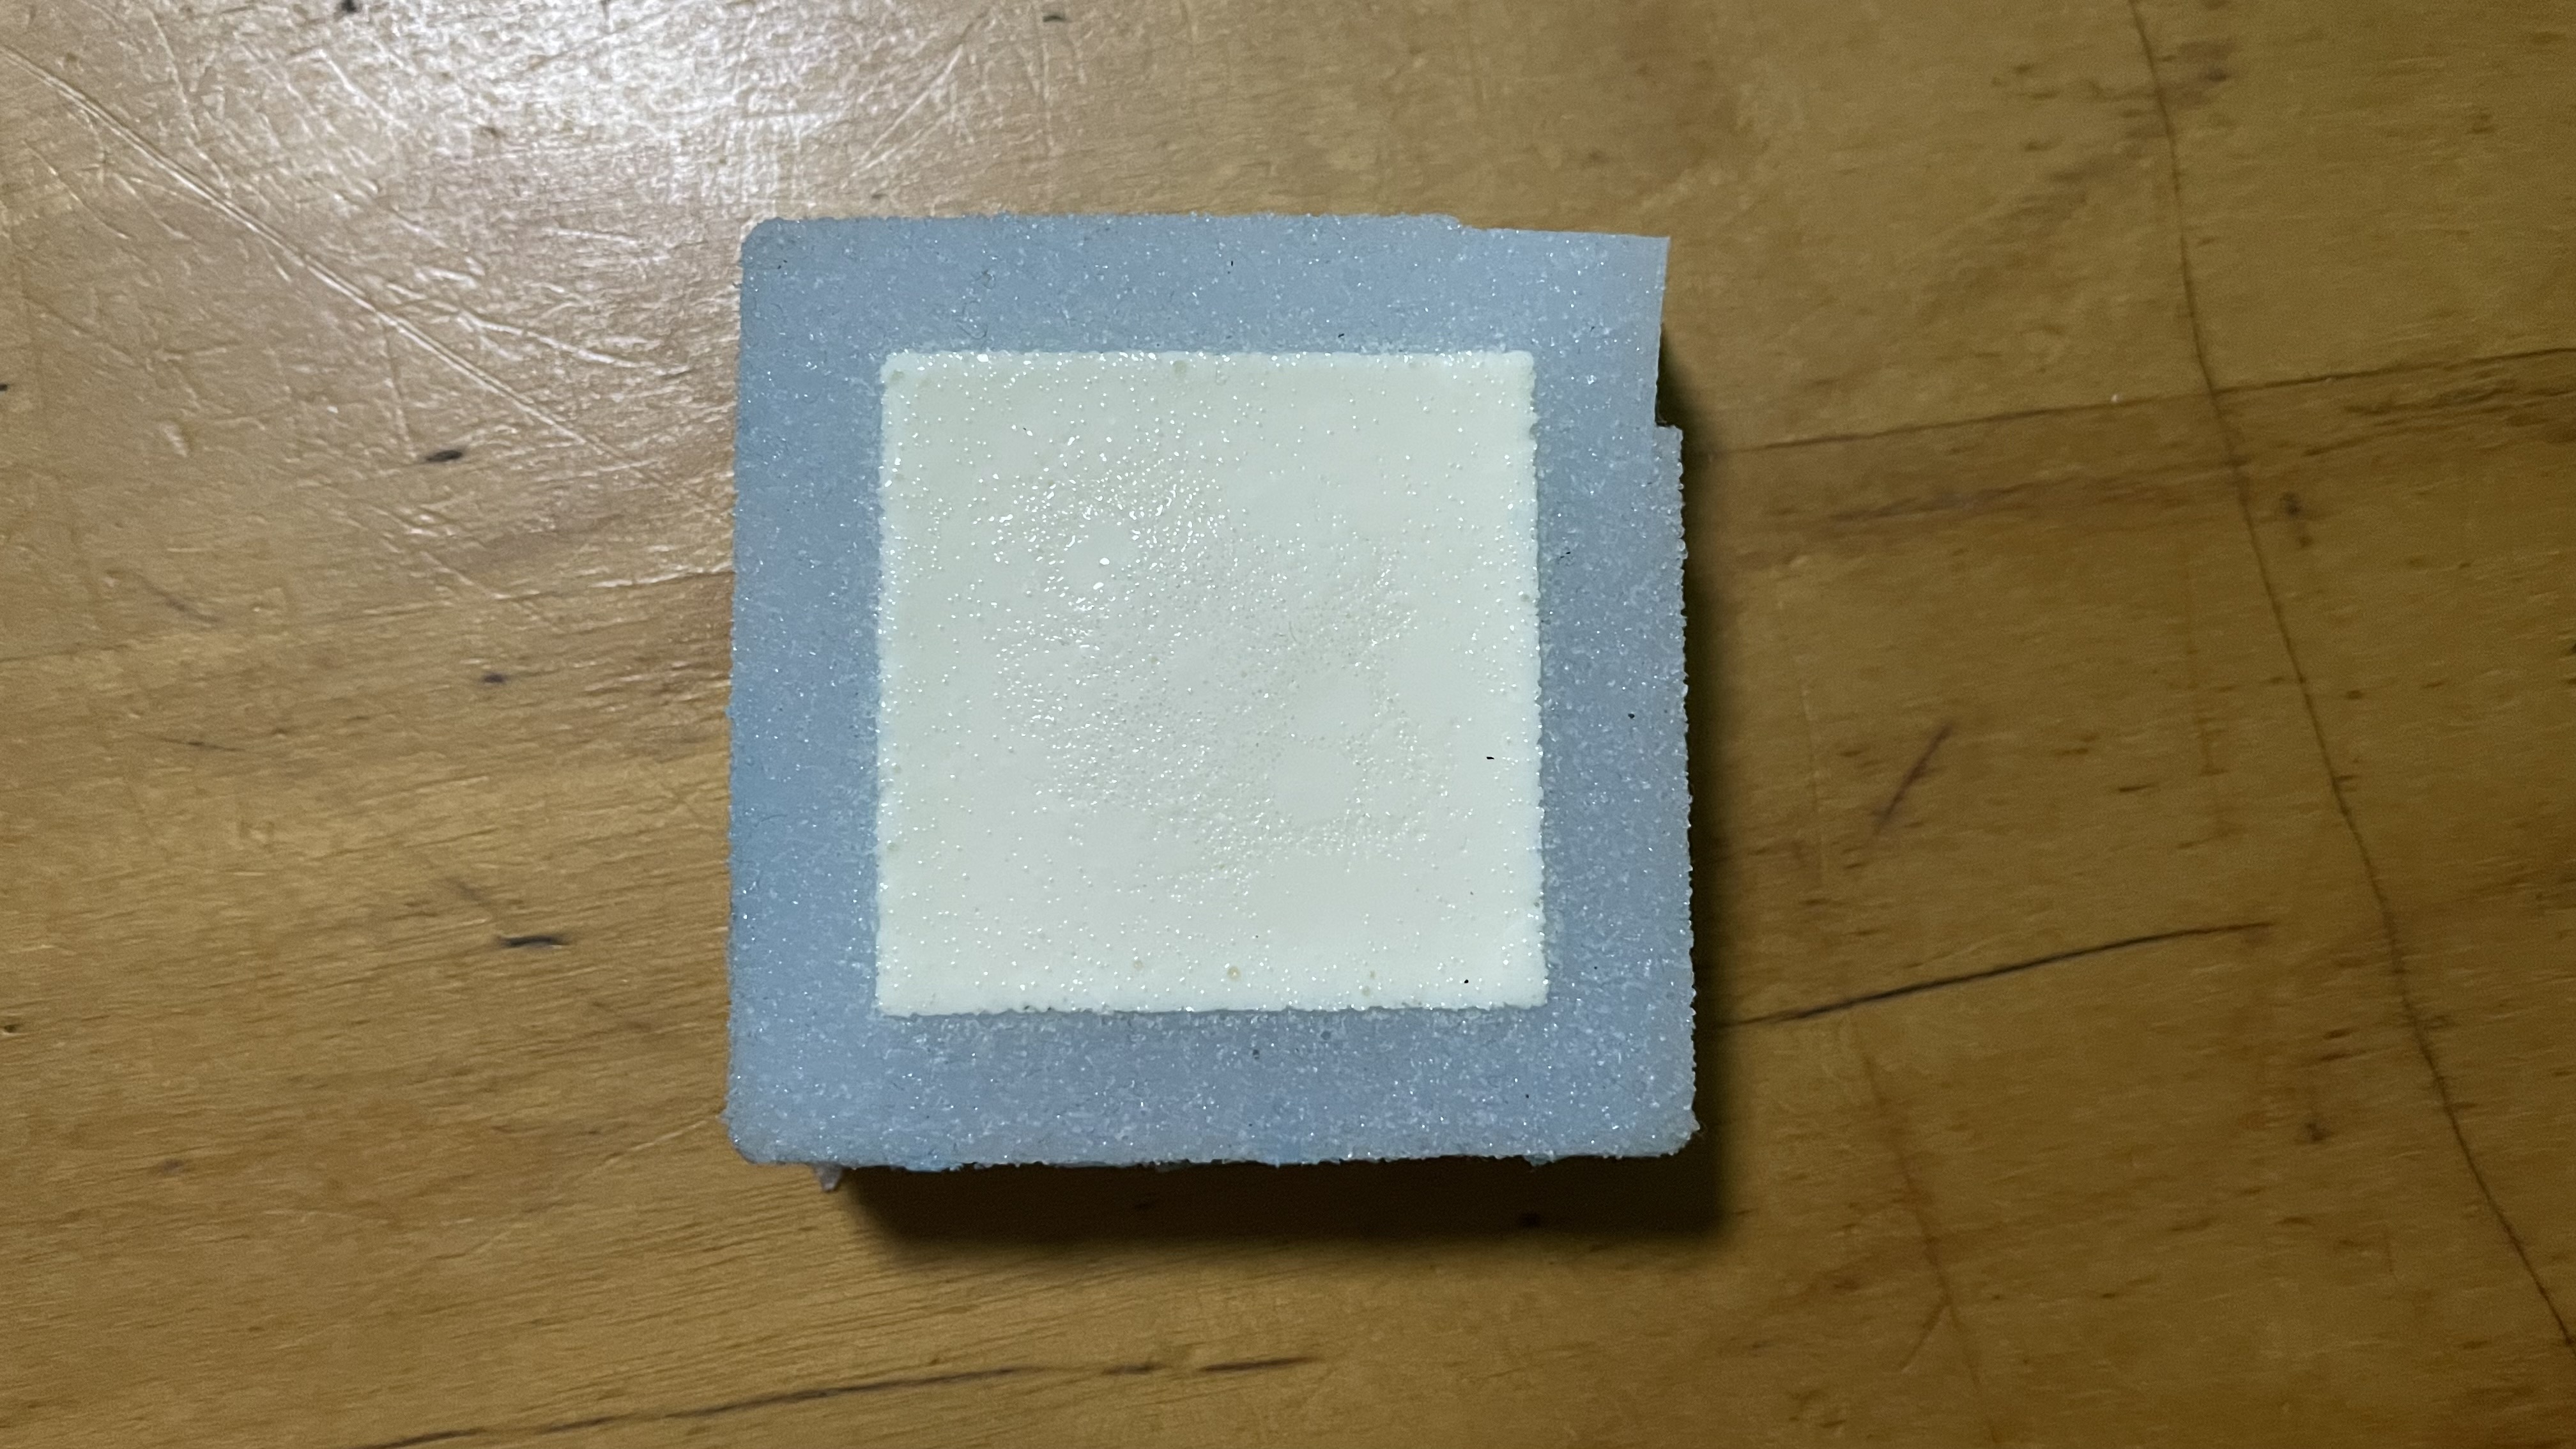
This is how it looked like after pouring finish the solution.
After letting it sit for a few hours, I came back to grab it and demolded it back at home.
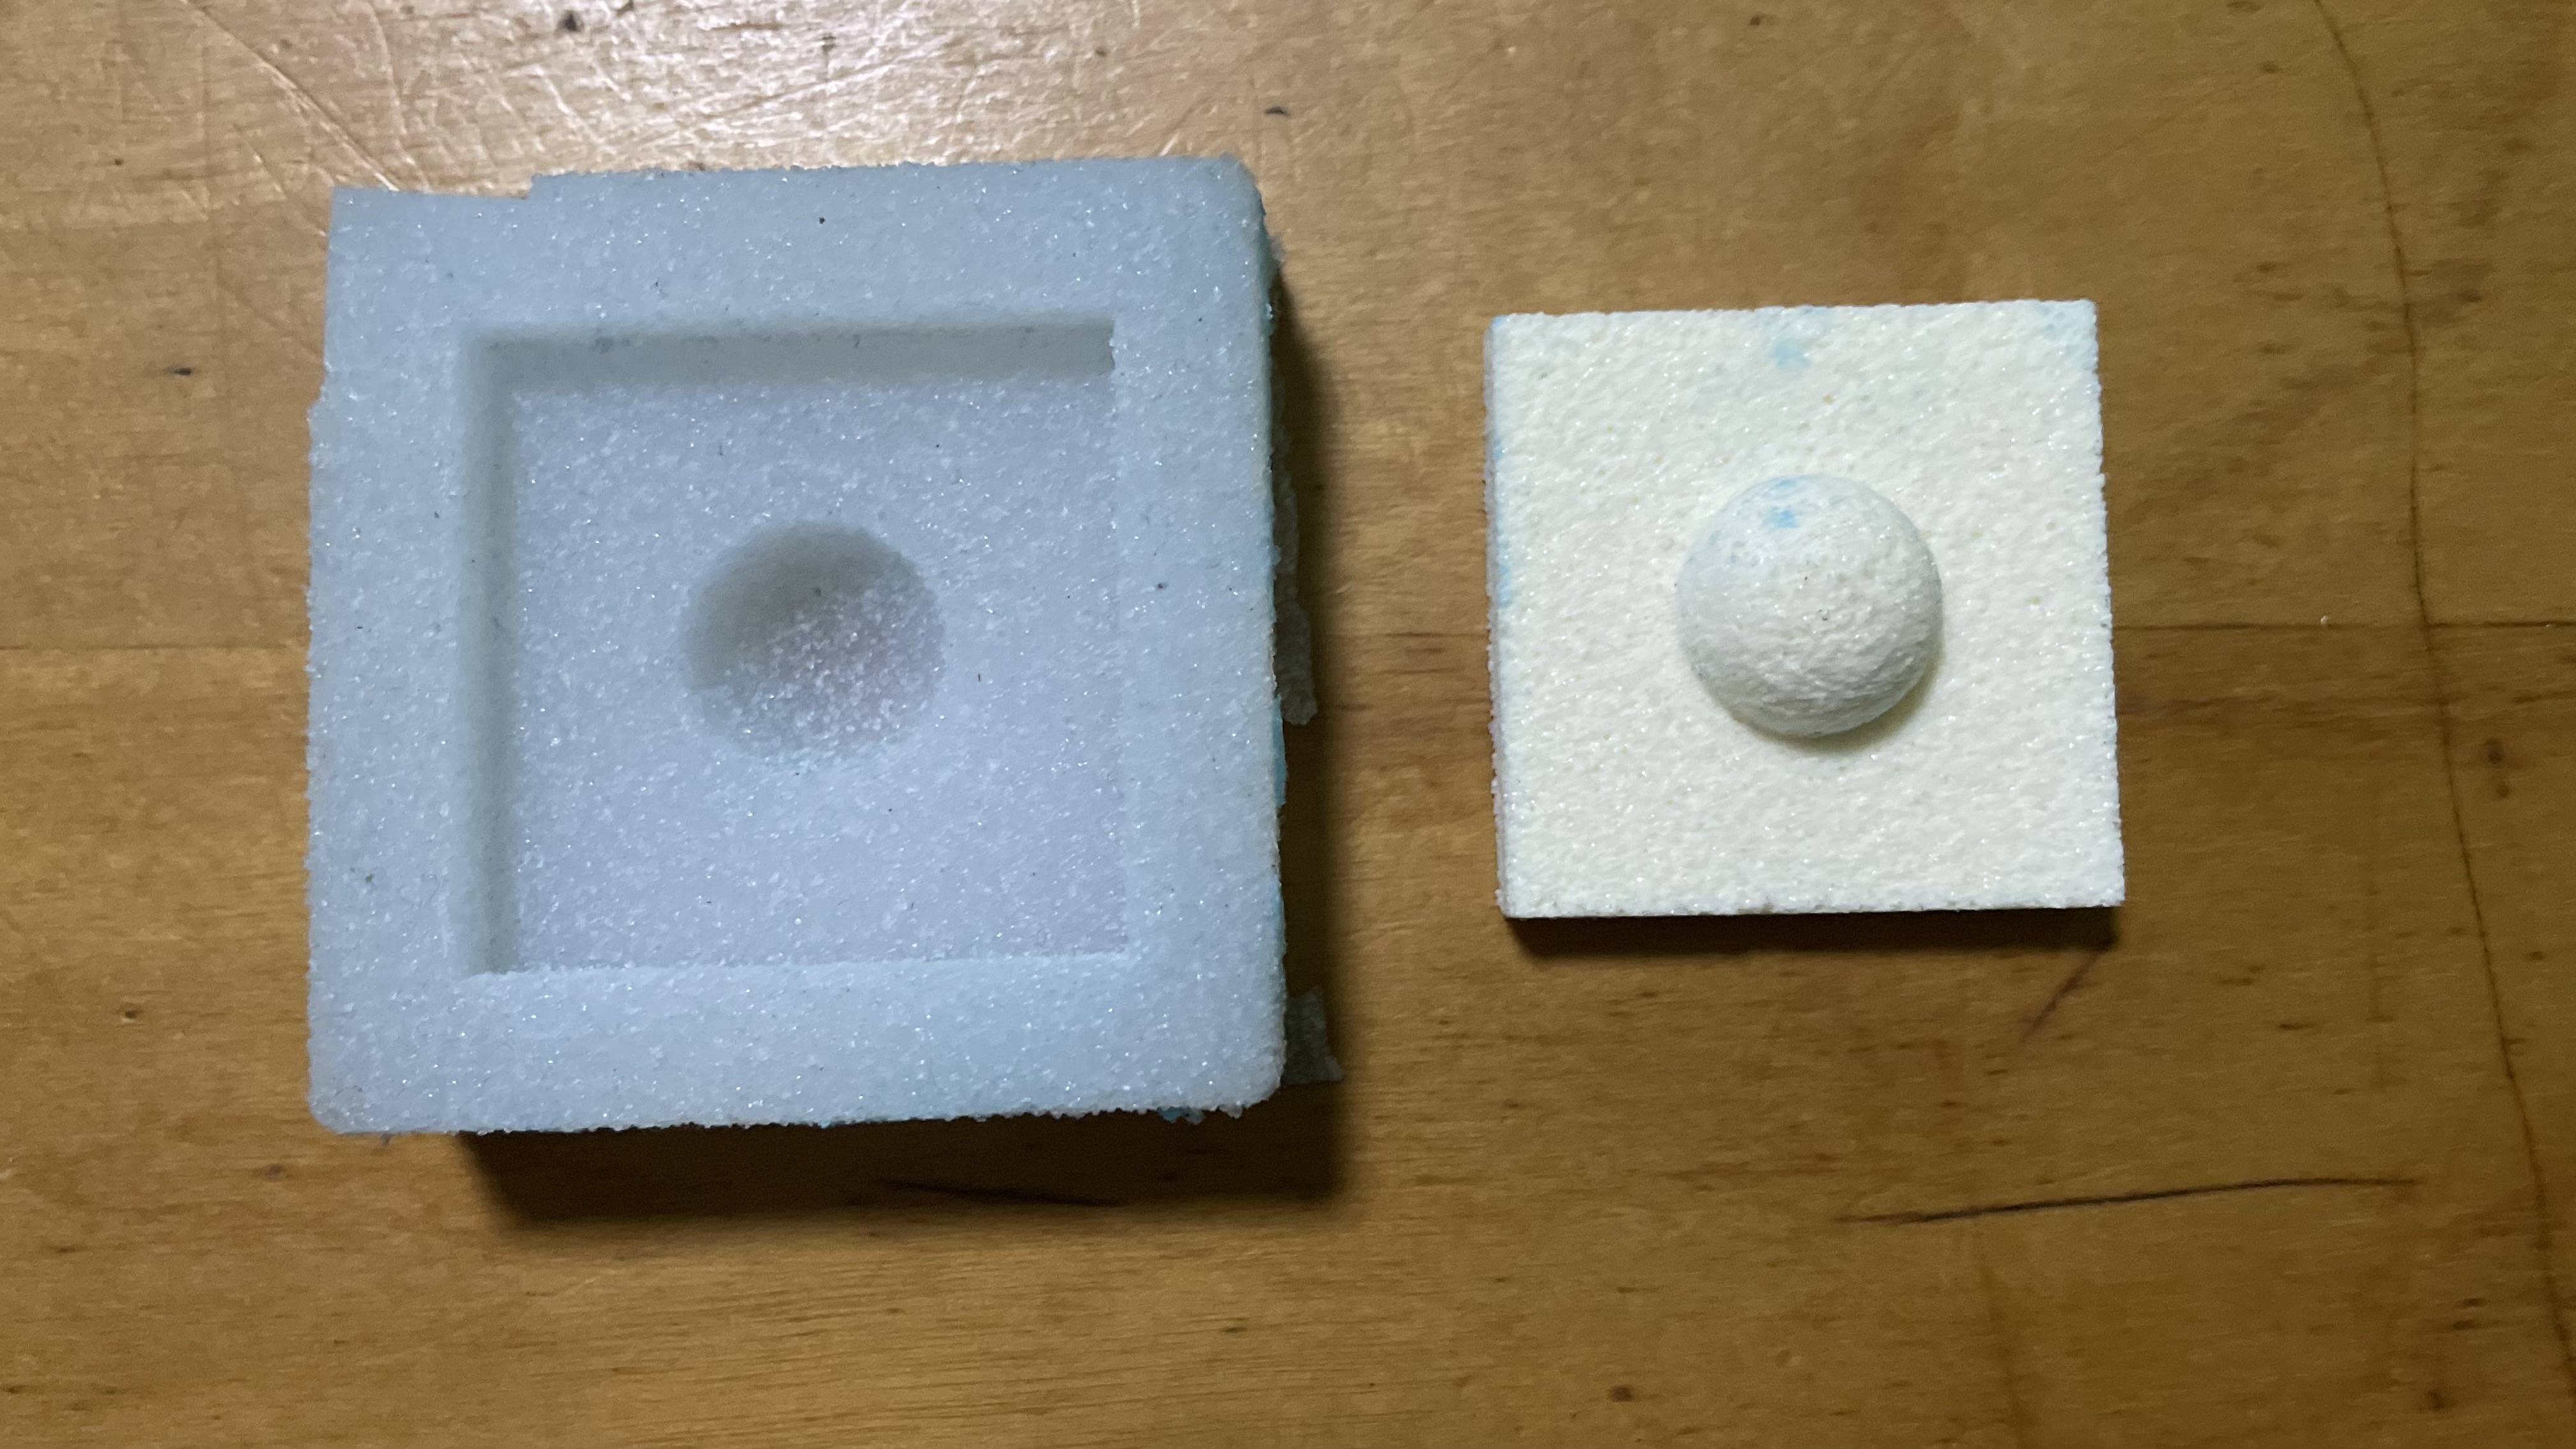
Final look