3D Computer Controlled Machining
3D Machining
3D Machining is basically 2D machining but with 3 axes, x, y and z, instead of 2. The assignment given to us was:
- review the safety data sheets for each of your molding and casting materials
- design a mold around the stock and tooling that you’ll be using,
- mill it (rough cut + (at least) three-axis finish cut),
- and use it to cast parts
Creating the model
Firstly, what I did was to create the model of the object that I wanted to mold. I decided to go with something simple and easy, something along the lines of a hemisphere sitting ontop of a block, which can someone be identified as a spinning top.
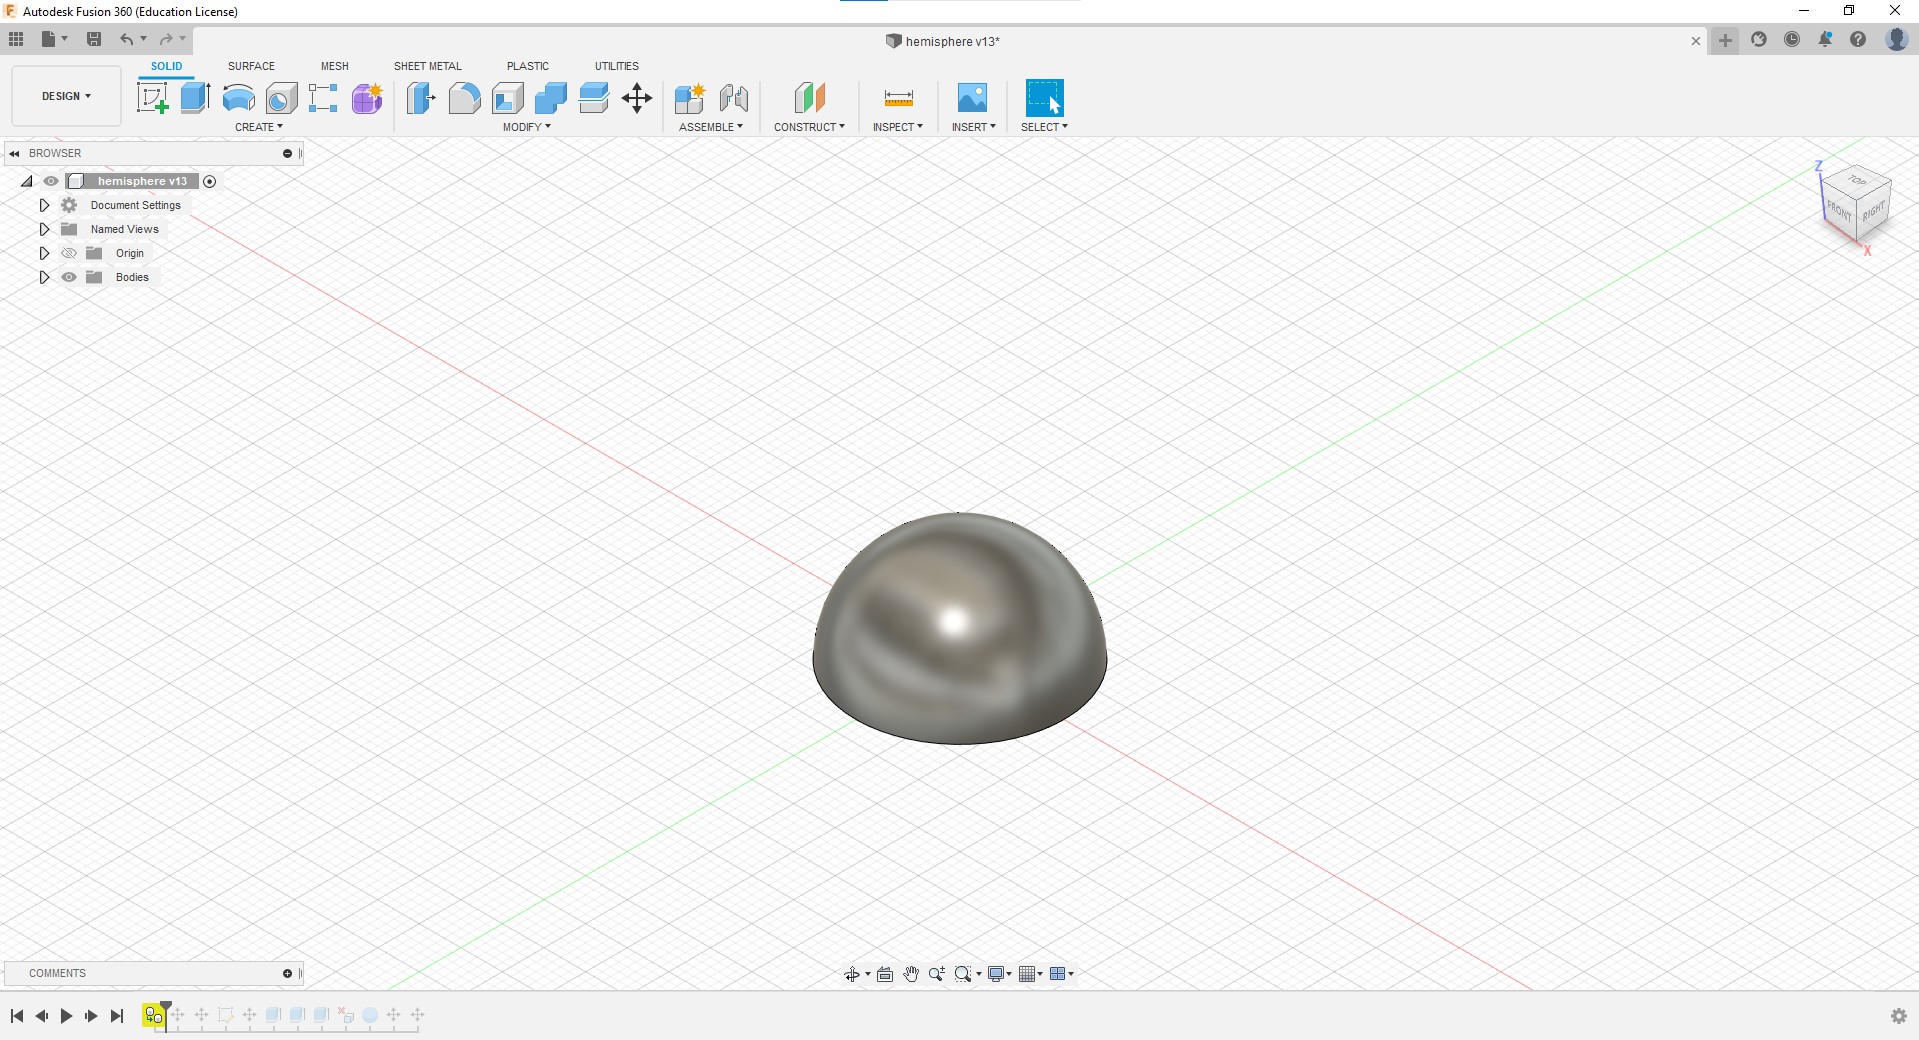
Firstly, I created the hemisphere that was suppposed to sit on top of a block.
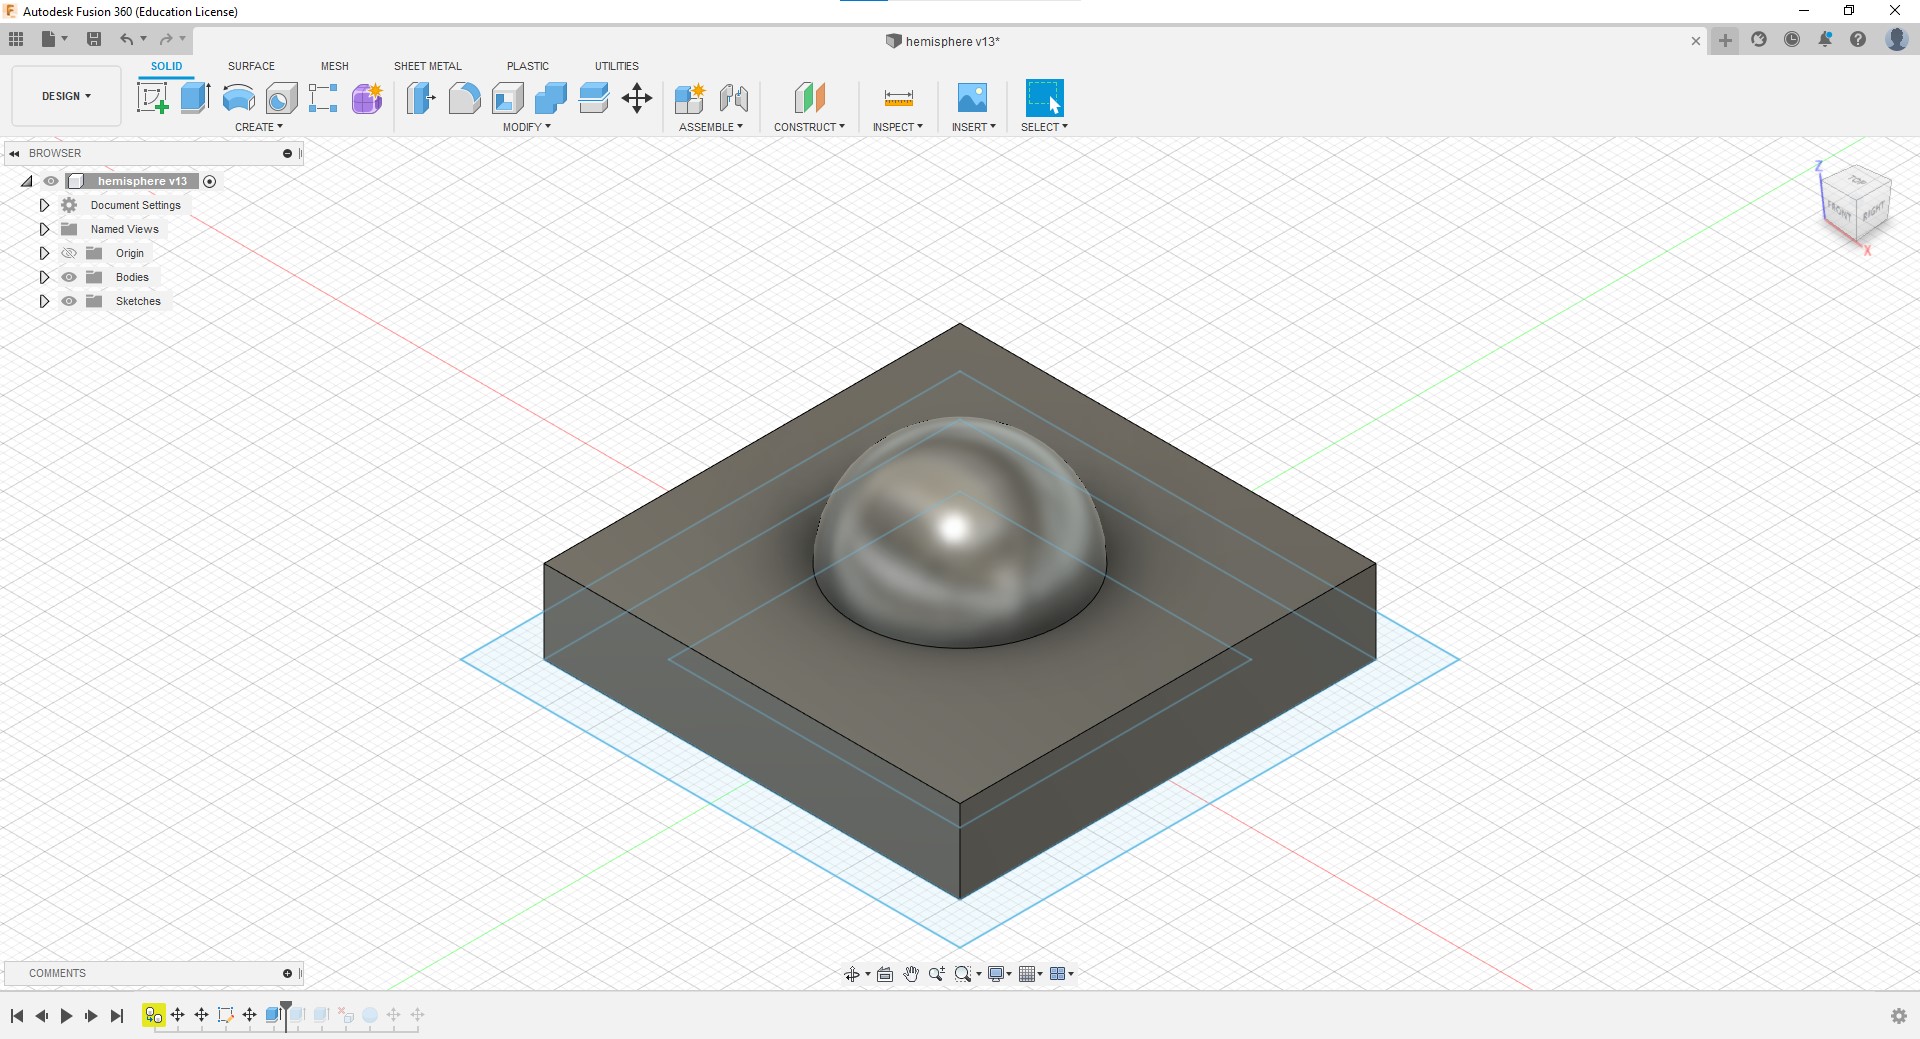
Then, I created the area that sphere would sit in.
After that, I created a box by extruding the sides of the floor.
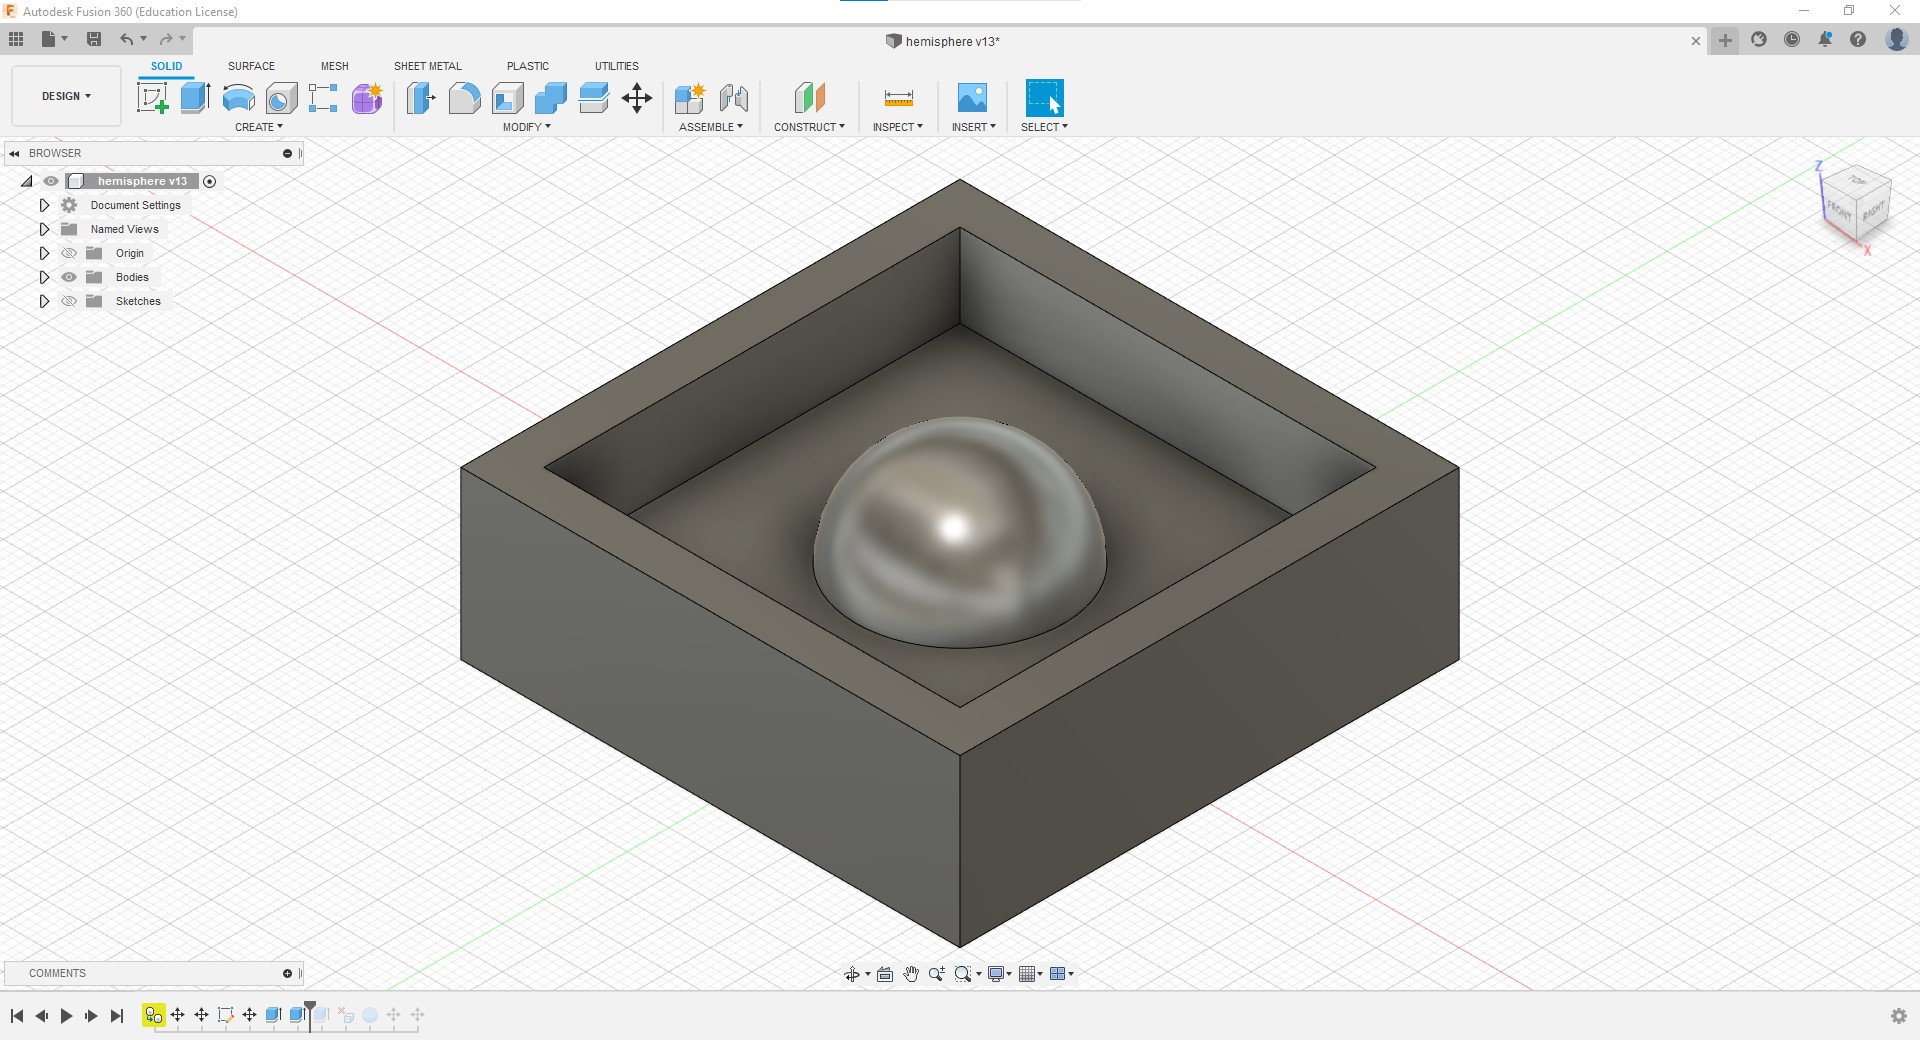
After getting this out, I realised that the hemisphere was a tad too big, which led me to make it smaller.
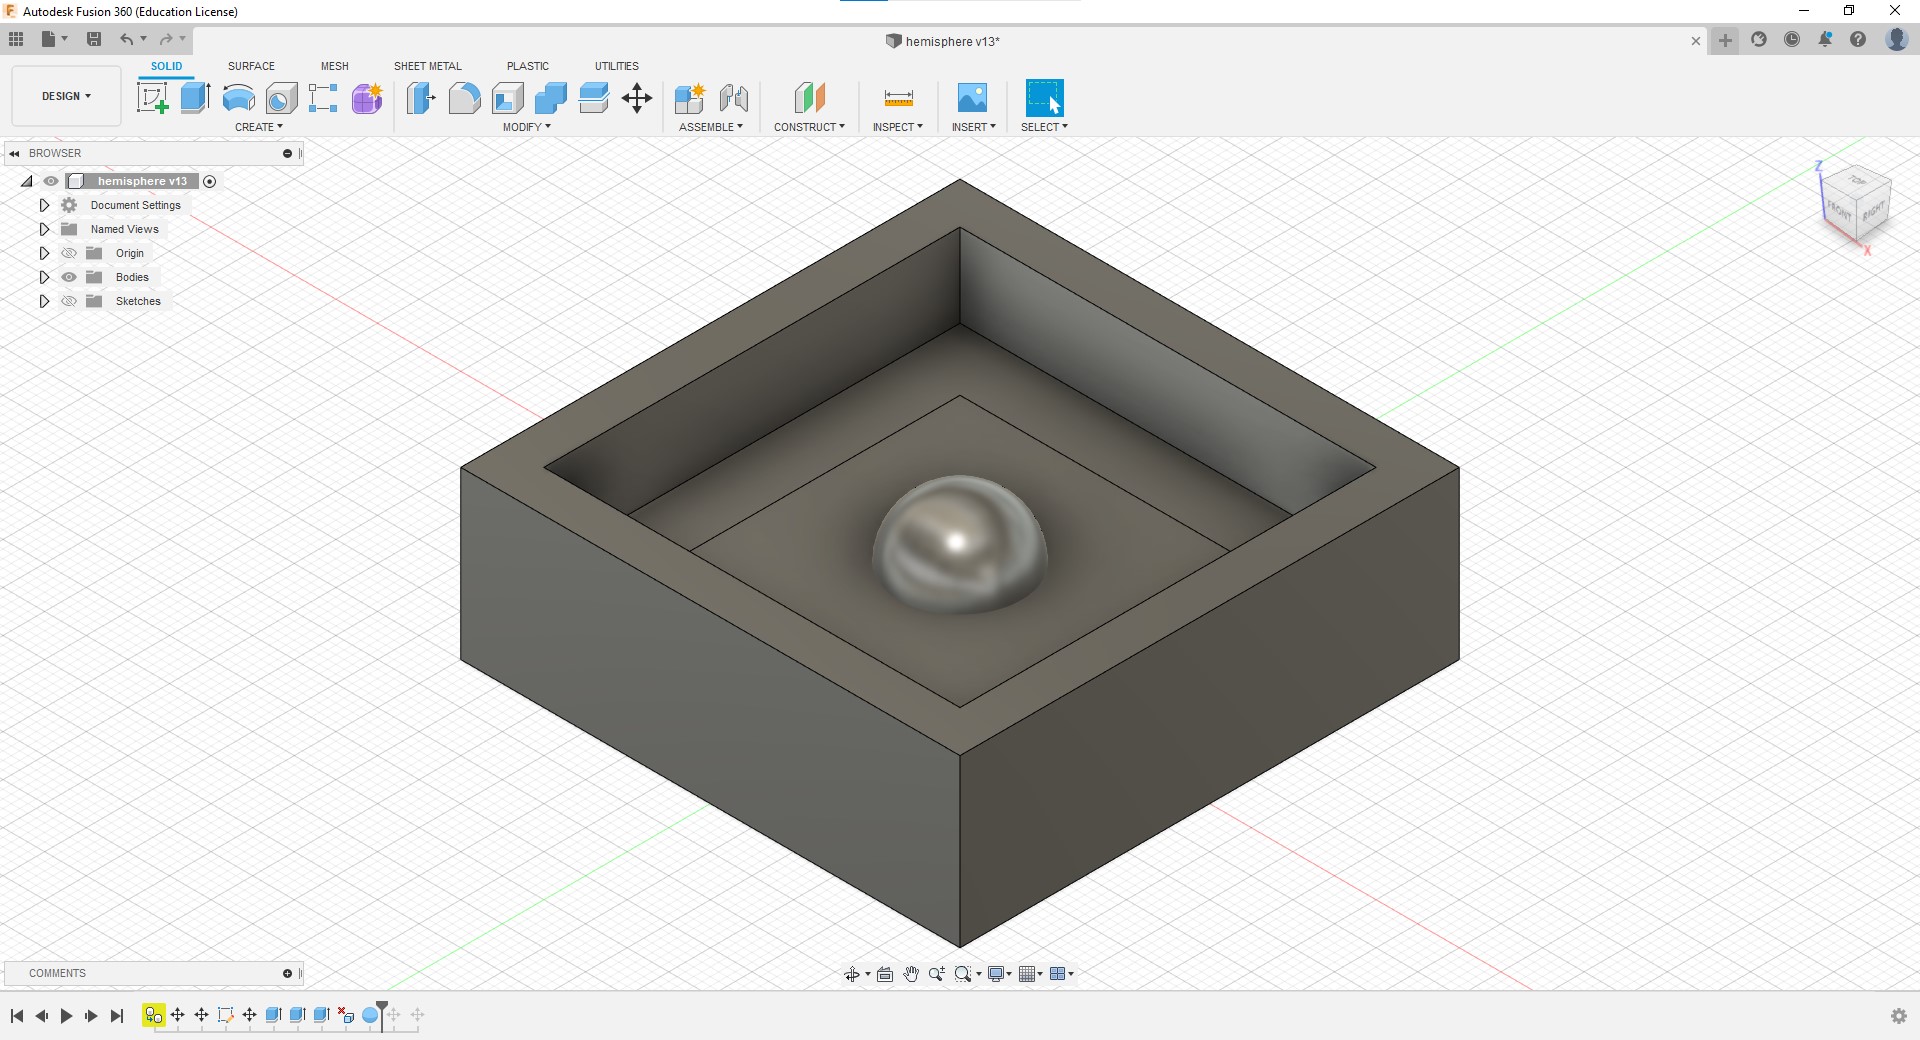
Next, I made some adjustments to the block below the sphere.
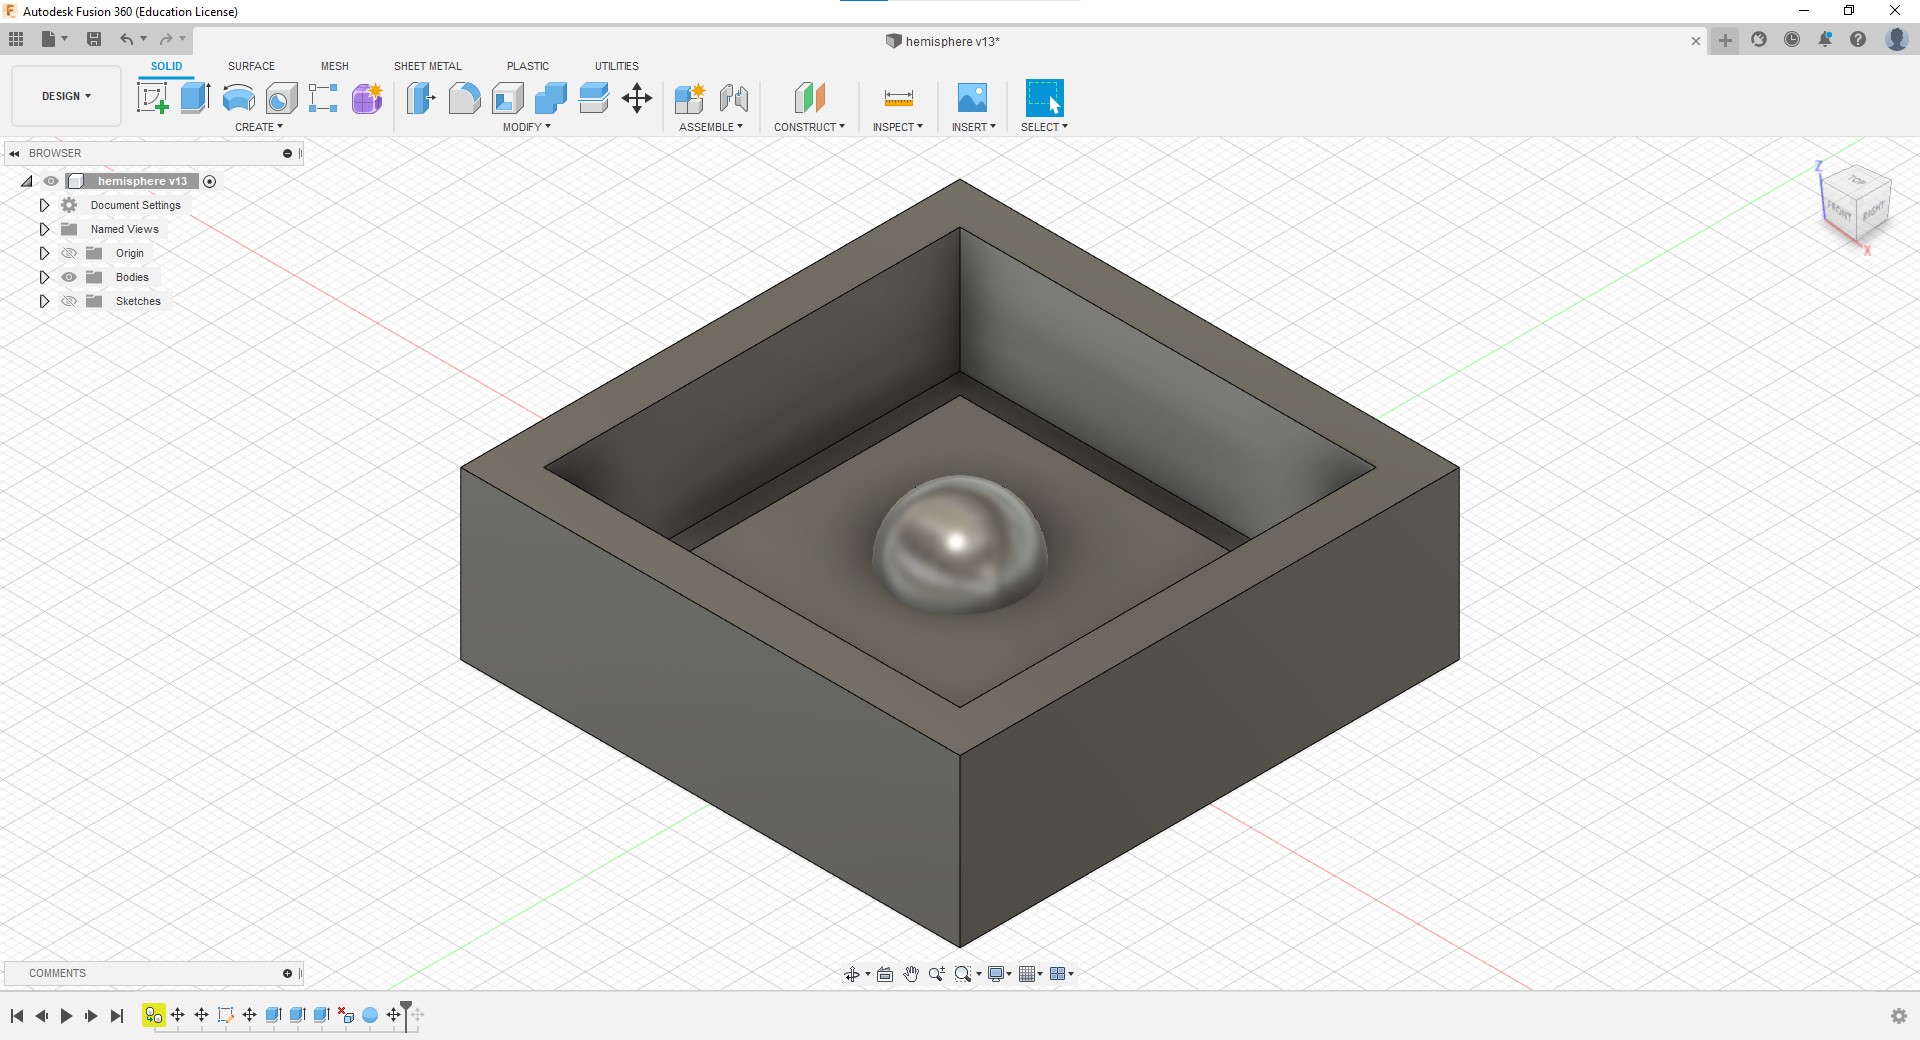
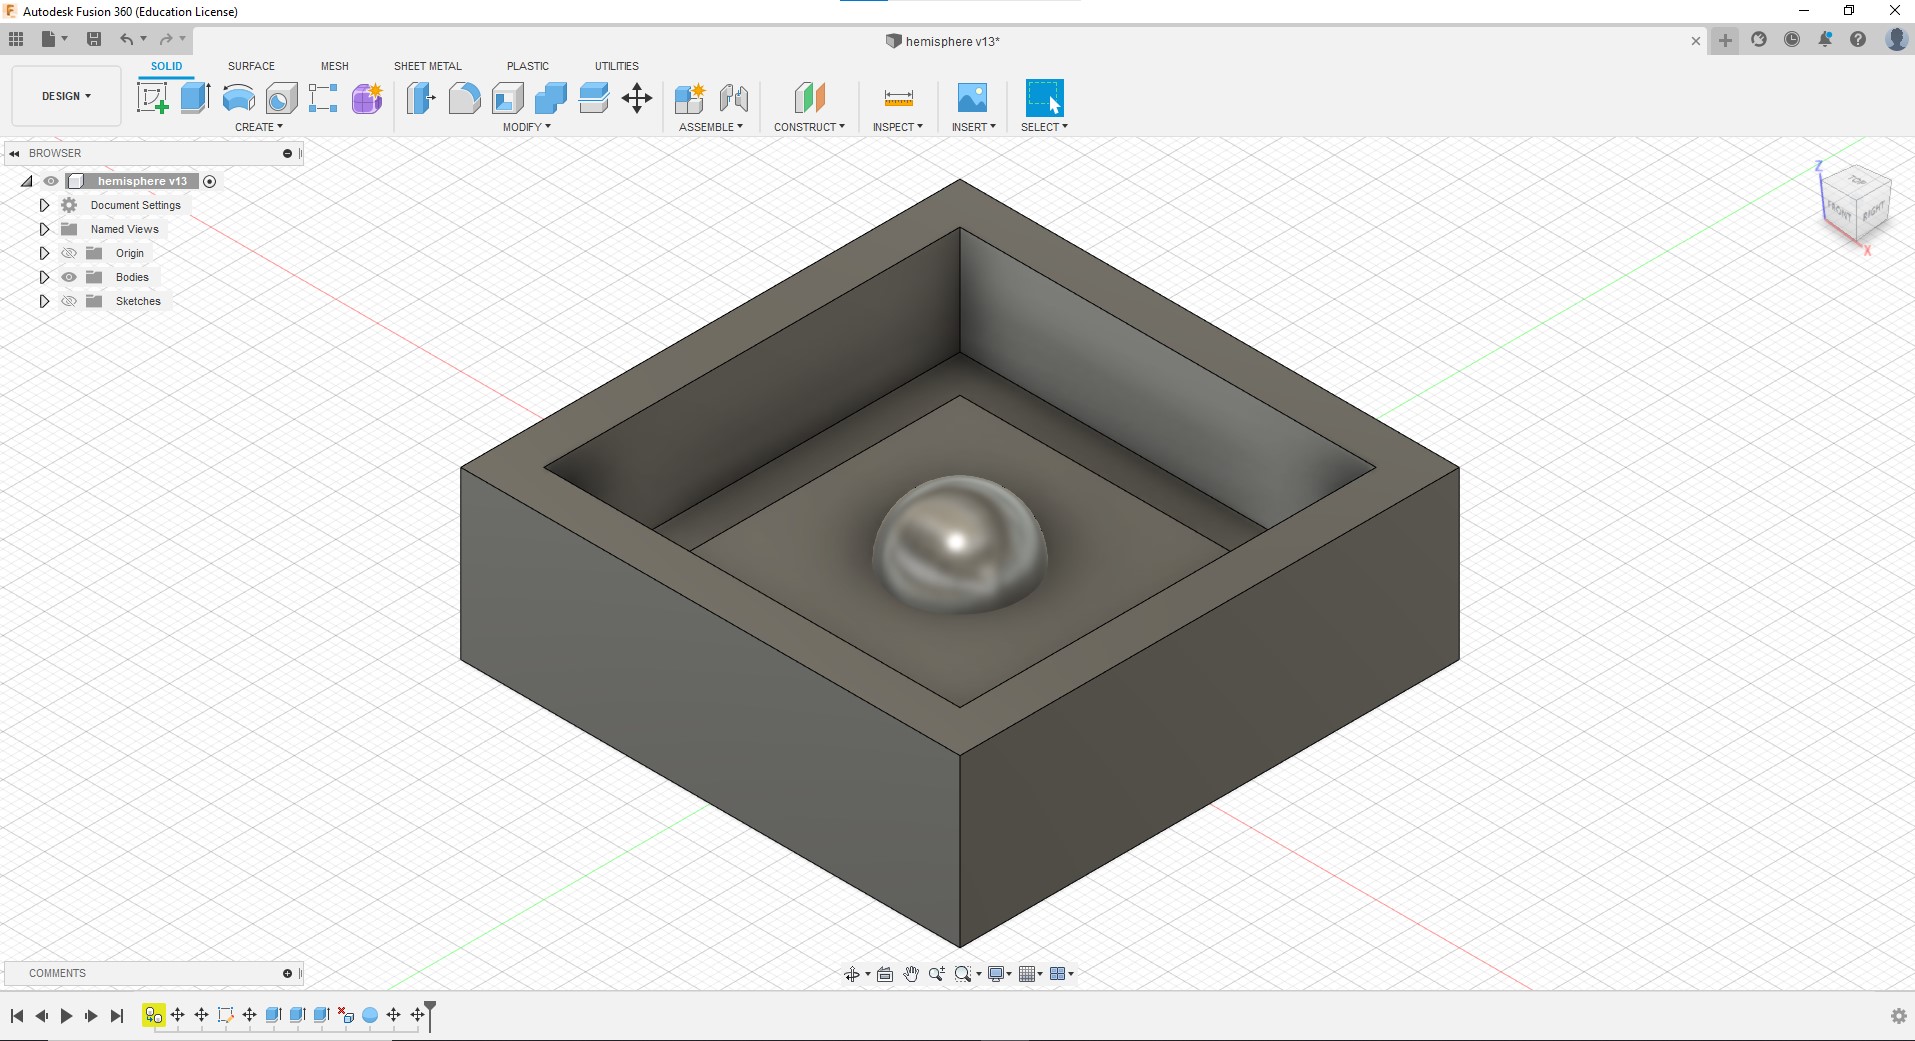
This is how the final model turned out to be.
Generating G-code
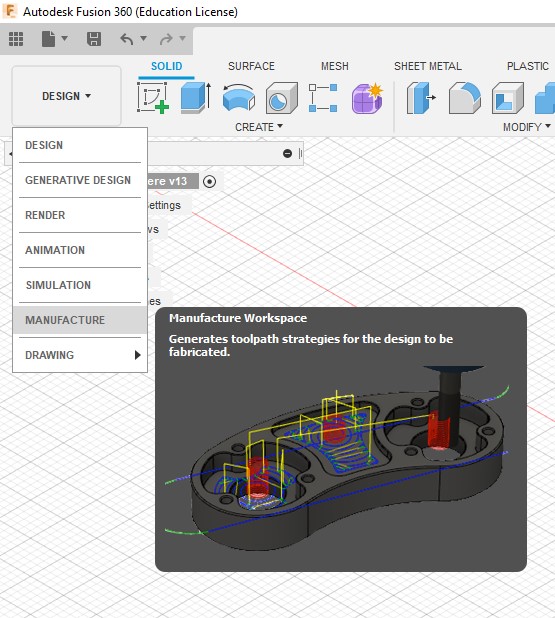
After the model was complete, I proceeded to generate the gcode for the model. To do that, I change the workspace to manufacturing by going to the top left hand side of the navigation bar.
As the machine that we are using to CNC is the STEPCRAFT D420, I needed to download the STEPCRAFT UCCNC post processer.
After that was settled, I made a new setup and chose pocket clearing toolpath operation which can be found under the 3D tab.
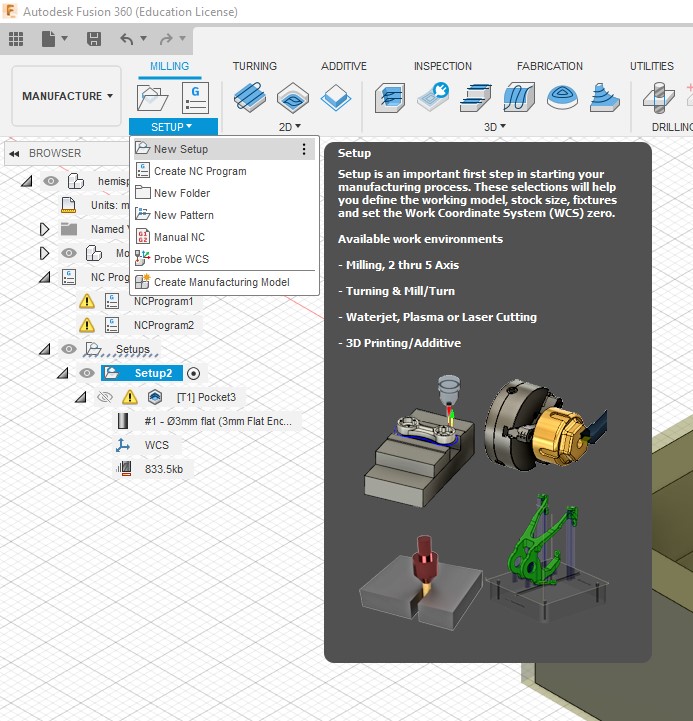
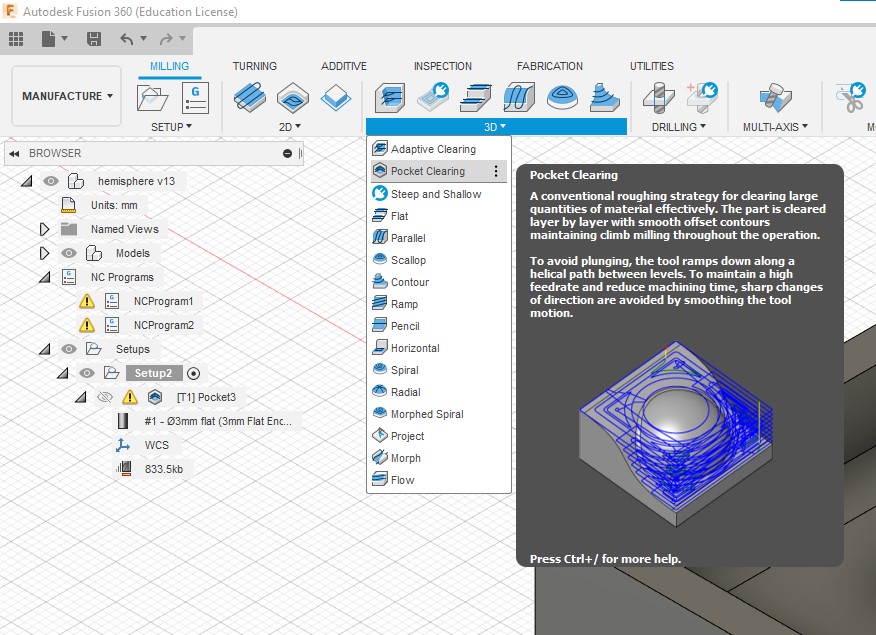
These are the settings I used.
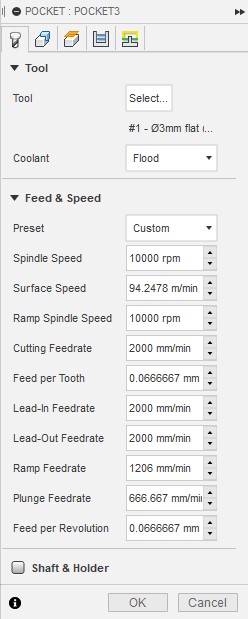
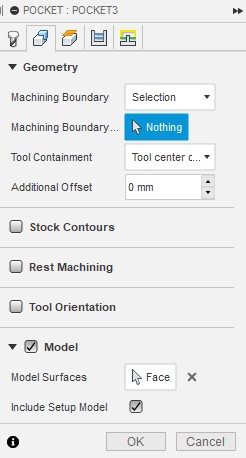
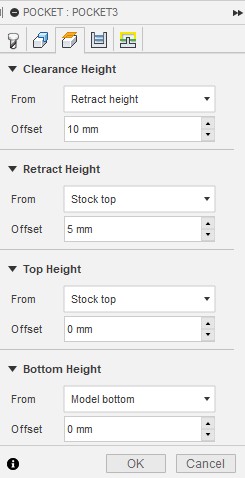
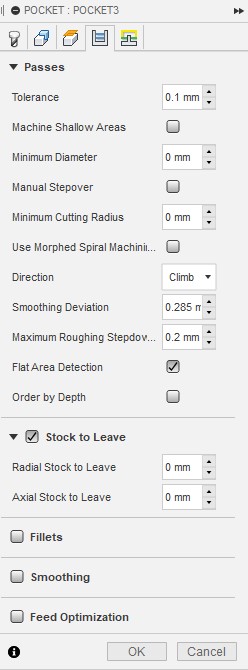

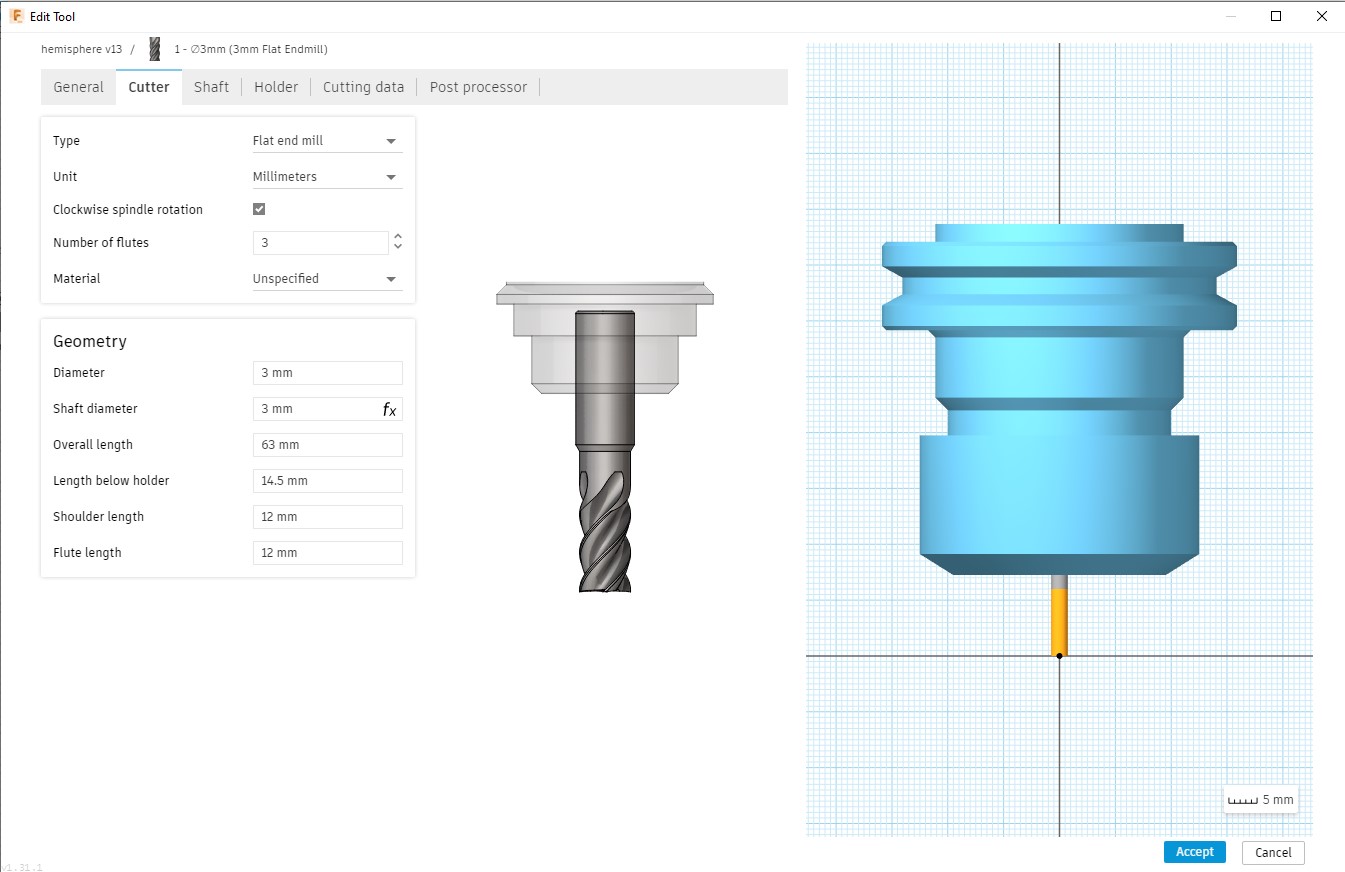
After that, a simulation was done to see how the mode would be cut. I used this opportunity to check for any errors as well.
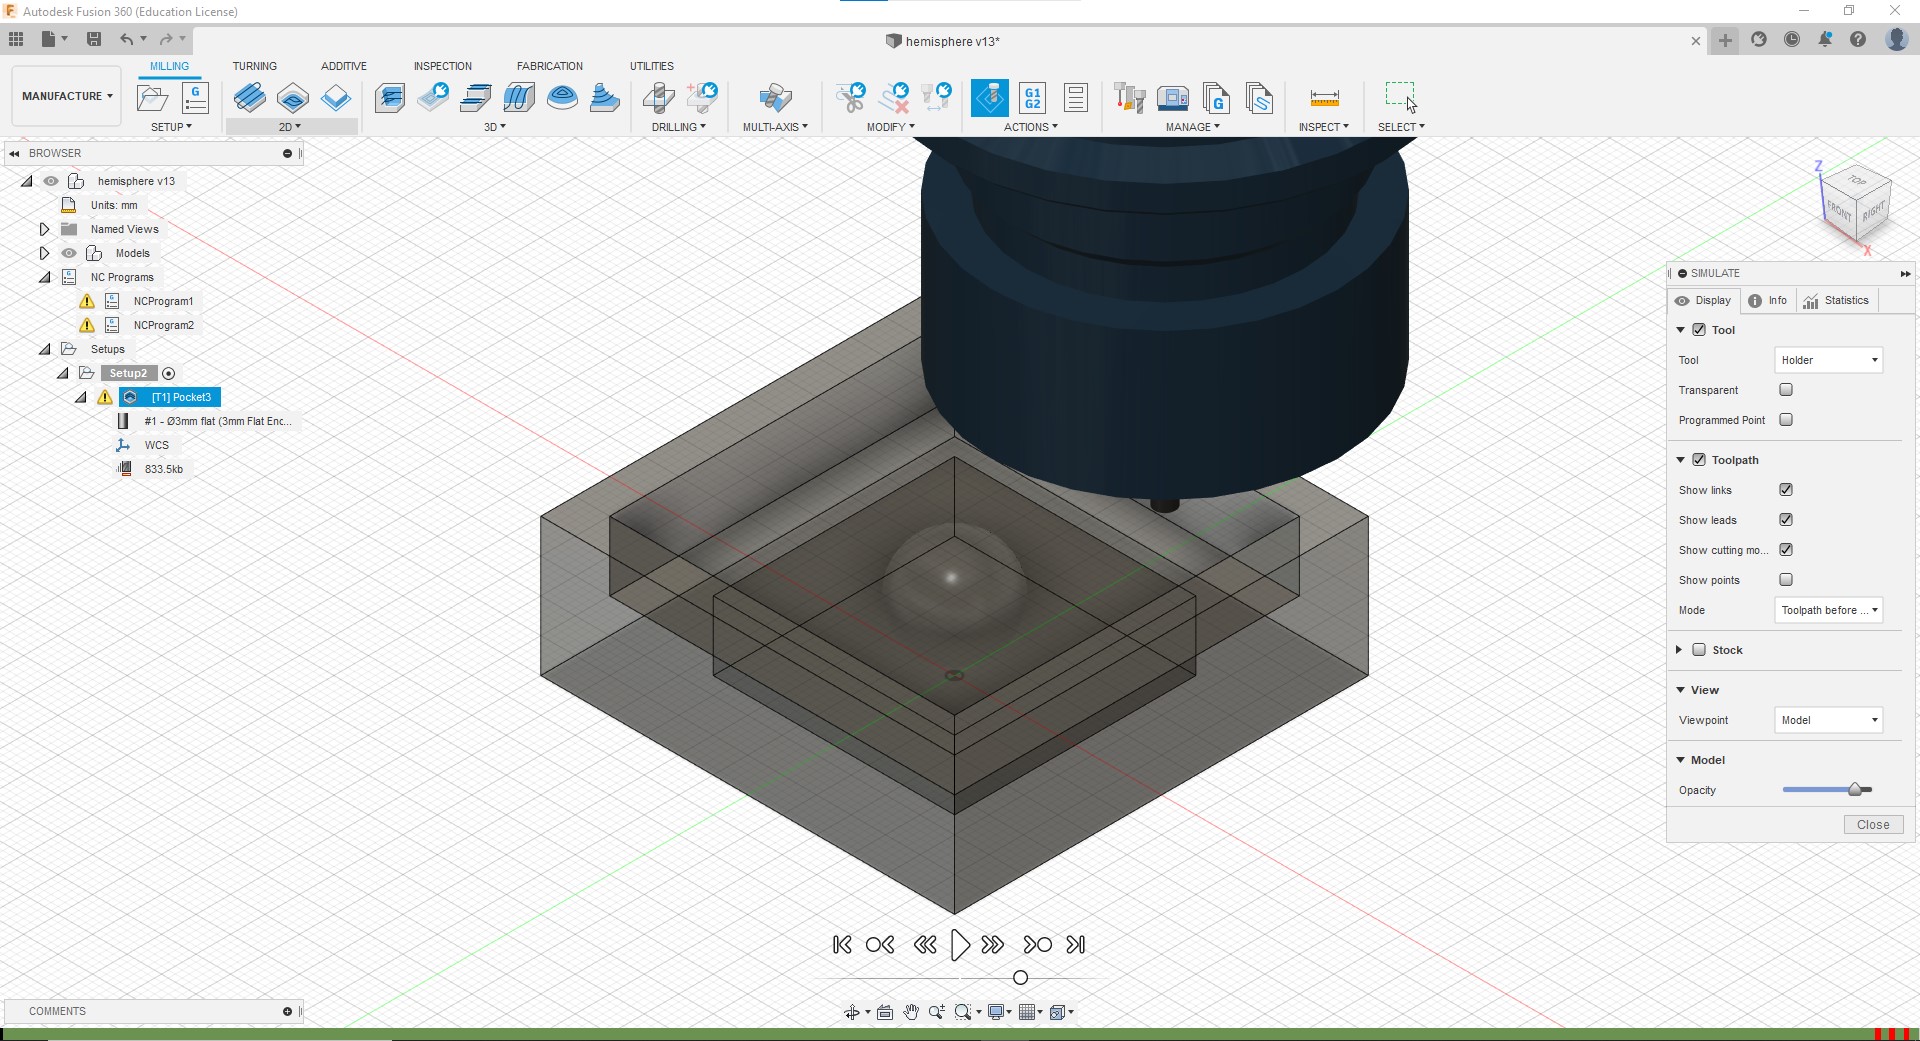
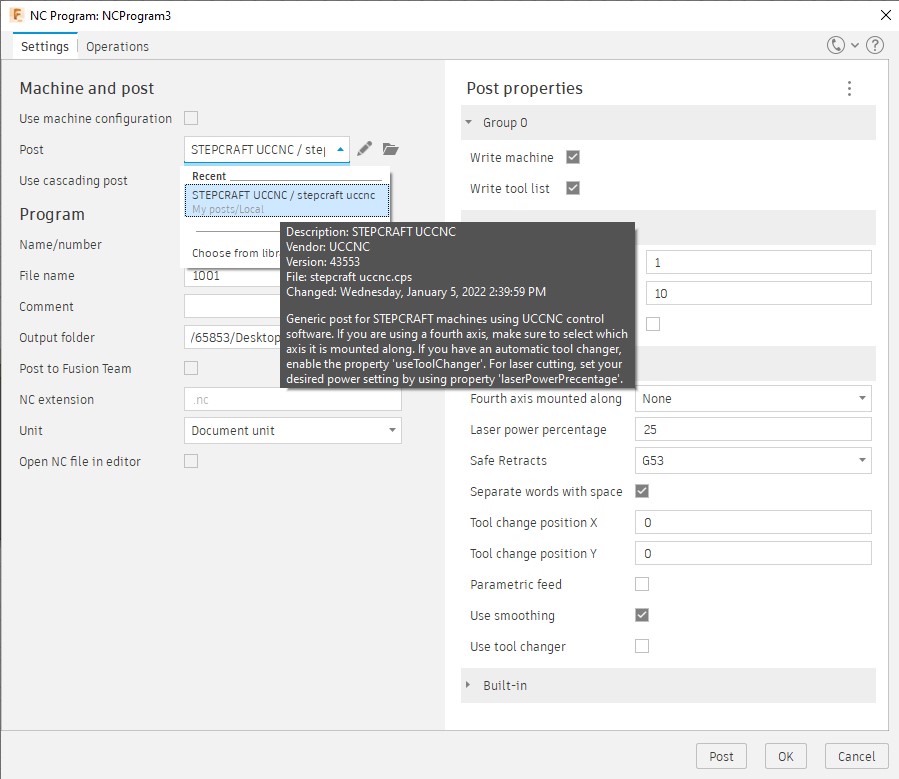
Finally, I clicked NC program, located near the top left of the nav bar, and changed the post to the previously downloaded STEPCRAFT UCCNC. The G-code is then ready to be generated.
Milling
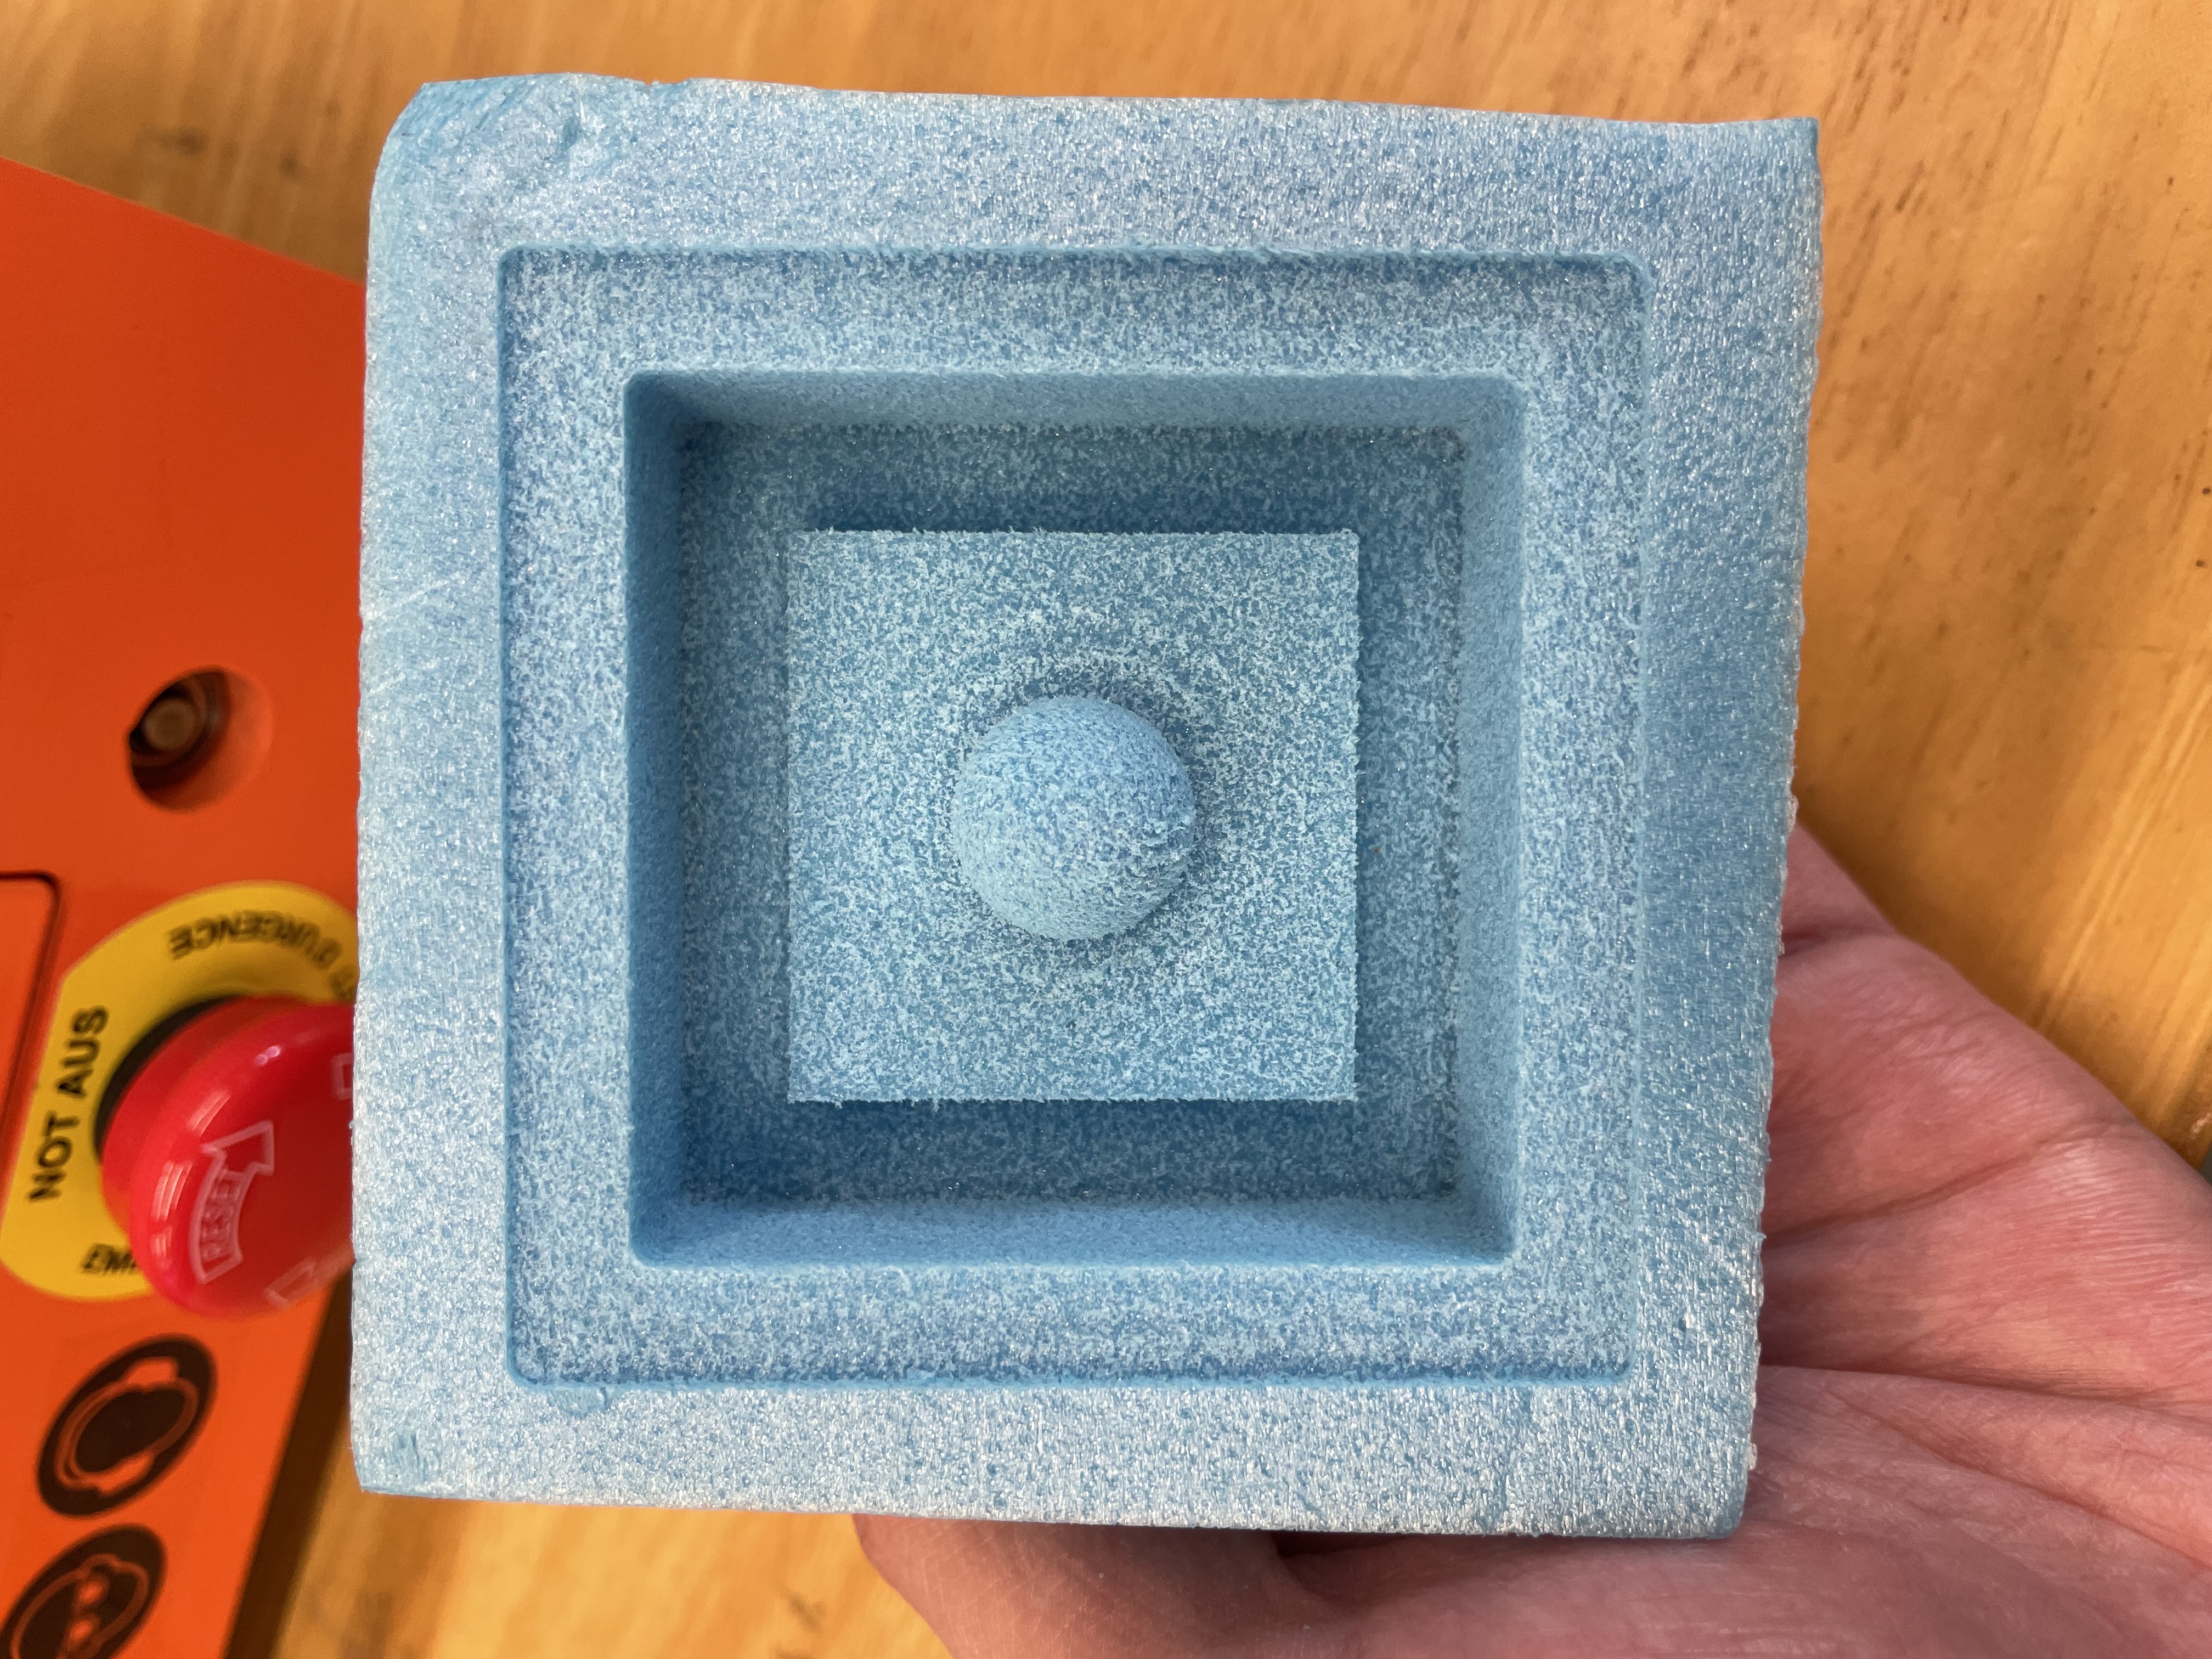
After generating the gcode, I put it into the machine and began the milling of the model. In this case, a dense blue styrofoam block was used as the material to be milled.
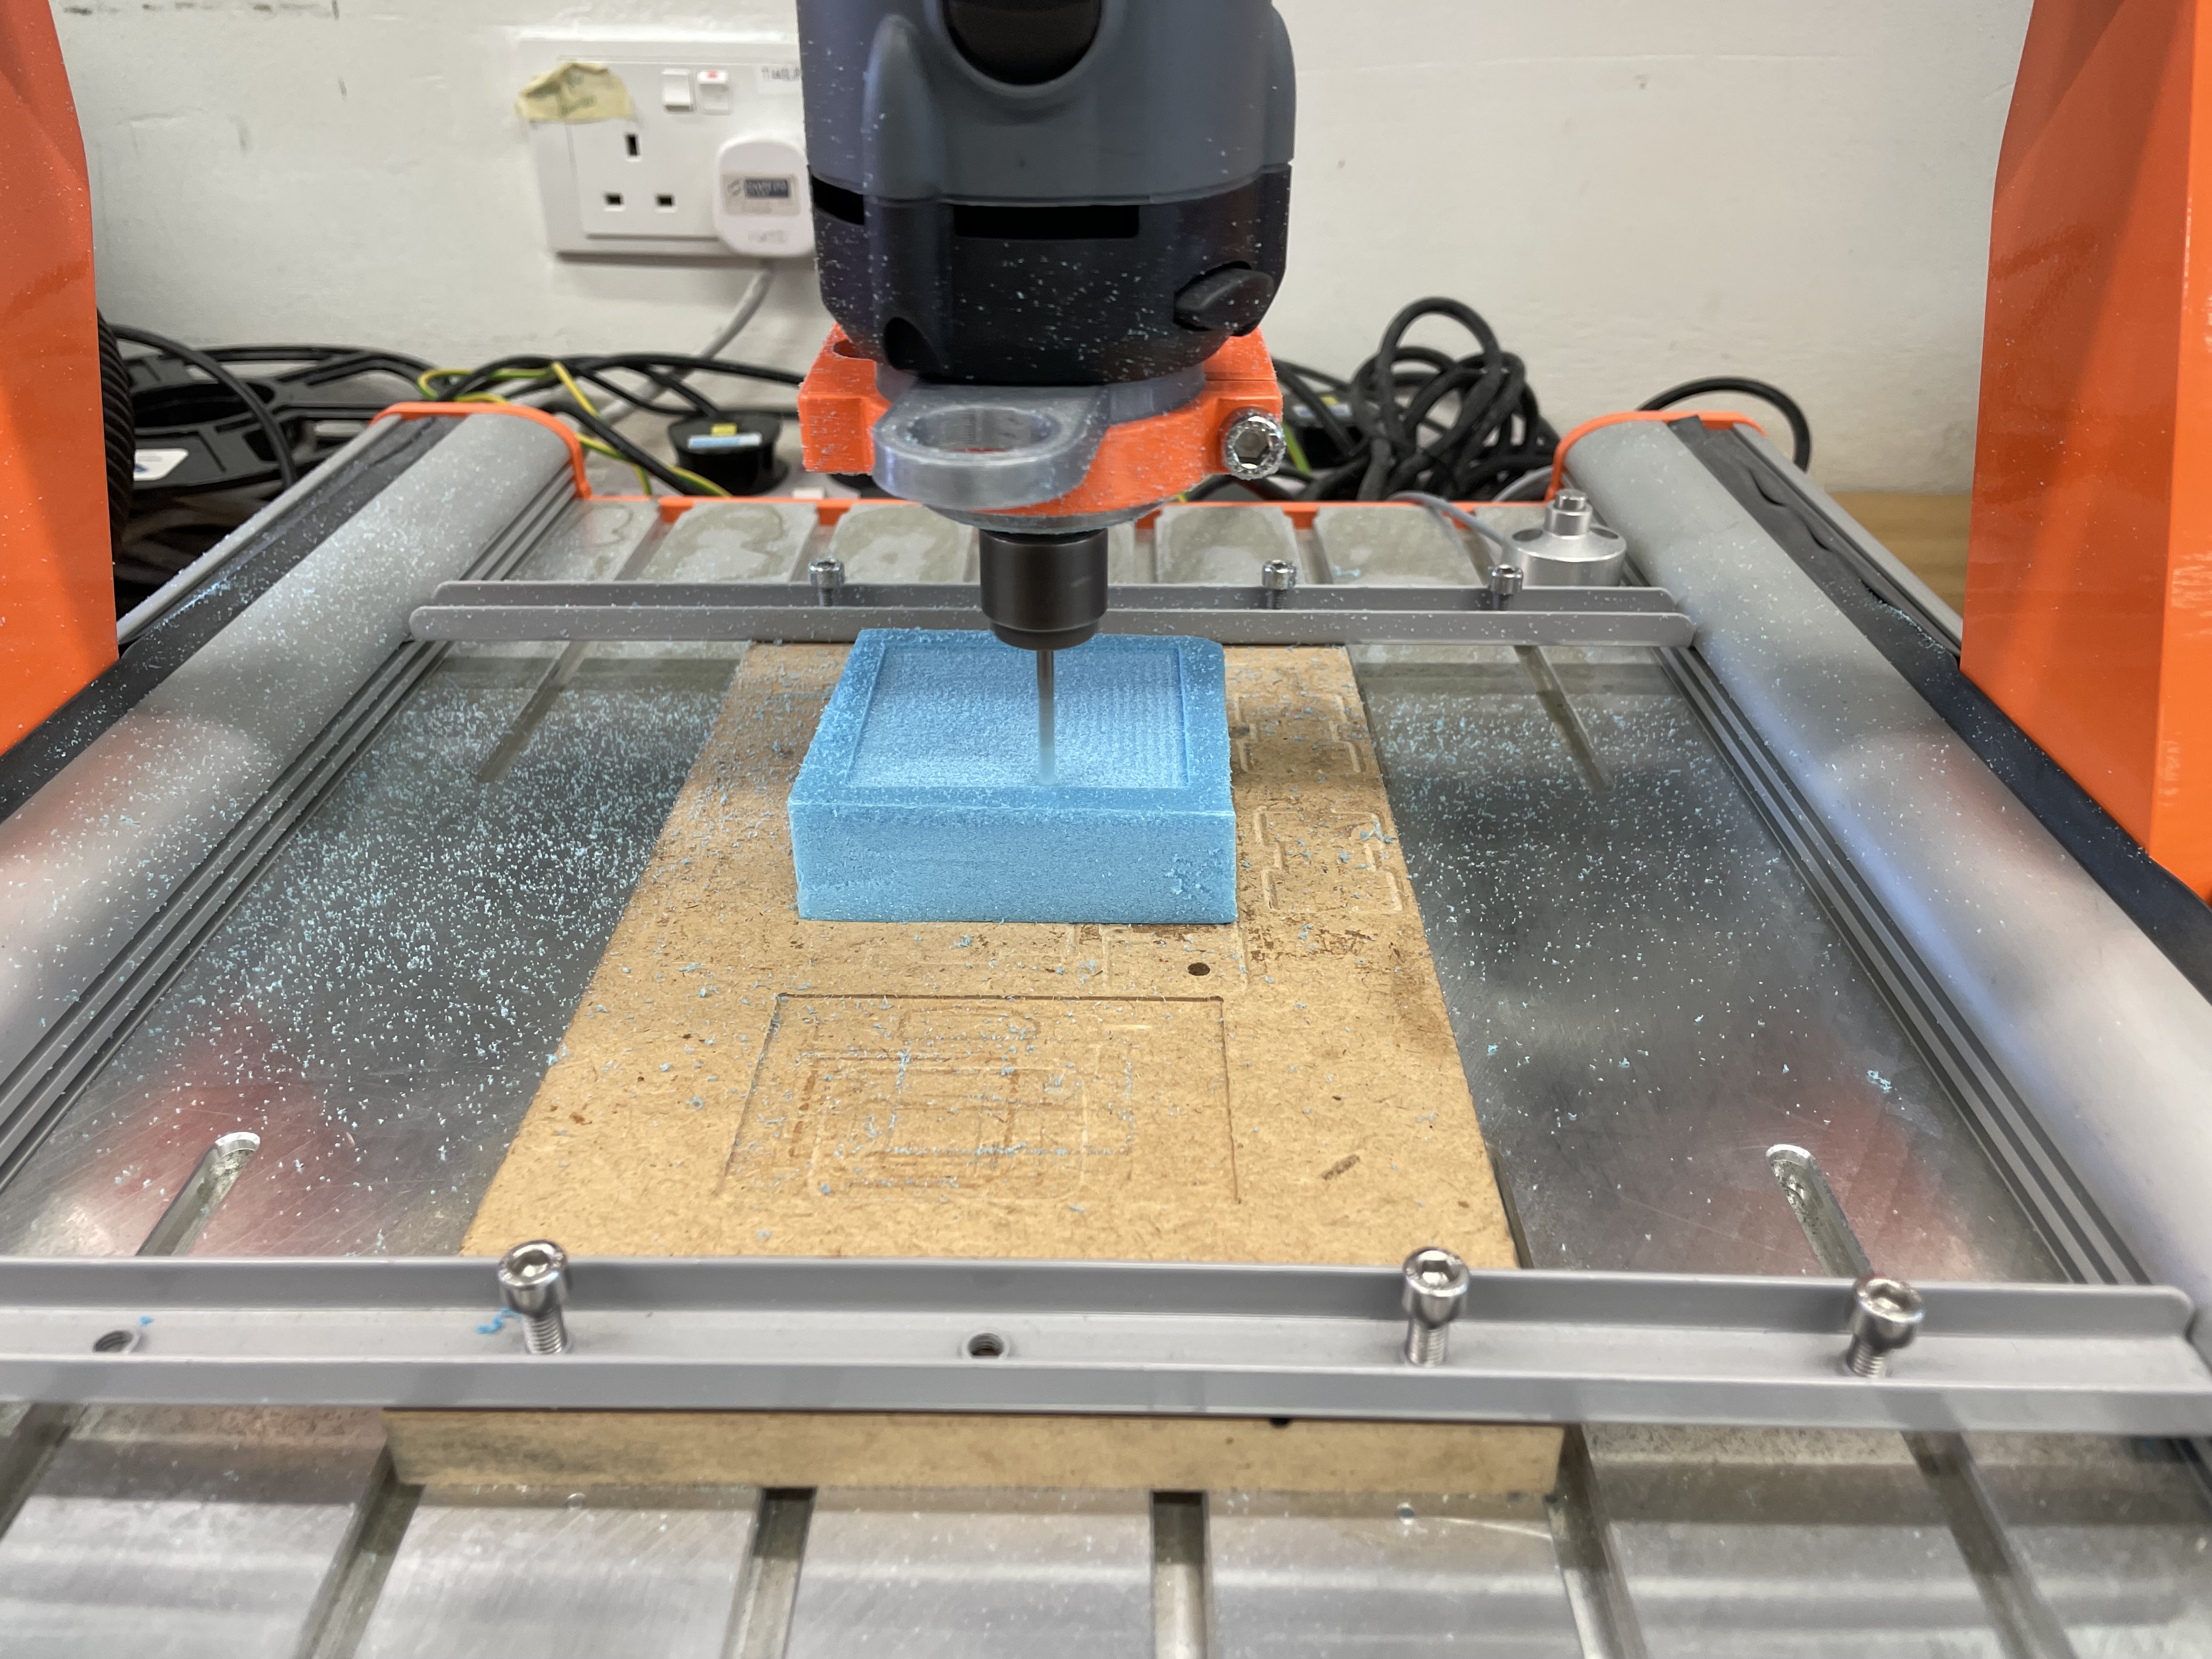
After about 45 minutes to 1 hour of waiting, the milling was completed and the model was done.
